
Choosing the right kids car seat is one of the most important decisions you will make to protect your child during travel. To determine which car seat your child needs, you must match their current weight, height, and physical development to the specific limits of the seat, rather than relying on age alone. Children grow at highly variable rates, meaning two children of the identical age may require completely different seating stages to remain secure on the road.
Navigating busy city streets, bumpy provincial roads, or sudden stops in heavy traffic requires a clear understanding of how car seats function. The journey begins with a rear-facing seat for infants and toddlers, moves to a forward-facing seat with a five-point harness as they grow, and eventually transitions to a booster seat that positions the vehicle’s adult seat belt correctly. Before making any changes, always locate and read the manufacturer’s printed label on your specific car seat to verify its exact weight and height boundaries.
Step 1: Assessing the Need for a Rear-Facing Car Seat
During the initial stage of your child’s life, a rear-facing car seat provides the necessary support for their developing head, neck, and spine. In a sudden stop or collision, the shell of a rear-facing seat cradles the child and distributes the crash forces across the entire back of the seat, protecting the most vulnerable parts of their body. Keeping your child rear-facing for as long as possible is widely recognized as the most protective approach for infants and young toddlers.
Products mentioned in this guide
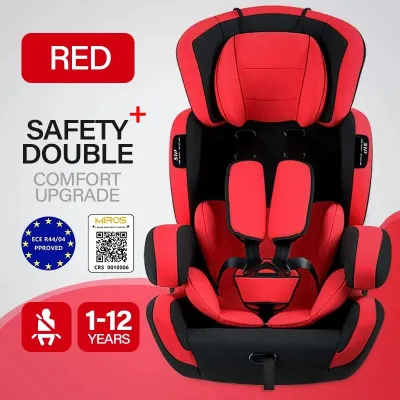
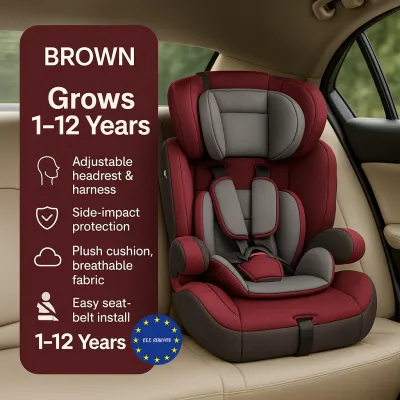
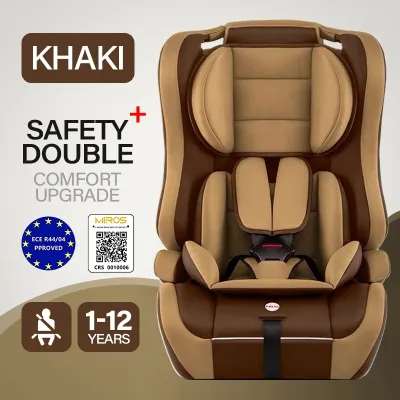
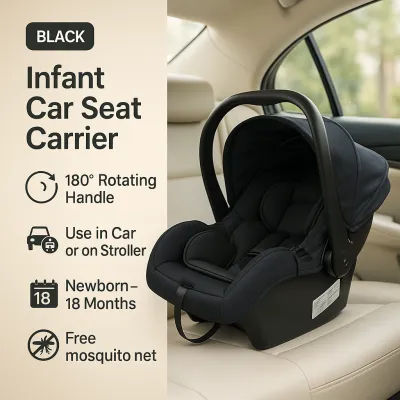
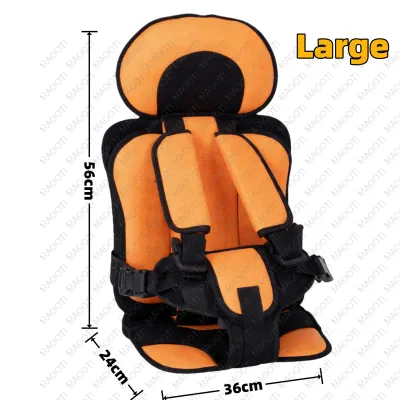
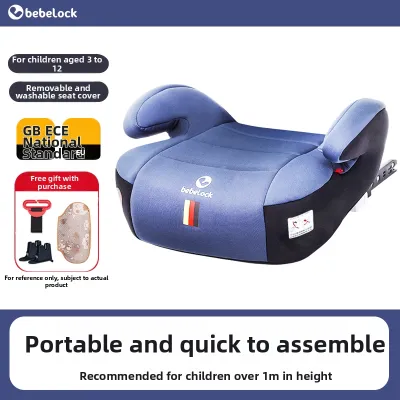
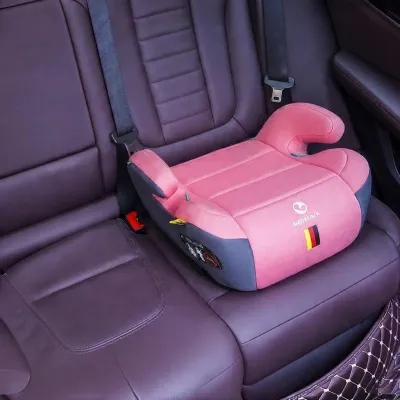
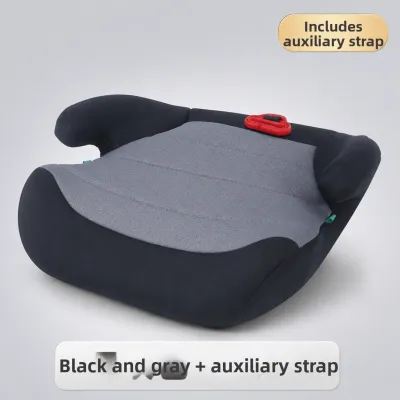
Prices are valid at publication and may change. Please refer to the product page for the latest price.
To determine if your child still belongs in this stage, look for the physical limits printed on the seat’s safety label, which is typically located on the side or bottom of the plastic shell. Many modern convertible seats allow children to remain rear-facing until they reach higher weight limits, often up to 18 kilograms or more, depending on the specific model. You should keep your child in this position until they reach either the maximum weight or the maximum height specified by the manufacturer.
In tropical climates like the Philippines, rear-facing seats can sometimes trap heat and humidity, making your child uncomfortable during long drives. To manage this, ensure your vehicle’s air conditioning is directed toward the backseat, and regularly check that your child is not overheating. Never add aftermarket cushions or thick padding behind the child unless they are explicitly approved by the car seat manufacturer, as unauthorized inserts can compromise the harness’s effectiveness.
When checking the physical fit in a rear-facing seat, pay close attention to the top of your child’s head. Most manufacturers require at least one inch of space between the top of the child’s head and the top of the car seat shell. If your child’s head is closer to the top edge than this limit, or if they have exceeded the maximum weight capacity on the label, they are ready to transition to the next stage.
Step 2: Evaluating the Transition to a Forward-Facing Car Seat
Once your child has fully outgrown the rear-facing limits of their convertible or infant seat, it is time to transition them to a forward-facing car seat equipped with a five-point harness. This harness system secures the child at the shoulders, hips, and between the legs, keeping them firmly in place within the protective shell of the seat during sudden movements.

When adjusting the seat for forward-facing use, the shoulder straps must be positioned differently than they were in the rear-facing setup. For forward-facing seats, the harness straps should emerge from the slots at or slightly above your child’s shoulders. If the straps are below the shoulders, they can apply downward pressure during a stop, which is not ideal for their growing frame.
Age is often a misleading metric for this transition because physical growth rates vary so dramatically. A tall, fast-growing toddler may reach the height limit of a rear-facing seat much sooner than a peer of the same age, making a forward-facing transition necessary. Conversely, a smaller child should remain rear-facing even if they have reached a common transition age, provided they still fit within the rear-facing limits of their seat.
To ensure a proper fit in the forward-facing position, perform these regular checks:
- Harness Height: Verify the straps are at or above the shoulders.
- Chest Clip: Position the chest clip level with your child's armpits to keep the shoulder straps properly aligned.
- Headrest Clearance: Ensure the top of your child's ears are below the top of the car seat shell or headrest, according to the manual's instructions.
Step 3: Determining Readiness for a Booster Car Seat
Transitioning to a booster seat is not just about physical size; it also requires a significant level of behavioral maturity. A booster seat does not have a built-in five-point harness. Instead, it raises the child up so that the vehicle’s adult lap and shoulder belt fits them properly. This means the child must be mature enough to sit relatively still, keep the shoulder belt across their chest, and avoid slouching or pulling the belt under their arm for the entire duration of the ride.
When choosing a booster seat, you will generally find high-back and backless options. High-back boosters are highly recommended for vehicles that do not have built-in headrests or have low seatbacks, as they provide essential neck and head support. Backless boosters are compact, lightweight, and highly portable, making them convenient for carpooling or switching between vehicles, provided your car’s seats have adequate headrests to support the child’s head up to the tips of their ears.
To verify if the vehicle’s adult seat belt fits your child correctly while using a booster, look for these specific visual indicators:
- Lap Belt Position: The lap belt must lie flat and snug across your child's upper thighs or hips, never across their soft stomach.
- Shoulder Belt Position: The shoulder belt must cross the center of your child's shoulder and collarbone, resting flat against their chest without rubbing against their neck or slipping off the shoulder.
- Knee Position: Your child's knees should bend comfortably over the front edge of the booster seat while their back is flat against the seatback.
Step 4: Verifying Fit and Safety Before Every Ride
Even the most advanced car seat cannot perform as intended if it is not installed securely or adjusted correctly for the child. Before every trip, take a moment to perform a quick physical check of the seat’s installation. Grab the car seat at the belt path and try to move it side to side and front to back; it should not shift more than one inch in any direction.
In hot and humid weather, metal buckles and dark plastic components can absorb intense heat when the car is parked in the sun. Always touch the metal parts of the harness and the seat fabric to check the temperature before placing your child inside. If the buckles are hot to the touch, cool them down with a damp cloth or let the vehicle’s air conditioning run for a few minutes to prevent accidental skin irritation.
To check the tightness of the harness on your child, use the simple pinch test. Once the harness is buckled and tightened, try to pinch the webbing of the strap at your child’s collarbone using your thumb and forefinger. If you can pinch any excess fabric together, the harness is too loose and must be tightened further until your fingers slide smoothly off the flat webbing.
Stop using any car seat immediately if it has been involved in a moderate-to-severe collision, if it has passed its manufacturer-stamped expiration date, or if it shows visible signs of damage such as cracked plastic or frayed straps. If you are ever unsure about the installation or fit of your seat, consult the manufacturer’s customer support or seek guidance from a certified child passenger safety technician.
Frequently Asked Questions (FAQ)
Can my child switch to a booster seat if they meet the weight limit but are very young?
No, physical weight is only one part of the transition equation. Booster seats rely entirely on the vehicle’s adult seat belt, which requires the child to maintain a proper sitting position throughout the entire journey. Young children often lack the behavioral maturity to sit still without slouching, leaning over, or playing with the belt. If a young child moves out of position, the seat belt cannot protect them properly during a sudden stop, so it is best to keep them in a forward-facing seat with a five-point harness until they reach the maximum height or weight limits of that seat.
What should I do if my child's height exceeds the limit before their weight does?
If your child outgrows the maximum height limit of their current car seat, you must transition them to the next stage, even if they are still well under the maximum weight limit. Exceeding the height limit means your child’s head and neck may no longer be adequately protected by the seat’s shell or headrest in a collision. Always check the specific height markers, head clearance rules, and shoulder strap slots detailed in your seat’s instruction manual to confirm when a transition is required.

Community discussion
Share your experience or ask a question. Comments are reviewed before publication.