
Baby bottle nipples are among the most frequently used items in a newborn’s daily routine, subjected to constant suction, biting, washing, and sterilization. Because these feeding accessories degrade over time, knowing when to perform a child care nipple replacement is essential for maintaining a safe, comfortable, and efficient feeding experience. Worn-out nipples can cause feeding frustration, alter milk flow, and even present serious safety hazards like choking.
In tropical climates like the Philippines, environmental factors such as high humidity and ambient heat can accelerate the breakdown of bottle materials. Regular inspections and an understanding of both physical and behavioral warning signs will help you determine exactly when it is time to transition to a fresh nipple. By staying vigilant, you can ensure your baby’s feeding sessions remain safe and developmental milestones are supported without unnecessary interruptions.
Visual and Physical Signs It Is Time for a Replacement
Performing a regular, hands-on inspection of your baby’s bottle nipples is the most reliable way to detect early signs of material degradation. Over time, exposure to milk fats, saliva, and cleaning agents will cause the material to break down. For silicone nipples, this breakdown often manifests as a cloudy, yellowed, or opaque appearance, whereas latex nipples may darken significantly. If a nipple loses its original clarity or shows deep discoloration, the structural integrity of the material has begun to fail.
Products mentioned in this guide
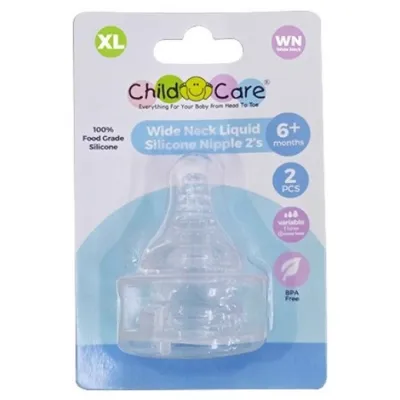
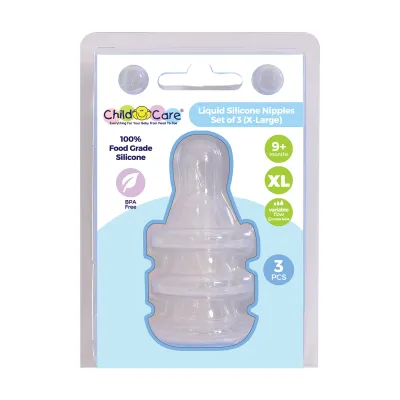
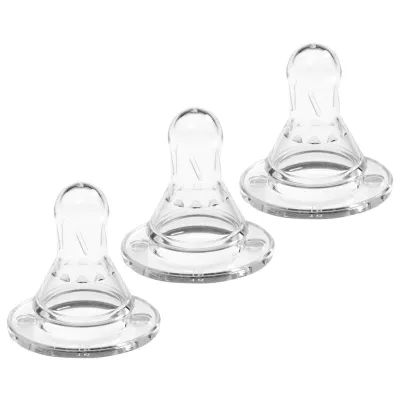
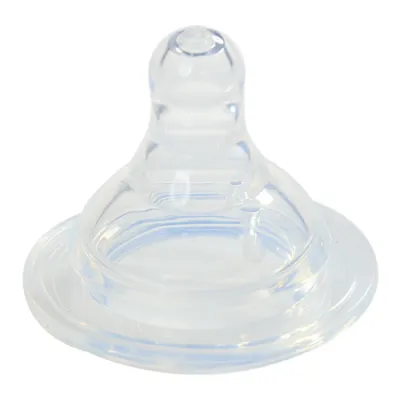
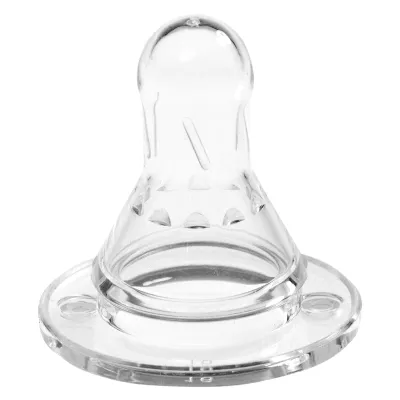
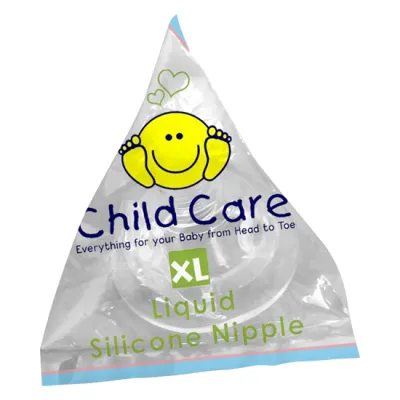
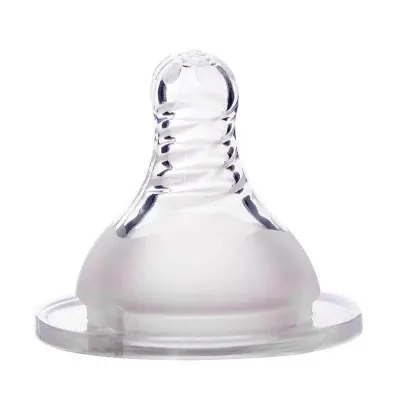
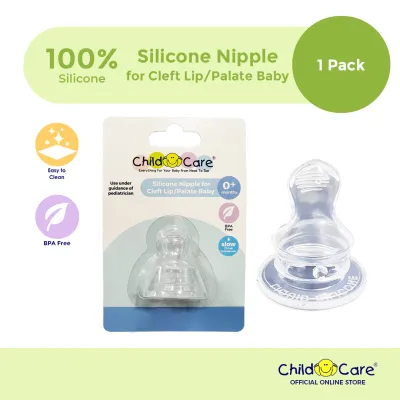
Prices are valid at publication and may change. Please refer to the product page for the latest price.
Micro-tears, tiny cracks, and thinning are critical warning signs that require immediate attention. Inspect the entire surface of the nipple carefully, paying close attention to the base, the anti-colic venting valves, and the area immediately surrounding the feeding hole. You can check for thinning by holding the nipple up to a bright light and gently pressing the tip; if the material looks paper-thin or unevenly stretched, it is highly susceptible to tearing during a feed.
An elasticity test is another simple and effective way to evaluate the condition of the material. Gently pull the tip of the nipple and release it; a safe, functional nipple should immediately spring back to its original shape. If the material feels sticky, gummy, or greasy to the touch, or if it remains stretched out and slow to recover its shape, the polymer has degraded, and the nipple must be discarded.
Finally, you must verify that the feeding hole has not expanded beyond its intended size. Turn a assembled, milk-filled bottle upside down without squeezing it; the liquid should drip at a steady, controlled rate of approximately one drop per second. If the milk pours out in a continuous stream or rushes out rapidly, the hole has stretched or torn, which can overwhelm your baby’s swallowing reflex and lead to dangerous feeding situations.
Feeding Behaviors That Signal Nipple Wear
Your baby’s reactions during feeding sessions can serve as direct indicators that a bottle nipple is worn out or no longer suitable for their developmental stage. If you notice your baby choking, coughing, gasping for air, or sputtering during a feed, the milk flow is likely too fast. This often happens when a worn nipple hole has stretched, or when a micro-tear has suddenly expanded, allowing a larger volume of milk to pass through than your baby can safely manage.

Conversely, a damaged or collapsing nipple can cause significant feeding frustration. If your baby is sucking vigorously but receiving very little milk, or if the nipple repeatedly collapses flat during feeding, the air vents may be clogged or the material may have lost the rigidity required to maintain its shape. This struggle can cause babies to swallow excess air, leading to gas, or cause them to tire out and fall asleep before they have finished a full feed.
As babies grow and begin teething, their feeding habits change, and they may start biting or chewing on the nipple rather than sucking. This physical friction accelerates wear and tear, quickly creating jagged edges or loose pieces of silicone. If you observe your baby actively chewing on the bottle nipple, inspect the tip immediately after the feed to ensure no small fragments have been partially severed, as these pose an immediate choking hazard.
Balancing Manufacturer Schedules With Condition Checks
Most baby product manufacturers suggest replacing bottle nipples every two to three months as a general rule of thumb. It is important to understand that these packaging timelines are baseline references designed for average use, rather than absolute expiration dates. They serve as a helpful reminder for routine hygiene maintenance, but they do not guarantee that a nipple will remain safe for the entire duration.
Several factors can dramatically shorten the lifespan of a bottle nipple, requiring you to replace it much sooner than the manufacturer’s suggested window. If you rely on a small rotation of bottles, those few nipples will undergo frequent use and constant washing, causing them to wear out rapidly. Aggressive sterilization methods, such as prolonged boiling or high-heat steam sterilizers, also accelerate the aging process of both silicone and latex.
Ultimately, the physical condition of the nipple always overrides any calendar-based recommendation. Even if a nipple is only a few weeks old, any visible sign of damage, stickiness, thinning, or an enlarged hole means it must be disposed of immediately. Never compromise on safety to reach a specific calendar milestone; keep a close eye on the material’s integrity and replace it the moment you detect any structural change.
How to Choose Safe and Compatible Replacements
When the time comes to purchase replacement nipples, ensuring compatibility with your existing bottle system is paramount. Always match the replacement nipple brand and specific model line to the exact bottles you own, as mixing different brands often results in improper seals, causing frustrating leaks and preventing anti-colic venting systems from functioning correctly. Check the manufacturer’s packaging carefully to verify that the replacement parts are designed for your specific bottle neck width.
Selecting the appropriate flow rate is a crucial step that must be aligned with your baby’s current age, feeding pace, and developmental stage. Manufacturers typically categorize flow rates by age ranges, such as slow flow for newborns and fast flow for older infants, but these are only general guidelines. Observe your baby’s feeding behavior and consult the product documentation to determine if they are ready to transition to a faster or slower flow level.
Additionally, consider the material properties that best suit your household’s routine and your baby’s preferences. Medical-grade silicone is highly durable, resistant to heat, dishwasher-safe, and less likely to retain odors, making it the most common choice. Latex nipples are softer and more flexible, mimicking the feel of natural feeding, but they degrade much faster under heat and require careful monitoring for potential latex sensitivities or allergies.
Safe Cleaning Practices to Maintain Nipple Integrity
To maximize the lifespan of your baby bottle nipples and prevent premature degradation, it is essential to practice proper cleaning and maintenance. Always follow the specific sterilization and boiling limits provided on the product label, as exposing nipples to excessive heat or leaving them in boiling water longer than recommended can warp the material and weaken its structure.
When washing, use gentle cleaning tools and avoid abrasive scrubbers, stiff wire brushes, or harsh chemical detergents. Pushing a standard bottle brush forcefully through the delicate tip can easily puncture or tear the feeding hole. Instead, use soft silicone brushes or dedicated, smaller nipple brushes designed specifically to clean the interior contours gently without causing micro-scratches where bacteria can hide.
In warm, humid environments, proper drying and storage are critical to preventing mold growth and material breakdown. After washing and sterilizing, allow all parts to air-dry completely on a clean, elevated drying rack in a well-ventilated area. Store the dry nipples in a clean, covered container away from direct sunlight, damp areas, and extreme heat sources, as prolonged exposure to UV rays and humidity will cause the material to become sticky and unusable.
Frequently Asked Questions (FAQ)
Can I enlarge the hole if the milk flow is too slow?
No, you should never attempt to manually enlarge the hole of a bottle nipple using scissors, needles, pins, or other sharp objects. Altering the physical structure of the nipple compromises the integrity of the material, making it highly susceptible to tearing during a feed. A DIY modification can cause the nipple to split suddenly, releasing a dangerous rush of milk or creating a severe choking hazard if a piece of silicone breaks off in your baby’s mouth. If your baby is showing signs of frustration because the flow is too slow, purchase the next flow rate up recommended by the manufacturer.
Is it safe to use a slightly torn nipple if my baby doesn't seem to mind?
No, it is never safe to use a bottle nipple that has even a minor tear, crack, or split. During the active suction of feeding, the mechanical stress placed on the nipple can cause a small, seemingly harmless tear to expand rapidly and split open without warning. This can lead to sudden choking or aspiration of milk. Furthermore, damaged areas and micro-crevices are incredibly difficult to clean thoroughly, creating a breeding ground for harmful bacteria. Discard any nipple with visible damage immediately to ensure your baby’s safety.

Community discussion
Share your experience or ask a question. Comments are reviewed before publication.