
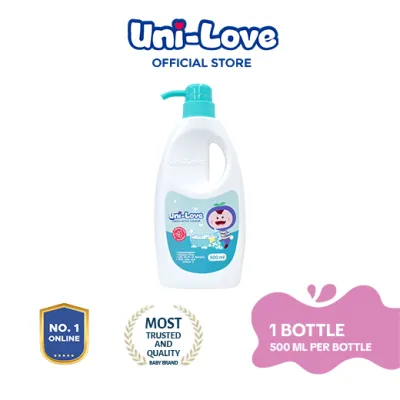
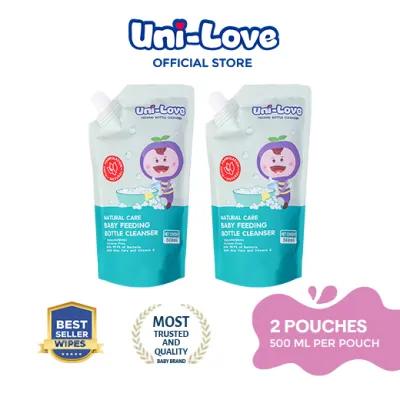
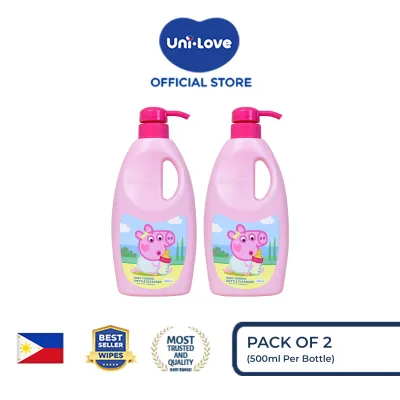
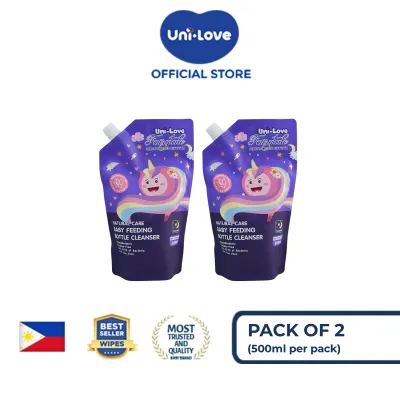
Keeping your infant’s feeding equipment immaculate is a cornerstone of daily baby care, particularly in warm, tropical climates where bacteria can multiply rapidly. If you are a parent looking to streamline your washing routine, you might be wondering which feeding materials are compatible with your liquid cleanser. Using a dedicated unilove cleansing bottle washing routine helps ensure that milk fats and proteins are lifted effectively without damaging your expensive bottles.
Generally, high-quality bottle cleansers are formulated to be safe on standard baby bottle materials, including glass, polypropylene (PP), polyphenylsulfone (PPSU), and food-grade silicone. However, safety is never a one-size-fits-all guarantee because different manufacturers use varying material grades, coatings, and structural designs. To protect your baby’s health and preserve the lifespan of your feeding gear, you must understand how these materials interact with your cleaning solutions.
Before implementing any new cleaning product, always consider your baby’s specific developmental stage and health status. Newborns and infants with developing immune systems require meticulous hygiene standards, making the choice of both bottle material and cleanser highly significant. If your child experiences persistent feeding difficulties, oral discomfort, or signs of digestive distress, stop using your current bottle setup immediately and consult a pediatrician or a qualified healthcare professional.
Products mentioned in this guide
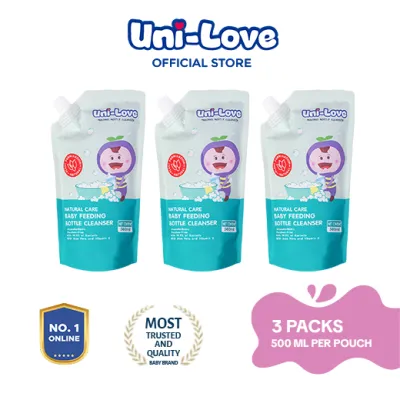
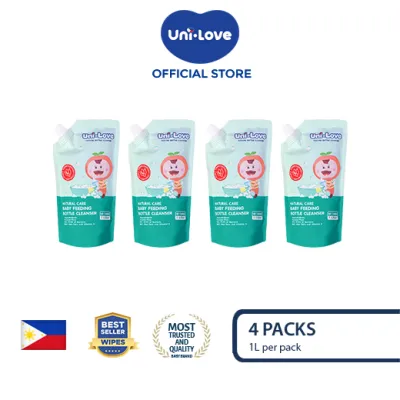
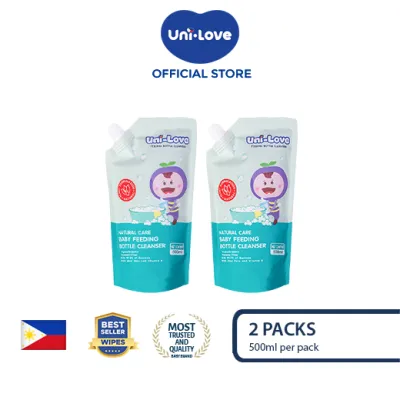
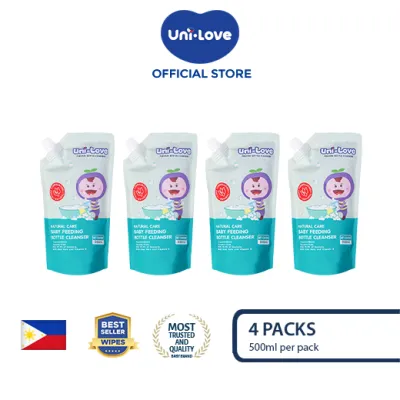
Prices are valid at publication and may change. Please refer to the product page for the latest price.
How to Verify Unilove Cleansing Bottle Compatibility
To establish a safe cleaning routine, your first step is to carefully inspect the packaging of your Unilove product. Look closely at the back label for explicit material compatibility claims, detailed ingredient lists, and any listed safety certifications. Because product formulations and certifications can change over time, treating these package details as items you must physically verify ensures you always have the most current safety information.
Cross-referencing the cleanser label with your baby bottle manufacturer’s care instructions is equally critical. Bottle brands often have highly specific guidelines regarding chemical exposure, hot water limits, and sterilization methods. Ignoring these guidelines can void product warranties or, worse, cause specialized materials to degrade prematurely, potentially releasing unwanted substances into your baby’s milk.
Do not rely solely on broad marketing terms like “natural” or “eco-friendly” displayed on the front of cleanser packaging. These terms do not automatically guarantee that a solution is safe for every type of high-tech plastic or medical-grade silicone on the market. If you find that the cleanser’s label instructions are unclear, or if they directly conflict with the care instructions provided by your bottle manufacturer, stop using the product on those items and contact the respective manufacturers for clarification.
Caregivers must also remember that proper supervision is required during all feeding and cleaning processes. Ensure that cleaning chemicals are stored safely out of reach of children, and never allow older siblings to handle concentrated cleaning solutions. Taking a methodical, verified approach to compatibility protects both your investment in quality baby gear and your infant’s well-being.
Cleaning Guidelines for Common Bottle Materials
Different feeding materials possess unique physical properties that dictate how they respond to liquid cleansers and physical scrubbing. Understanding these differences allows you to customize your washing technique for each item in your nursery cupboard.

Glass Bottles
Glass remains a popular choice among parents due to its exceptional resistance to chemical degradation and its non-porous surface, which prevents the absorption of milk odors and stubborn fats. Because glass does not react with standard surfactants, it is highly compatible with liquid cleansers. This chemical stability makes glass one of the most straightforward materials to wash, as it can withstand frequent cleaning without losing its clarity.
However, glass bottles require careful physical inspection before and after every single wash cycle. You must look closely for micro-cracks, hairline fractures, or small chips, particularly around the collar and the base. Damaged glass poses a severe safety risk, as it can harbor deep-seated bacteria that brushes cannot reach, or it may shatter unexpectedly during feeding or thermal sterilization.
To ensure complete safety, prioritize thorough rinsing when washing glass. Although the non-porous surface of glass releases soap easily, any dried cleanser residue left behind can create a dull film or cause a soapy taste during the next feed. Always rinse under clean, running water until the glass is completely squeaky to the touch.
PP and PPSU Plastic Bottles
Plastic baby bottles, typically made from polypropylene (PP) or polyphenylsulfone (PPSU), require a much gentler cleaning approach than glass. While these plastics are lightweight and shatterproof, their surfaces are softer and highly susceptible to physical abrasion. Micro-scratches created during washing can quickly become microscopic traps where milk fats, proteins, and bacteria accumulate, making subsequent cleaning cycles far less effective.
Before washing, verify if your cleanser label explicitly states it is safe for use on PP and PPSU plastics. Once compatibility is confirmed, completely avoid using abrasive sponges, steel wool, or stiff-bristled scrubbing pads. Instead, opt for soft-bristled nylon brushes or dedicated silicone bottle brushes designed specifically for delicate plastic surfaces.
Parents must regularly inspect plastic bottles under direct light to check for signs of material degradation. If you notice persistent cloudiness, deep scratches, a sticky texture, or a change in the bottle’s color (such as yellowing that does not wash away), the plastic has begun to break down. Degraded plastic bottles should be discarded and replaced immediately to prevent material shedding or bacterial contamination.
Silicone Nipples and Accessories
Silicone is a highly flexible, semi-porous material used for bottle nipples, valves, and specialized transition spouts. Because of its unique structure, silicone is sensitive to chemical formulations and can absorb certain oils or surfactants if washed with incompatible solutions. Using an unsuitable cleanser can cause the silicone to swell, lose its elasticity, stiffen, or develop a sticky, tacky surface that attracts dust and lint.
When cleaning silicone parts, avoid pulling, stretching, or forcing large brushes through delicate openings. To clean a bottle nipple safely, apply a small drop of diluted cleaning solution to your fingers and gently massage it through the teat, paying close attention to the nipple hole. Pushing a stiff bottle brush through the tiny nipple hole can easily tear the silicone, altering the milk flow rate and creating a potential choking hazard for your developing baby.
Regularly inspect all silicone components by gently pulling on the bulb of the nipple to check for elasticity. If you observe any stickiness, discoloration, thinning of the material, or tiny tears, stop using the nipple immediately. Because silicone parts experience heavy wear from both infant suction and frequent washing, they require more frequent replacement than the bottle bodies themselves.
Step-by-Step Bottle Cleaning Routine
Establishing a consistent, systematic washing routine is the best way to ensure your baby’s bottles remain hygienic and free from residues. Follow these practical steps to get the best results from your cleaning solution:
- Complete Disassembly: Begin by fully taking apart every bottle. Remove the silicone nipple from the plastic collar ring, detach any travel caps, and completely disassemble specialized vent systems, anti-colic valves, or internal straws. Washing assembled bottles allows milk residue to remain trapped in the joints, creating an ideal breeding ground for bacteria.
- Solution Preparation: Prepare your washing water by diluting your cleanser according to the exact dilution ratio specified on the product label. Avoid using concentrated, undiluted cleanser directly on the bottle parts, as this can make rinsing difficult and lead to unnecessary product waste. Use warm water to help dissolve stubborn milk fats effectively.
- Meticulous Scrubbing: Submerge the disassembled parts in the soapy water. Use a dedicated, soft-bristled bottle brush to clean the interior of the bottle, paying close attention to the hard-to-reach bottom corners and the screw threads around the neck. Use a smaller, specialized nipple brush or your fingers to clean the silicone components gently.
- Thorough Rinsing: Hold each part under clean, running utility water to rinse away all traces of soapy residue and loosened milk solids. Ensure the water flows freely through the nipple holes and vent valves to clear out any trapped bubbles. Visual inspection is key here; the surfaces should look completely clear and feel free of any slippery film.
- Sanitary Air-Drying: Place all washed parts on a clean, dedicated bottle drying rack located in a well-ventilated area of your kitchen. Avoid using shared kitchen dish towels to dry the feeding gear, as these towels can easily transfer lint, dust, or household bacteria onto the clean surfaces. Let the parts air-dry completely before reassembling or storing them.
In the humid, tropical environment of the Philippines, proper air-drying is especially crucial. Damp feeding gear left in enclosed cupboards or unventilated areas can quickly develop mold or musty odors. Position your drying rack away from the sink area to prevent dirty dishwater from splashing onto your freshly cleaned items.
Signs of Wear: When to Replace Bottles and Parts
No baby bottle or nipple is designed to last forever, regardless of how high-quality your cleaning solution is. Regular physical degradation occurs due to constant exposure to milk fats, saliva, washing, and heat sterilization. Parents must establish a routine inspection schedule to identify when feeding items have reached the end of their safe lifespan.
For glass bottles, the primary indicators for replacement are physical damage. Any bottle showing chips along the rim, deep external scratches, or internal micro-cracks must be retired immediately. Even if the bottle seems structurally intact, these physical flaws compromise the glass’s integrity, making it highly susceptible to breaking during future temperature changes.
For PP and PPSU plastic bottles, look out for permanent cloudiness, heavy discoloration, or deep interior scratches. PP bottles generally have a shorter lifespan and may need replacement every few months under heavy use, whereas high-grade PPSU bottles are more resilient but still degrade over time. If the plastic feels sticky or has an odor that persists even after a thorough wash and dry, it is time to replace it.
Silicone nipples and accessories require the most frequent replacement, typically every two to three months, or sooner if your baby has started developing teeth. Check for a sticky or gummy texture, discoloration, or a stretched nipple hole that causes milk to flow too quickly. If your baby is coughing or gasping during feeds, the nipple flow may have become too fast due to material wear, indicating an immediate need for a new nipple.
Always consult your specific bottle manufacturer’s guidelines regarding the recommended replacement intervals for their materials. Keeping a written log or setting a digital reminder can help you maintain a regular replacement schedule. Prioritizing timely replacement based on actual material condition is one of the simplest ways to maintain a safe, hygienic feeding environment.
Frequently Asked Questions (FAQ)
Do I need to sterilize bottles after washing them with a cleansing solution?
Yes, washing and sterilizing serve two entirely different purposes in infant feeding hygiene. Washing with a liquid cleansing solution is designed to physically remove organic matter, such as milk fats, proteins, and sticky residues, from the surfaces of the bottle. Sterilizing, on the other hand, uses heat or chemical agents to eliminate microscopic pathogens, viruses, and bacteria that may remain on visually clean surfaces.
You must always clean your bottles thoroughly with a cleansing solution and rinse them completely before subjecting them to any sterilization process. If you attempt to sterilize a bottle that still has dried milk residue on it, the sterilization method (whether boiling water, electric steam, or UV light) will not be fully effective, as the residue can shield bacteria. Consult your pediatrician regarding the appropriate sterilization frequency for your baby, especially during the first few months of life or if your infant has a compromised immune system.
Can I use the same cleansing solution for breast pump parts?
In many cases, you can use a high-quality baby bottle cleanser to wash breast pump parts, but you must verify this by checking both the cleanser’s label and your breast pump manufacturer’s care instructions. Breast pump components, such as silicone membranes, duckbill valves, and plastic breast shields, are highly engineered to maintain specific pressure levels. Harsh chemicals or incompatible surfactants can degrade these delicate parts, leading to a loss of suction and reduced pumping efficiency.
Pay extra attention to breast pump tubing during your cleaning routine. Generally, pump tubing should not be washed with liquid soap and water unless the manufacturer’s manual explicitly instructs you to do so. If moisture becomes trapped inside the narrow tubing, it can easily lead to mold growth, which can contaminate the pump motor and the expressed breast milk. If tubing does become wet or soiled, follow the manufacturer’s specific instructions for drying or replacing it immediately.

Community discussion
Share your experience or ask a question. Comments are reviewed before publication.