
Transitioning your little one from a baby bottle or breast to a toddler cup is a major milestone, but it often comes with a fair share of messy spills and wet floors. Finding the right no-spill cup is not about finding a single “perfect” product, but rather matching the cup’s design to your toddler’s current oral motor skills, weaning stage, and your daily cleaning routine. In a warm, humid climate, keeping your child hydrated is a top priority, making a reliable, easy-to-clean cup an essential tool for daily adventures.
To navigate this transition smoothly, caregivers generally choose between three primary designs: spout cups, straw cups, and 360-degree rim cups. Spout cups serve as a familiar starting point for early weaning, while straw cups encourage active oral muscle development and tongue retraction. Meanwhile, 360-degree cups simulate the experience of drinking from an open cup while keeping spills to a minimum. By understanding how each mechanism works and what to look for on product labels, you can select a cup that supports your child’s developmental milestones while keeping cleanup manageable.
Assessing Your Toddler's Drinking Readiness
Before purchasing any new cup, observe your child’s current feeding behaviors and physical coordination. Toddlers develop at their own pace, and their readiness for a specific drinking mechanism depends heavily on their oral motor control. Look for signs such as the ability to sit upright without support, holding objects steadily with both hands, and showing curiosity about what you are drinking.
Products mentioned in this guide
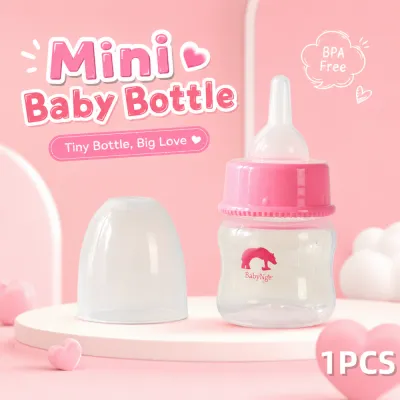
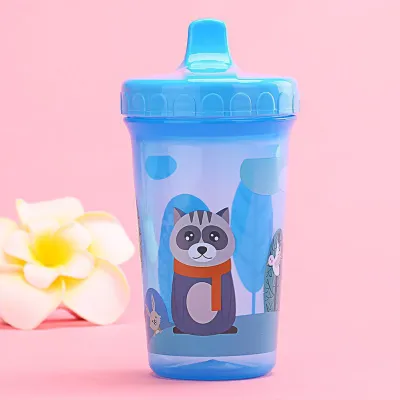
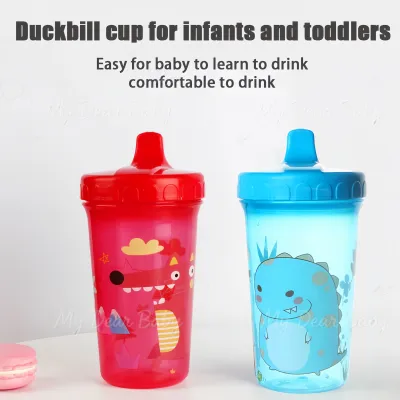
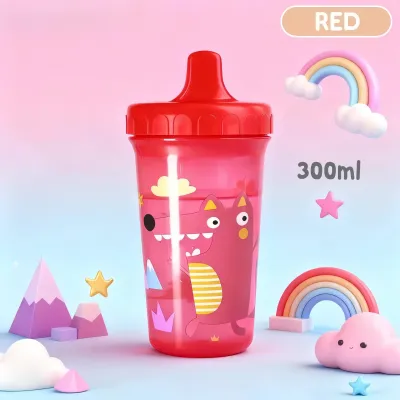
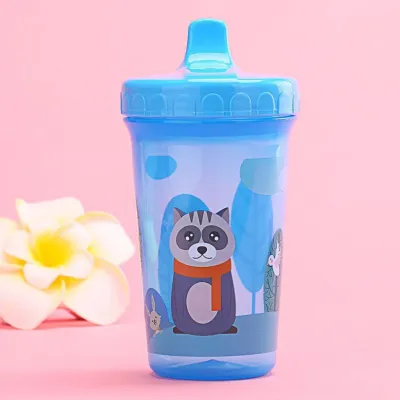
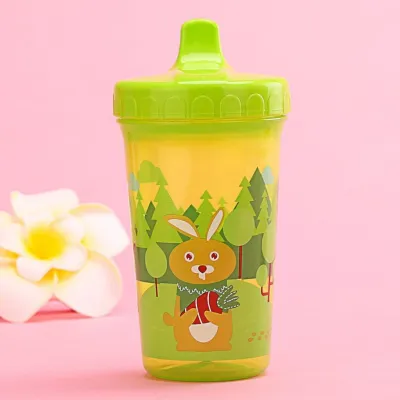
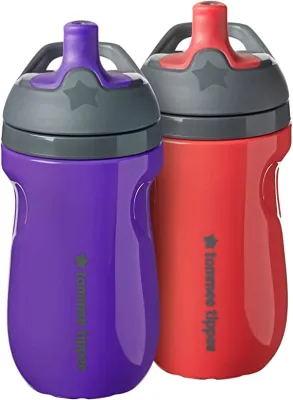
Prices are valid at publication and may change. Please refer to the product page for the latest price.
Pay close attention to how your child uses their mouth during feeding. If your toddler still relies on a strong, forward-and-backward sucking motion (similar to bottle feeding), they may struggle initially with cups that require a different lip seal. A child who has started biting down on spoons or toys may be ready to transition to a mechanism that requires active lip closure and jaw stability. Developing these oral muscles is a key part of the weaning process, as it prepares the jaw and tongue for more complex speech and chewing patterns.
If your child consistently struggles with all three cup types, coughs frequently while drinking, or refuses to transition away from the bottle after multiple gentle attempts, it is best to pause the process. Every child’s developmental timeline is unique, and forcing the transition can lead to frustration. In such cases, consult your pediatrician, a pediatric dentist, or a qualified feeding therapist to evaluate your child’s oral motor skills and receive personalized guidance.
Spout Cups: Early Transition and Controlled Flow
Spout cups are often the first step caregivers take when moving away from bottles. These cups feature a raised, contoured spout that fits easily into a toddler’s mouth, mimicking the familiar shape of a nipple. They generally come in two varieties: soft silicone spouts, which feel familiar to younger babies, and hard plastic spouts, which offer better durability against emerging baby teeth.

The primary appeal of the spout cup lies in its simplicity and controlled flow. Many models utilize a one-way silicone valve located beneath the spout, which requires the child to bite or suck gently to release liquid. This mechanism prevents sudden gushes of water or milk, making it an excellent option for the early stages of weaning when a child is still learning to coordinate tilting their head back while swallowing.
However, spout cups are best used as a temporary bridge rather than a long-term solution. Prolonged use of spout cups can sometimes encourage a persistent immature sucking pattern, where the tongue rests forward under the spout. When shopping, check the manufacturer’s packaging for age recommendations and flow-rate indicators. Ensure you inspect the valves regularly for wear and tear, and plan to transition your child to other cup styles once they have mastered basic tilting and swallowing.
Straw Cups: Oral Motor Development and Independence
Straw cups are highly recommended by many pediatric specialists because they promote excellent oral motor development. Unlike spout cups, drinking from a straw requires a toddler to retract their tongue and seal their lips tightly around the straw, drawing liquid up through active suction. This action strengthens the lips, cheeks, and tongue muscles, which are crucial for speech development and proper swallowing habits.
Modern straw cups designed for toddlers often feature innovative mechanisms to prevent spills and make drinking easier. Many utilize weighted straws, which feature a small weight at the bottom of a flexible silicone tube. This weight follows the liquid as the toddler tilts the cup, allowing them to drink from almost any angle—whether they are sitting upright in a high chair or lounging in a stroller. Other designs include bite-resistant valves built directly into the straw, which only open when the child applies gentle pressure with their lips or teeth.
When selecting a straw cup, practical checks are essential. Test the suction yourself if possible, or read product specifications to ensure the valve does not require excessive force to draw liquid, which can frustrate a young toddler. Look for models with a sliding or flip-top lid that seals the straw away when not in use, protecting it from dirt and preventing leaks during travel. Keep in mind that complex straw assemblies require dedicated cleaning brushes to keep them hygienic.
360 Cups: Simulating an Open Cup Experience
A 360-degree cup is designed to look and feel like a regular open cup, but it features a clever, spill-proof silicone valve that seals the entire top rim. To drink, the toddler places their lips anywhere along the edge and applies gentle suction while tilting the cup. This action releases a controlled flow of liquid, which stops immediately as soon as the child releases their lips from the rim.
This design is particularly beneficial for older toddlers who are preparing to transition to standard open cups. It teaches them the physical mechanics of tilting a cup to drink and sealing their lips around a flat edge, without the risk of a sudden flood of liquid soaking their clothes. It is also an excellent option for active toddlers, as the valve prevents major spills even if the cup is tipped over, dropped, or carried sideways during play.
Despite these benefits, 360 cups do have some trade-offs to consider. Beginners may find the concept of lip-activated suction along a flat rim confusing at first, requiring a bit of patience and demonstration from caregivers. Additionally, the silicone valve and the plastic collar beneath it must be disassembled completely during washing. In humid environments, tiny droplets of milk or juice can easily become trapped in the tight grooves of the rim, making thorough daily cleaning vital.
Comparing Key Features for Daily Use and Cleaning
When managing a busy household, the practical aspects of daily maintenance, durability, and leak-proof performance are just as important as developmental benefits. A cup that is difficult to clean or leaks constantly will quickly find its way to the back of the cupboard. Quality cups typically range from ₱300 to ₱800 on online marketplaces or local baby boutiques, making them an affordable investment in your child’s development.
Cleaning complexity is a major factor, especially in warm climates where mold can develop rapidly in damp, enclosed spaces. Always check the manufacturer’s label to verify if the cup is dishwasher-safe and what temperature limits apply. Look for designs with minimal parts that can be easily disassembled.
Material safety and durability are equally critical. Ensure any cup you purchase is clearly labeled as BPA-free. If your toddler is teething, look for bite-resistant materials that will not easily puncture or tear under pressure. To test leak-proof performance at home, fill the cup with water and perform a few simple checks: turn it completely upside down, drop it onto a clean surface from high-chair height, and squeeze the sides to see if the valve holds firm under pressure.
| Cup Type | Primary Mechanism | Cleaning Complexity | Best For | Key Verification Point |
|---|---|---|---|---|
| Spout Cup | Raised spout with a one-way silicone valve | Low to Moderate (few parts, easy to reach) | Early weaning and transitioning from bottles | Check for soft vs. hard spout options and flow rate |
| Straw Cup | Flexible straw, often with a bottom weight or bite valve | High (requires specialized thin brushes) | Active oral motor development and drinking at angles | Verify ease of suction and lid sealing mechanism |
| 360 Cup | Lip-activated silicone valve sealing a flat rim | Moderate to High (requires disassembling the rim) | Simulating open-cup drinking without major spills | Check the tightness of the silicone seal and rim grooves |
Transitioning Away from No-Spill Valves
While no-spill cups are incredibly convenient for busy days and travel, they are ultimately transitional tools. The long-term goal is to help your child drink confidently from a standard open cup. You can begin looking for signs of readiness, such as your toddler showing steady hand-eye coordination, successfully guiding toys directly to their mouth, or expressing a strong desire to use the same open glasses that adults use at the table.
To start the transition, introduce a small, open cup during low-stress meals, such as snack time when your child is seated securely in their high chair. Use a small, durable cup made of silicone or thick, BPA-free plastic that is easy for small hands to grip. Pour only a tiny amount of water—just a tablespoon or two—so that any accidental spills are easy to wipe up without causing a major mess.
Expect spills as a natural part of the learning process. Instead of reacting with frustration, keep a small cloth nearby and encourage your child to help wipe up the water, turning it into a positive, hands-on learning experience. As their confidence and coordination improve, you can gradually increase the amount of liquid and phase out the use of no-spill valves during regular meal times, reserving them primarily for travel or active outdoor play.
Frequently Asked Questions (FAQ)
Can I put hot liquids in a no-spill toddler cup?
No, you should avoid putting hot liquids in any sealed no-spill toddler cup. When a warm or hot liquid is sealed inside a cup with a valve or straw mechanism, it can create air pressure buildup that forces the liquid to spray out unexpectedly when the valve is opened or sucked. Furthermore, hot liquids can cause severe burns to a toddler’s sensitive mouth. Always check the manufacturer’s product label for specific temperature limits, and stick to cool or room-temperature beverages.
How do I clean mold out of a cup valve or straw?
To prevent mold, disassemble all parts of the cup immediately after each use and wash them with warm, soapy water. Use specialized, thin straw brushes to scrub the inside of straws and small valve openings where moisture tends to linger. Allow all components to air-dry completely in a well-ventilated area before reassembling. If you discover persistent black mold spots that cannot be completely scrubbed away from the silicone or plastic parts, discard the affected parts or the cup entirely to protect your child’s health.
At what age should a toddler stop using a spout cup?
There is no rigid age threshold for stopping spout cup use, as developmental milestones vary for every child. However, many pediatric dentists and speech therapists suggest limiting spout cup use to a few months during the initial transition from bottles, often aiming to phase them out around 12 to 18 months. If your child is ready to transition, you can introduce a straw cup or a 360 cup to support better oral muscle development. If your child struggles significantly or refuses to move away from a spout cup, consult a pediatrician or feeding specialist for tailored advice.

Community discussion
Share your experience or ask a question. Comments are reviewed before publication.