
Feeding your baby while away from home requires careful planning, especially when it comes to preserving the quality of breastmilk or formula. A reliable storage milk container is one of the most critical tools in your travel diaper bag. Unlike standard kitchen containers, which are prone to leaks and lack thermal protection, a specialized container is designed to withstand the physical demands of travel while keeping your baby’s milk safe from contamination. Selecting the right model ensures that your feeding routine remains seamless, whether you are running a quick errand or embarking on a long family road trip.
To make the best choice, caregivers must look for specific features such as leak-proof seals, reliable temperature control, portable dimensions, and safe, easily cleanable materials. Investing in a high-quality container not only prevents messy spills but also protects your baby from the health risks associated with spoiled milk. Understanding how these features address the unique challenges of travel will help you select a container that fits your daily routine and provides peace of mind.
Why On-the-Go Milk Storage Requires Specific Features
Traveling with an infant introduces several environmental challenges that can compromise the safety of stored milk. In warm and humid climates, such as in the Philippines, ambient temperatures frequently exceed 30°C. This level of heat creates an ideal breeding ground for harmful bacteria, which can multiply rapidly in breastmilk or prepared formula if it is not stored at a consistently cool temperature. Standard household containers are rarely equipped to handle these conditions, often lacking the necessary insulation or airtight seals to protect their contents from external heat.
Products mentioned in this guide
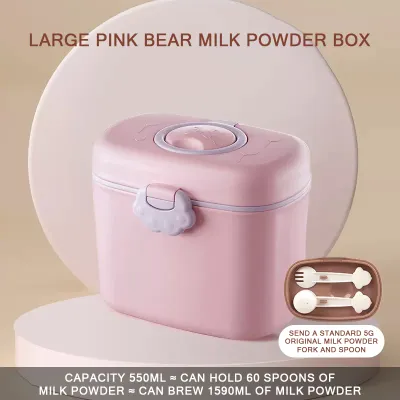
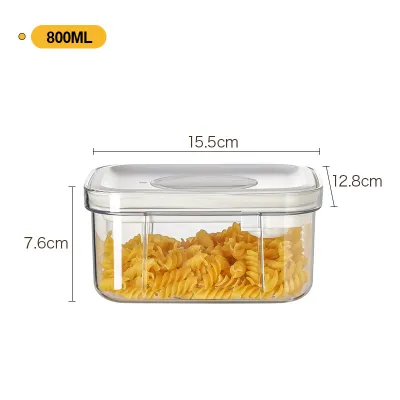
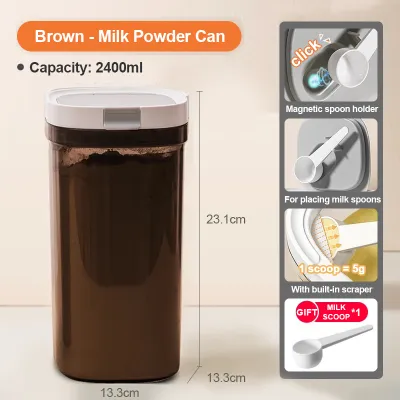
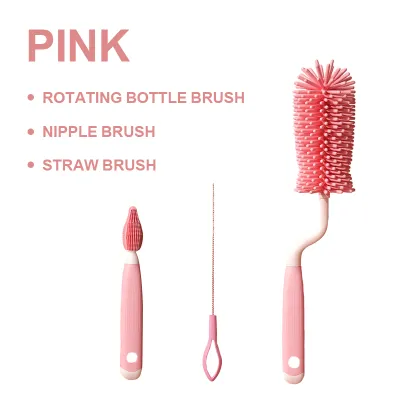
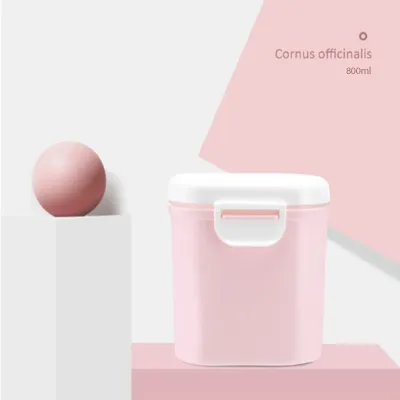
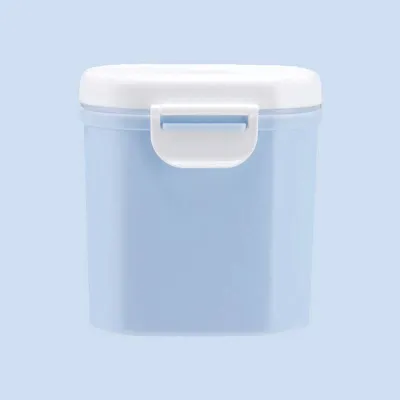
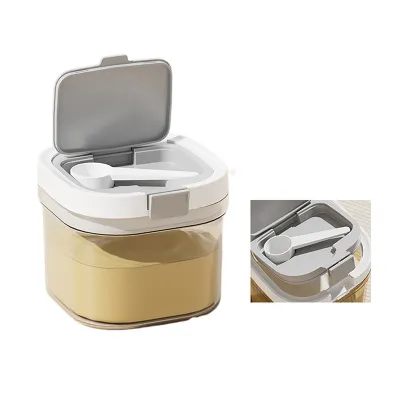
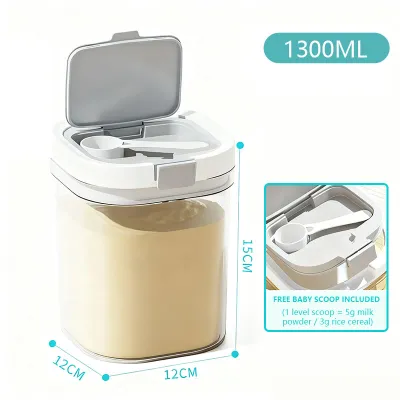
Prices are valid at publication and may change. Please refer to the product page for the latest price.
Furthermore, the physical realities of transit—whether you are navigating bumpy roads, walking through crowded shopping malls, or carrying a heavily packed diaper bag—demand a container that can absorb impact without cracking or spilling. A spilled container not only ruins your baby’s meal but also creates a difficult-to-clean mess on your personal belongings. To prevent these scenarios, caregivers must prioritize containers specifically engineered for mobility, focusing on thermal integrity, physical durability, and ease of hygienic access under stressful on-the-go conditions.
Selecting a Storage Milk Container: Must-Have Features for Travel
When evaluating different options on the market, look beyond basic aesthetics and focus on functional design. A high-quality storage milk container must serve as a protective barrier against both physical damage and temperature fluctuations. By understanding the key features that contribute to a container’s performance, you can make an informed decision that aligns with your lifestyle and budget.

Leak-Proof Seals and Secure Lids
A container is only as good as its seal, especially when it is placed horizontally in a crowded diaper bag. Splash-resistant lids, which are common on standard kitchenware, are insufficient for travel because they can easily pop open under pressure. Instead, look for containers that feature robust silicone O-rings and deep screw-top threading. These elements create an airtight and watertight barrier that prevents milk from escaping even when the container is shaken or compressed.
Additionally, consider containers with integrated locking mechanisms, such as snap-lock latches or secondary safety caps. These features provide peace of mind by ensuring the lid cannot be accidentally dislodged during transit. Before using any new container for the first time, perform a simple at-home test: fill the container with water, seal it tightly, shake it vigorously over a sink, and let it rest upside down on a dry paper towel for an hour. If any moisture escapes, the seal is compromised, and the container should not be used for travel.
Insulation and Temperature Control
Maintaining a safe temperature is vital for preserving the nutritional value of breastmilk and preventing the spoilage of prepared formula. Single-wall containers, which are typically made of thin plastic or silicone, offer no built-in thermal protection. If you choose single-wall containers, you must rely entirely on an external insulated cooler bag packed with high-quality ice packs to keep the milk cold.
Alternatively, double-wall vacuum-insulated stainless steel containers provide superior built-in temperature control. These containers can keep liquids cold for several hours on their own, though using them in conjunction with an insulated bag is still recommended in tropical climates. Always check the manufacturer’s specifications to verify how many hours the container is rated to maintain cold temperatures. Keep in mind that pediatric health guidelines recommend consuming or properly chilling milk within specific timeframes, and you should always prioritize these medical recommendations over a manufacturer’s thermal claims.
Portability and Space-Saving Design
The physical shape and weight of your storage milk container directly impact your comfort while traveling. Heavy or awkwardly shaped containers can quickly make a diaper bag uncomfortable to carry. Look for slim, ergonomic profiles that fit easily into standard stroller cup holders or the dedicated side pockets of your diaper bag.
Stackable or modular designs are highly beneficial for day trips, as they allow you to securely connect multiple containers together, saving valuable space. When choosing between carrying one large container or several smaller ones, consider your feeding schedule. While a single large container may seem convenient, carrying multiple pre-portioned smaller containers is often more hygienic, as it prevents you from exposing the entire milk supply to warm air during a single feeding session. Lightweight materials are essential to keep your overall load manageable.
Material Safety and Hygiene on the Move
The material of your container directly affects both your baby’s health and the ease of maintaining hygiene while away from home. Because baby milk contains fats and proteins that can easily cling to surfaces, selecting the right material is crucial for preventing bacterial buildup. Always verify that any container you purchase is made of food-grade materials and is explicitly labeled as BPA-free, BPS-free, and phthalate-free. These chemical compounds can leach into milk, particularly when exposed to heat or repeated sterilization.
When choosing a material, weigh the following trade-offs:
- Food-grade silicone: This material is highly flexible, lightweight, and virtually shatterproof. Some silicone containers are even collapsible, making them incredibly space-efficient when empty. However, silicone is porous and can retain milk odors or soapy residues if not washed thoroughly.
- Durable plastics: Materials like polypropylene or Tritan are lightweight, cost-effective, and highly resistant to impact. They are excellent for travel because they will not break if dropped. However, they can develop microscopic scratches over time, which can harbor bacteria, and they are prone to staining.
- Glass: Glass is the most hygienic and odor-free material available, as it does not react with milk or retain residues. It is also exceptionally easy to sterilize. The primary drawback for travel is its weight and susceptibility to breaking, which poses a safety hazard on the go.
To ensure easy cleaning while traveling, choose containers with a wide-mouth design. A wide opening allows you to easily reach all interior corners with a portable bottle brush, and it makes pouring milk or adding formula powder much simpler, reducing the risk of spills. Always check the manufacturer’s care instructions to confirm if the material can safely withstand boiling water, steam sterilizers, or high-temperature dishwasher cycles once you return home.
Matching the Container to Your Feeding Routine
Your choice of container should align with how you prepare and serve your baby’s milk. Different feeding methods require distinct features to minimize hassle and maintain safety.
- Pumping on the go: If you plan to express breastmilk while away from home, look for storage milk containers that are compatible with your specific breast pump. Many brands offer adapters that allow you to screw the storage container directly onto the pump flange. This direct-to-pump setup eliminates the need to transfer milk between vessels, reducing the risk of spills and contamination.
- Formula feeding: For parents using infant formula, pre-portioned formula dispensers are often more practical than carrying pre-mixed liquid. These dispensers feature separate, dry compartments that hold measured amounts of powder, allowing you to mix the formula with warm water right before feeding. If you prefer to carry pre-mixed formula, ensure the container has a highly secure seal, as formula spoils even faster than breastmilk once mixed.
- Transporting thawed breastmilk: When moving thawed breastmilk from your home freezer to an outdoor setting, select containers that fit snugly inside a compact travel cooler. It is essential that these containers have clear, easy-to-read measurement markings embossed or printed on the side. This allows you to track exactly how much milk your baby consumes, helping you avoid wasting precious breastmilk.
- Cross-scenario compatibility: To simplify your routine, invest in a system of containers that can transition seamlessly from your home freezer or refrigerator directly into your travel cooler bag. This eliminates the need to transfer milk between different vessels, saving time and reducing cleanup.
Practical Tips for Safe Milk Handling During Outings
Even the best storage milk container requires proper handling to keep your baby’s milk safe. Implementing a few practical habits can significantly reduce the risk of spoilage and contamination while you are out.
When packing an insulated cooler bag, always place your ice packs on top of and around the sides of the milk containers. Because cold air naturally sinks, placing ice packs at the bottom of the bag is far less effective at maintaining a cool internal temperature.
Keep your cooler bag out of direct sunlight at all times. Avoid leaving it in a parked car, as the interior temperature of a vehicle can rise to dangerous levels within minutes. Additionally, open the cooler bag only when absolutely necessary to prevent warm air from entering.
If you need to clean a container while away from home, establish a safe, basic routine. Rinse the container with clean, purified drinking water immediately after use to prevent milk proteins from drying and sticking to the surface. If you do not have access to clean running water, use portable sterilizing wipes specifically designed for baby products, and allow the container to air-dry completely before sealing it. Never use local tap water for rinsing if its safety is uncertain; instead, use bottled or boiled water.
Finally, always discard any leftover milk from a feeding session within two hours of your baby starting the feed. Bacteria from your baby’s mouth enter the bottle during feeding and can multiply rapidly, especially in warm climates. If your baby shows any signs of feeding discomfort or illness, stop using the container immediately and consult a qualified healthcare professional.
Frequently Asked Questions (FAQ)
Can I use regular food storage containers for baby milk?
While some high-quality, food-grade kitchen containers are technically safe for food contact, they are generally not recommended for baby milk. Standard kitchen containers often lack the precise measurement markings needed to track infant intake and rarely feature the heavy-duty, leak-proof silicone seals required to prevent spills during travel. If you must use a standard container, verify the plastic resin code on the bottom (look for code 5, which indicates polypropylene) and check the manufacturer’s documentation to ensure it is rated for freezing and safe reheating.
How do I clean milk containers when traveling without a sterilizer?
The most reliable method is to wash the container thoroughly with hot, soapy water using a dedicated travel bottle brush that is kept separate from general dishwashing tools. After washing, rinse the container copiously with bottled, purified, or boiled water to ensure no soap residue or local tap water contaminants remain. Allow all components to air-dry completely on a clean paper towel before reassembling them, as trapping moisture inside a sealed container can encourage bacterial growth.

Community discussion
Share your experience or ask a question. Comments are reviewed before publication.