
Keeping your baby’s feeding equipment clean is one of the most frequent and important tasks of early parenthood. In a warm, humid climate like the Philippines, milk residue left in a bottle can quickly become a breeding ground for bacteria and mold. Establishing a consistent, hygienic routine for washing and sterilizing baby bottles after every feed ensures your little one’s feeding tools remain safe and clean without turning your daily kitchen chores into an overwhelming burden. By understanding the distinct steps of thorough manual washing, choosing the right sterilization method for your bottle materials, and ensuring proper drying, you can easily integrate these habits into your busy schedule.
Preparation: Gathering the Right Cleaning Tools
Setting up an efficient, dedicated cleaning station is the foundation of a successful bottle hygiene routine. Before you even begin washing, you need to gather tools specifically designated for your baby’s feeding items to prevent cross-contamination from family dishes.
The first essential tool is a mild, baby-safe dishwashing liquid. Standard household dish soaps often contain strong synthetic fragrances, dyes, and harsh surfactants that can leave a stubborn chemical residue on plastic and silicone parts. When selecting a cleanser, taking smart steps in your dishwashing routine by checking product labels for non-toxic, fragrance-free, and easily rinsable formulas is highly recommended. A specialized baby bottle cleanser is formulated to break down tough milk fats and proteins without leaving behind artificial scents that might interfere with your baby’s feeding experience.
Products mentioned in this guide
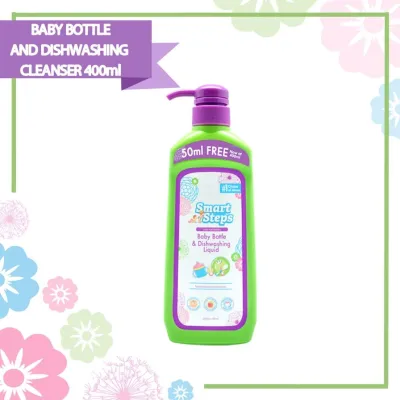
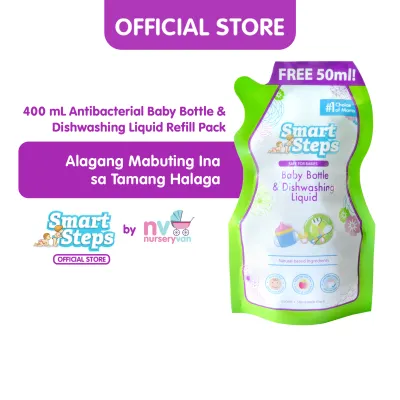
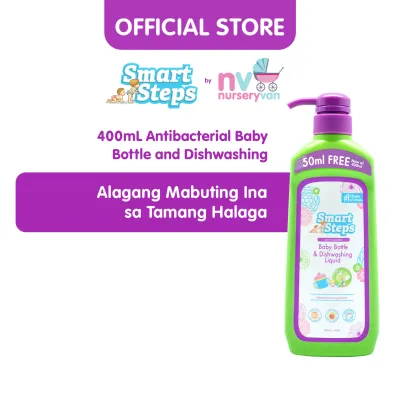
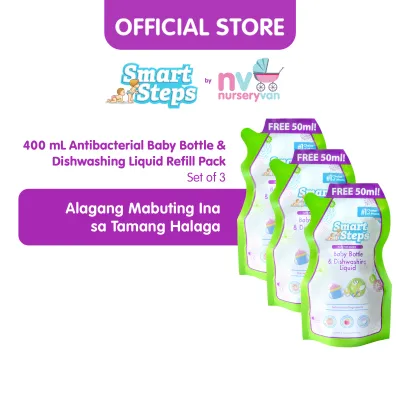
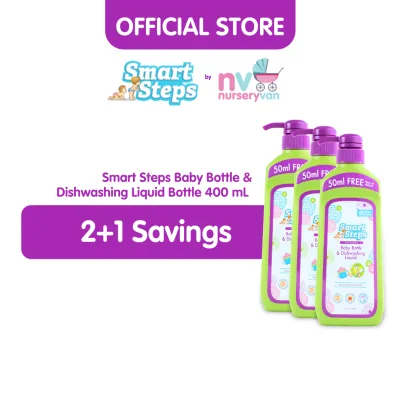
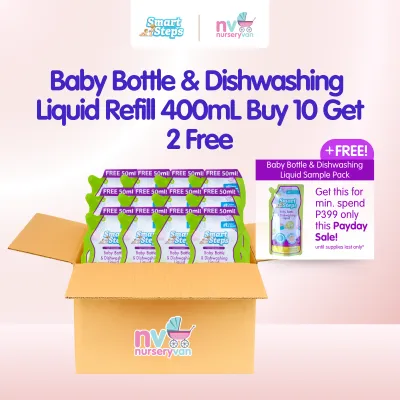
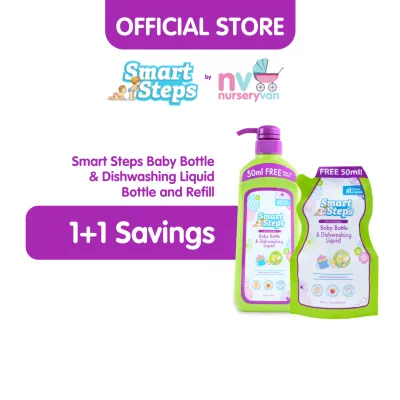
Prices are valid at publication and may change. Please refer to the product page for the latest price.
Next, invest in dedicated bottle brushes. A standard kitchen sponge should never be used on baby bottles, as it harbors high levels of bacteria from general dishwashing. Instead, choose a high-quality bottle brush with a silicone head or soft nylon bristles that can reach the bottom of the bottle without scratching the interior surfaces. Micro-scratches in plastic bottles are highly problematic because they create tiny crevices where bacteria and milk proteins can hide from cleaning. Additionally, a small, tapered nipple brush is indispensable for thoroughly cleaning the delicate, narrow interior of bottle nipples and valves without tearing the soft silicone.
Finally, establish a designated drying area. Set up a clean, well-ventilated drying rack specifically for baby items, keeping it away from high-traffic kitchen zones, raw food preparation areas, and the kitchen sink where dirty water might splash. In tropical environments where ambient humidity is high, a drying rack with raised pegs or a slotted design is ideal because it maximizes airflow around every disassembled component, helping water drain away quickly and hygienically.
Step-by-Step Washing Routine After Every Feed
A thorough manual wash is the most critical step in the entire cleaning process, as sterilization cannot be effective if there is still physical milk residue stuck to the bottle. You must perform this washing routine after every single feeding session to prevent milk from drying and hardening inside the parts.

Begin by completely disassembling all bottle components. This means separating the bottle vessel, the collar ring, the silicone nipple, any anti-colic valves, vents, and the protective cap. Skipping this step and washing the bottle as a partially assembled unit allows milk to remain trapped in the threads and joints, creating a perfect environment for bacterial growth.
Once disassembled, immediately rinse all parts under cool, running water. Using cold or lukewarm water for this initial rinse is crucial because hot water can cause milk proteins to coagulate and stick firmly to the plastic or glass surfaces, making them much harder to scrub away. This quick rinse removes the bulk of the liquid milk before you begin the deep cleaning.
Next, prepare a clean basin or sink dedicated solely to baby items. Fill it with warm water and add a small amount of your chosen baby-safe dishwashing liquid to create a soapy bath. Submerge all the disassembled parts and use your bottle brush to scrub the inside and outside of the bottle vessels. Pay close attention to the bottle neck and the screw threads where dried milk often accumulates. Use the smaller nipple brush to gently clean the inside of the silicone nipples, pushing the bristles carefully into the tip to clear the feeding hole. Be gentle during this step, as aggressive scrubbing can tear the silicone or stretch the nipple opening, altering the milk flow rate.
After scrubbing, rinse every component thoroughly under clean, running water. Hold each part under the tap until all traces of soap suds and slippery residue are completely gone. Visually inspect each piece under good lighting to ensure no cloudy patches or white milk spots remain. If you detect any lingering milk odor or film, repeat the soapy scrub and rinse process.
Sterilization Methods and Material Considerations
While thorough washing removes physical debris and milk fats, sterilization is the step that targets microscopic pathogens, providing an extra layer of protection for your baby’s developing immune system. However, before choosing a sterilization method, you must consider the specific materials of your baby bottles, as different materials have varying tolerances to heat and light.
Baby bottles are typically made from glass, polypropylene (PP), polyphenylsulfone (PPSU), or silicone. Glass is highly durable and can withstand extreme temperatures, making it compatible with almost any sterilization method. PP is a common, lightweight plastic but has a lower heat tolerance and may degrade or warp over time if subjected to frequent, intense heat. PPSU is a medical-grade plastic that is exceptionally durable and highly heat-resistant, easily enduring repeated sterilization cycles without breaking down. Silicone, used primarily for nipples and some bottle bodies, is highly flexible and heat-tolerant but can become sticky or cloudy over time.
There are three primary sterilization methods to choose from, depending on your lifestyle and the manufacturer’s guidelines. Boiling is the most traditional and accessible method; it involves submerging the parts in boiling water for a few minutes. While convenient, boiling can accelerate the wear and tear of plastic and silicone parts, and you must monitor the pot closely to ensure parts do not touch the hot bottom or sides, which can cause melting.
Electric steam sterilizers offer a highly efficient, hands-off alternative. They use high-temperature steam to sanitize bottles quickly and usually feature automatic shut-off functions for safety. If you use a steam sterilizer, ensure all parts are placed face down so steam can circulate freely inside them.
UV sterilizers have also become popular, using ultraviolet light to eliminate bacteria without heat or moisture. While highly convenient and excellent for keeping items dry, UV light can accelerate the degradation of certain plastics and silicone, causing them to become brittle or discolored sooner than they would with steam.
Always check the product packaging or the manufacturer’s website for the maximum temperature thresholds of your specific bottle brand. If you notice any warping, unusual discoloration, or a change in the texture of the plastic or silicone after sterilization, stop using those parts immediately and consult the manufacturer for guidance.
Drying and Storage Best Practices
Once the sterilization process is complete, the way you dry and store the bottles is vital to maintaining their hygienic state. In humid climates, moisture is the primary catalyst for mold and bacterial recontamination, making proper drying a non-negotiable step.
Always allow all bottle components to air-dry completely on your dedicated drying rack. Never use a standard kitchen cloth or paper towel to wipe the bottles dry. Even clean-looking dish towels can harbor lint, dust, and microscopic bacteria that will transfer directly onto the freshly sanitized surfaces. Let gravity and airflow do the work naturally.
Ensure that every single part—especially the deep crevices of the nipples and the threads of the collar rings—is entirely dry before you attempt to reassemble or store them. Trapping even a tiny droplet of water inside a closed bottle can lead to mold growth within a matter of hours, particularly in warm, tropical rooms.
Once fully dry, reassemble the bottles with clean hands. Store the assembled bottles in a clean, dry, and completely closed cabinet or a dedicated storage container with a tight-fitting lid. This protects the clean bottles from airborne dust, kitchen grease, and household pests such as ants or cockroaches, which are common challenges in tropical households. Keep the storage area well away from household chemicals or trash bins.
When to Replace Bottle Parts and Cleaning Tools
Even with meticulous cleaning and sterilization, baby bottle components do not last forever. Regular inspection of your feeding gear is essential to ensure that worn-out materials do not compromise your baby’s health or safety.
Inspect the bottle vessels regularly. For glass bottles, check for any hairline cracks, chips, or sharp edges that could pose a physical hazard. For plastic bottles, look out for persistent cloudiness, deep scratches, or a sticky texture. Deep scratches on the inner walls of plastic bottles are particularly concerning because they can harbor bacteria that standard washing cannot reach. If you observe these signs of wear, it is time to replace the bottle.
Silicone nipples require even more frequent inspection, as they undergo constant suction and exposure to warm liquids. Check the nipples weekly by pulling firmly on the bulb; if the silicone feels sticky, looks swollen, has changed color, or shows any visible tears or cracks, replace it immediately. A damaged nipple can tear completely during a feed, presenting a choking hazard, or it may release milk too quickly, causing your baby to gag.
Do not forget to monitor your cleaning tools as well. Bottle brushes accumulate bacteria over time and lose their cleaning efficacy as the bristles fray or the silicone heads begin to tear. As a general rule, replace nylon bottle brushes every few weeks, or sooner if they show signs of wear, to ensure your cleaning routine remains truly hygienic.
Frequently Asked Questions (FAQ)
Do I need to sterilize baby bottles after every single use?
While daily, thorough washing with warm, soapy water is the most critical step to remove milk residue, the frequency of sterilization often depends on your baby’s age and health status. For newborns under three months old, premature infants, or babies with weakened immune systems, daily sterilization after washing is highly recommended to protect them from harmful pathogens. As your baby grows older and their immune system develops, you may transition to sterilizing bottles once a day or even a few times a week, provided you wash them meticulously after every feed. Always consult your pediatrician if you are unsure about the appropriate sterilization frequency for your child’s specific developmental stage.
Can I use regular dishwashing liquid for baby bottles?
It is highly recommended to avoid regular household dishwashing liquids for baby bottles. Standard dish soaps are formulated to tackle heavy grease on adult cookware and often contain strong synthetic fragrances, artificial dyes, and harsh chemical surfactants that do not rinse away easily from plastic and silicone. These residues can leave a chemical film and a strong scent on the bottle, which can cause your baby to reject the milk or experience mild stomach upset. By choosing a specialized, baby-safe dishwashing liquid, you ensure the formula is easily rinsable, free from harsh chemicals, and specifically designed to target stubborn milk fats safely.

Community discussion
Share your experience or ask a question. Comments are reviewed before publication.