
Cleaning and sterilizing your baby’s feeding equipment is one of the most critical daily tasks for new parents. A baby’s immune system is still developing, making them highly susceptible to bacteria that can easily multiply in leftover milk residue. In warm, tropical climates where high humidity accelerates bacterial growth, maintaining a rigorous hygiene routine is essential to keep your little one safe. By mastering the correct washing and sterilization techniques, you can protect your baby from gastrointestinal infections while preserving the lifespan of your bottles.
Gather the Right Tools and Cleaning Agents
To establish an efficient cleaning routine, you need to assemble a dedicated set of tools specifically for your baby’s bottles. Avoid using the same sponges and brushes you use for family dishes, as these can transfer grease, food particles, and harmful bacteria to your baby’s feeding gear.
Start by selecting a high-quality bottle brush. Sponge-tipped brushes are highly recommended for plastic bottles because they clean gently without scratching the delicate inner surfaces. If you use glass bottles, a firm nylon bristle brush is excellent for scrubbing away stubborn milk film. You will also need a specialized, smaller nipple brush designed to fit into the tight contours of silicone teats without tearing them.
Products mentioned in this guide
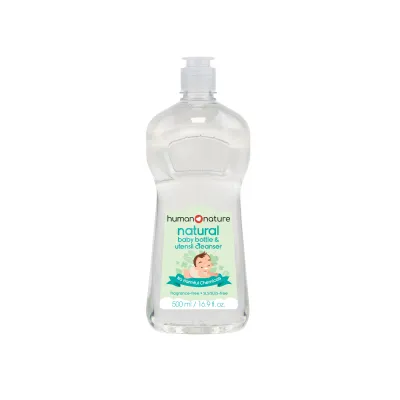
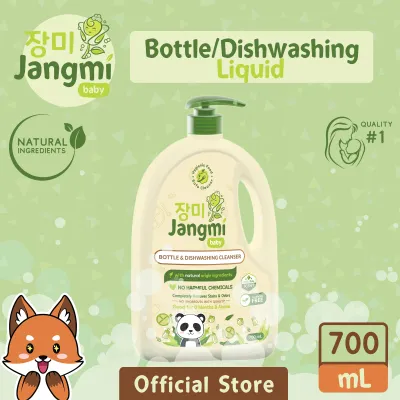

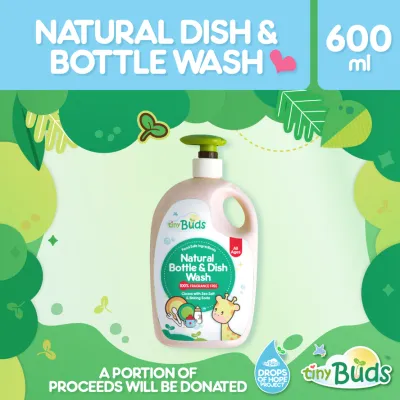
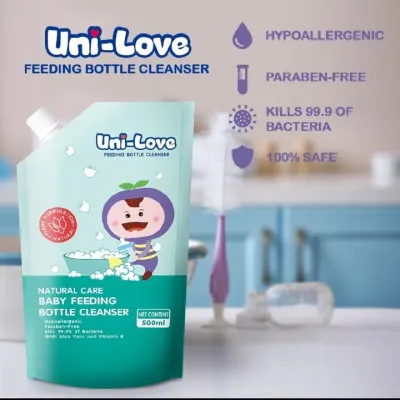
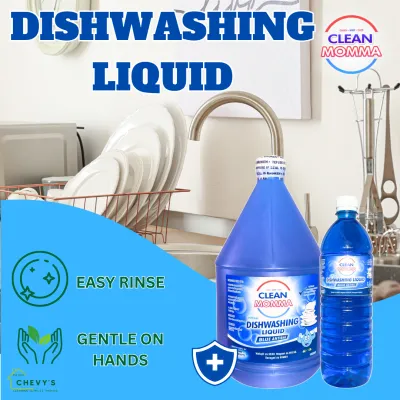
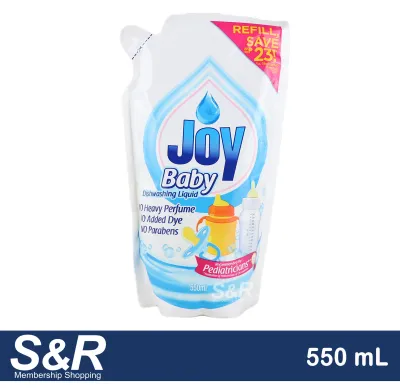
Prices are valid at publication and may change. Please refer to the product page for the latest price.
Choosing the right cleaning agent is equally important. Standard household dishwashing liquids often contain heavy fragrances, synthetic dyes, and strong chemical surfactants that can leave a stubborn, soapy film or cause digestive irritation. Instead, look for a mild, fragrance-free, plant-based liquid dishwashing soap formulated specifically for baby items.
For sterilization, decide on a method that fits your daily routine and budget. This could range from a simple, dedicated stainless steel pot for boiling to an electric steam sterilizer or a modern UV sterilizer.
Finally, set up a dedicated drying rack. In humid environments, a rack with a built-in cover or dome is highly beneficial. This physical barrier protects the clean, drying components from household pests like ants, flies, and cockroaches, as well as settling dust.
The Daily Washing Routine: Step by Step
A successful sterilization process always begins with a thorough wash. Sterilizing a bottle that still has microscopic milk film trapped on its surface is ineffective, as the heat cannot properly penetrate the organic residue to kill underlying bacteria.

The first step is complete disassembly. As soon as your baby finishes a feed, take the bottle apart entirely. Separate the bottle body, the screw collar, the silicone nipple, the protective cap, and any internal anti-colic valves or venting tubes. Milk easily pools and dries in the threads of the collar and the small crevices of valves, creating a breeding ground for mold.
Rinse all disassembled parts under cool or warm running water immediately after feeding. This quick rinse removes the bulk of the liquid milk before it has a chance to dry, stick to the walls, or sour.
Next, prepare a clean washing basin used solely for baby items. Fill it with warm water and add a small amount of your baby-safe dishwashing liquid. Submerge all the bottle parts in the soapy water.
Use your bottle brush to scrub the inside of the bottle, paying close attention to the bottom corners where milk residue tends to settle. Use the smaller nipple brush to clean the inside of the silicone nipple. Gently rotate the brush to clear out any film, but avoid forcing the brush through the feeding hole, as this can easily tear the silicone and alter the milk flow rate.
Do not forget to scrub the screw threads on both the bottle neck and the plastic collar. These grooved areas are frequently overlooked but are highly prone to trapping dried milk.
Once scrubbed, rinse each component thoroughly under clean, running water. Hold the parts up to the light to verify that all soap suds, bubbles, and slippery residues are completely gone. The surfaces should feel clean and squeaky to the touch.
Choosing a Safe Sterilization Method for Your Bottles
While washing removes physical milk residue and grease, sterilization is the crucial step that eliminates remaining pathogens. However, you must choose a sterilization method that is compatible with your bottle materials to prevent warping, melting, or chemical degradation.
Boiling is the most traditional and budget-friendly method, requiring only a dedicated pot of water. It is highly effective but subjects materials to intense, direct heat. Glass bottles and high-grade plastics can easily withstand boiling, but cheaper plastics may warp over time. This is a highly ₱-friendly option that requires no specialized appliances.
Electric steam sterilizers offer a convenient, automated alternative. They use high-temperature steam to sanitize bottles quickly and usually keep the contents sterile for up to 24 hours if the lid remains closed.
UV sterilizers use ultraviolet light to destroy bacteria and viruses without using heat or water. This makes them exceptionally gentle on heat-sensitive plastics and silicone, extending the lifespan of your bottle accessories. However, because UV light only sterilizes what it touches, you must position the bottles carefully so the light reaches every internal surface.
Chemical sterilization involves dissolving specialized sanitizing tablets in cold water. This is a highly portable option, making it ideal for travel or situations where clean boiling water and electricity are unavailable.
Before choosing a method, always check the manufacturer’s heat-tolerance labels on your bottles. Glass is highly heat-resistant and durable but heavy and prone to breaking. Polypropylene (PP) is lightweight and common but has a lower heat tolerance and may degrade faster under frequent boiling. Polyphenylsulfone (PPSU) is a medical-grade, honey-colored plastic that offers superior heat resistance and durability, making it highly compatible with frequent steam sterilization. Silicone is flexible and heat-resistant but can absorb odors or become sticky over time.
Always follow the recommended time and temperature guidelines provided by the manufacturer. If you notice any signs of heat stress, such as warping, cloudiness, or a change in the texture of the plastic, stop using that sterilization method immediately and inspect the bottle for damage.
Drying and Storing Without Recontamination
How you dry and store your baby’s bottles is just as important as how you wash them. Recontamination can happen quickly if clean bottles are exposed to dampness or unsanitary surfaces.
Always allow your bottles to air-dry. Never use a standard kitchen dish towel to dry baby bottles or nipples. Even clean-looking towels can harbor bacteria, lint, and mold spores that will immediately transfer back onto the sterilized surfaces.
In tropical climates, high humidity can slow down the drying process. Standing water inside a bottle creates a perfect, damp environment for mold and bacterial spores to multiply. To prevent this, place all disassembled parts upside down on your dedicated drying rack so that water drains out completely and air circulates freely.
Ensure your drying rack is placed in a clean, well-ventilated area away from the kitchen sink, trash cans, or food preparation zones where splashes can occur. Using a covered drying rack provides an extra layer of protection against household pests and airborne dust.
Once every component is completely dry, store them in a clean, closed cabinet or a dedicated storage container. Do not assemble and seal the bottles if they are still slightly damp, as trapped moisture will quickly promote mold growth inside the bottle.
Inspecting for Wear and Knowing When to Replace
Baby bottles and nipples do not last forever. Regular wear and tear can compromise both the hygiene and safety of the feeding equipment, making a routine inspection essential.
Establish a weekly schedule to visually and physically inspect every bottle component. Look closely for cracks, deep scratches, or persistent cloudiness in plastic bottles. Deep scratches are particularly hazardous because they can harbor bacteria that regular washing cannot reach. If you notice any cracks or severe scratching, discard the bottle immediately.
Inspect the silicone nipples thoroughly. Gently pull on the bulb of the nipple to check for elasticity. If the silicone feels sticky, looks cloudy, has tiny tears, or if the feeding hole has stretched, it is time for a replacement. A torn or enlarged nipple hole can cause milk to flow too quickly, which poses a serious choking hazard for your baby.
As your baby grows, their sucking strength increases, and their developmental needs change. Regularly replacing nipples—typically every two to three months, or as recommended by the manufacturer—ensures a safe and comfortable feeding experience. Always dispose of damaged parts immediately to prevent accidental choking or bacterial contamination.
Frequently Asked Questions (FAQ)
Can I wash baby bottles in the dishwasher?
Yes, you can wash baby bottles in the dishwasher, but you must first verify that the manufacturer explicitly labels the bottles and accessories as dishwasher-safe.
To wash them safely, place small parts like nipples, collars, and valves inside a secured mesh dishwasher basket on the top rack. This prevents them from falling onto the heating element at the bottom, which can melt or damage them.
Avoid using high-heat drying cycles, as the intense heat can warp sensitive plastics and accelerate the degradation of silicone parts.
Additionally, always perform a quick pre-rinse to remove milk residue before loading the bottles into the dishwasher. This prevents milk proteins from baking onto the surfaces during the hot wash cycle.
How often should I sterilize baby bottles?
For newborns under three months old, premature infants, or babies with weakened immune systems, daily sterilization after every wash is highly recommended to protect their developing immune systems.
As your baby grows older, develops a stronger immune system, and begins exploring their environment by putting other household objects in their mouth, you can transition to sterilizing less frequently, such as once a week or every few days, provided you maintain a rigorous daily washing routine with clean water and baby-safe soap.
In areas with compromised water quality or during rainy seasons when humidity is exceptionally high, continuing daily sterilization can provide an extra layer of protection.
Always consult your pediatrician for personalized advice tailored to your baby’s health, age, and local environmental conditions.

Community discussion
Share your experience or ask a question. Comments are reviewed before publication.