
The Haakaa silicone breast pump collects milk from your non-nursing breast using gentle, passive suction. While your baby feeds on one side, your body naturally triggers a let-down reflex on both sides. Instead of letting this milk leak into a disposable breast pad, you can attach the silicone pump to catch every drop, helping you build a freezer stash of breast milk with minimal extra effort.
Using this pump effectively requires understanding how to create a secure vacuum, position the flange comfortably, and handle the collected milk safely. Because it relies on passive suction rather than active mechanical pumping, it is a gentle way to save milk that would otherwise go to waste. This guide walks you through the preparation, attachment, collection, and storage steps to maximize your milk collection safely.
Preparing Your Silicone Pump and Nursing Setup
Before you begin, ensure your silicone pump is thoroughly cleaned and sanitized. For a brand-new pump, follow the manufacturer’s instructions to sterilize it in boiling water or a steam sterilizer. Between daily uses, wash the pump thoroughly with warm, soapy water, rinse it completely, and allow it to air-dry in a clean area. Using a fragrance-free, baby-safe dishwashing liquid helps prevent soapy residues that can affect the taste of your milk or irritate your baby’s sensitive skin.
Products mentioned in this guide
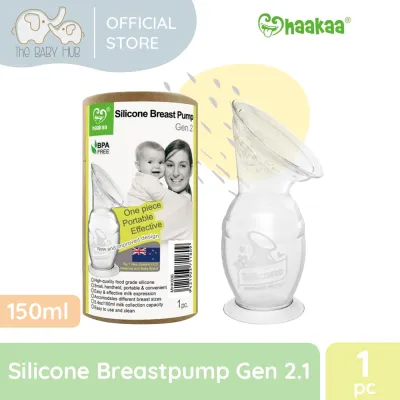
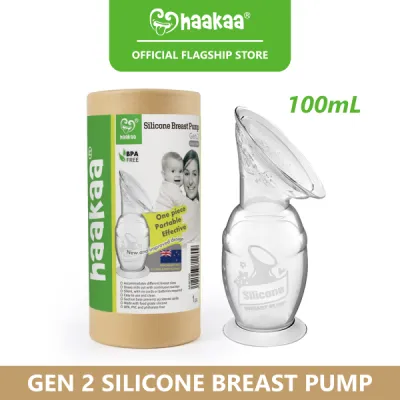
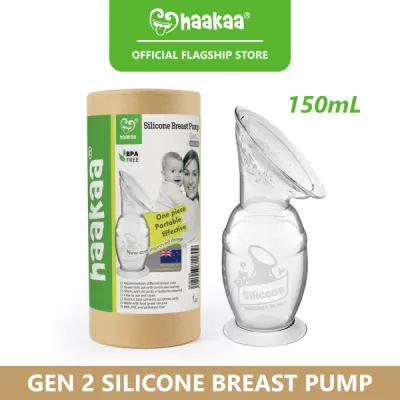
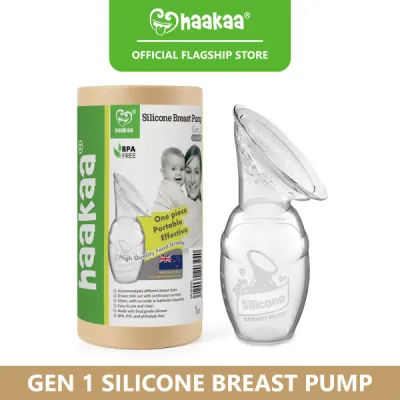
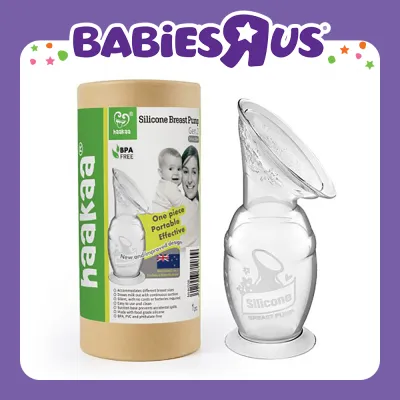
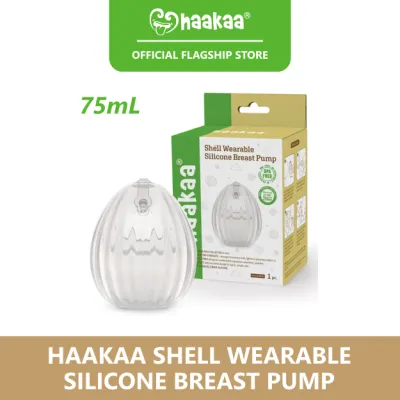


Prices are valid at publication and may change. Please refer to the product page for the latest price.
Inspect the silicone flange and bulb before every single session. Look closely for any tiny tears, cracks, cloudiness, or stubborn residue that could harbor bacteria or compromise the vacuum seal. In a warm, humid tropical climate, keeping silicone completely dry between uses is essential to prevent mold growth in hard-to-reach corners. Avoid storing the pump in damp cupboards; instead, place it in a well-ventilated, dry area away from direct sunlight.
Creating a calm, comfortable environment is just as important as preparing the physical equipment. Stress and physical discomfort can inhibit the release of oxytocin, the hormone responsible for your let-down reflex. Find a supportive chair, keep a glass of water nearby, and minimize distractions so you can focus on bonding with your baby. Having a small towel or muslin cloth within arm’s reach is also helpful for catching any accidental drips during the setup.
Step-by-Step Guide to Attaching and Positioning the Pump
Attaching the silicone pump correctly ensures a secure hold and prevents painful friction on your nipple. Start by folding back the flexible silicone flange so that it points outward, exposing the neck of the pump. This step makes it much easier to center your nipple and control the suction level.

Next, squeeze the lower bulb of the pump to expel the air inside. Squeezing the bulb deeply creates a stronger vacuum, while a gentle squeeze results in lighter suction. If you are new to using a silicone pump or have sensitive skin, start with a mild squeeze to avoid sudden discomfort. You can always increase the suction later once you are comfortable.
Carefully center your nipple directly in the middle of the pump’s neck. Proper alignment is crucial; if the nipple is off-center, the silicone will rub against your skin during suction, which can cause painful chafing or block your milk ducts. Ensure your nipple does not touch the inner walls of the pump neck, allowing it to expand freely as the suction draws it in.
While holding the pump centered against your breast, slowly flip the folded flange back over your breast tissue. Once the flange is flat against your skin, gradually release your grip on the squeezed bulb. The bulb will expand, creating a gentle, passive vacuum that draws your breast tissue slightly into the neck and secures the pump in place.
You can easily adjust the suction level if the initial hold feels too tight or too loose. To reduce the suction, gently press the base of the flange to let a small amount of air back into the bulb. To increase the suction, fold the flange back, squeeze the bulb slightly more, and reapply it to the breast. The goal is a firm but comfortable hold that does not pinch or cause pain.
Techniques to Encourage Let-Down and Maximize Collection
To get the most out of your collection session, you can stimulate your milk flow before attaching the pump. Applying a warm, damp compress to your breast for a few minutes before feeding can help dilate the milk ducts and encourage a faster let-down. Gentle, circular breast massage from the chest wall toward the nipple also prepares the breast for milk release.
Positioning the pump securely is vital to prevent accidental spills, especially when your baby is active or shifting positions. In warm weather, where light, breathable clothing is common during days at home, ensure your clothing does not press against the pump bulb or break the suction seal. You can use a hands-free pumping bra or a simple lanyard attachment to secure the pump neck to your nursing bra strap for extra security against kicking baby feet.
Watch for the signs of an active let-down, such as a tingling sensation, milk dripping, or a sudden rush of milk into the pump. If the milk begins to splash or pool unevenly, slightly adjust the angle of the pump so that the liquid flows smoothly into the bottom of the bulb. Keep your body slightly upright rather than leaning too far forward to maintain a secure seal and prevent gravity from pulling the pump down.
Listen to your body and know when to stop the collection session. Remove the pump if your breast feels comfortably soft and empty, if the suction begins to cause discomfort, or if the silicone bulb reaches its maximum capacity. Overfilling the pump can cause it to lose its grip and fall off, leading to spilled milk.
Safely Removing the Pump and Handling Collected Milk
When you are ready to remove the pump, never pull it straight off your breast, as this can cause painful skin irritation or nipple damage. Instead, gently press the breast tissue near the edge of the flange with one finger to break the vacuum seal. You will hear a soft release of air, allowing the pump to slide away easily without pulling on your skin.
Immediately place the pump on a flat, stable surface or use a dedicated stand to prevent it from tipping over. Transfer the collected breast milk into a clean, sanitized storage bag or bottle right away. Always wash your hands thoroughly with soap and water before handling the milk or storage containers to maintain hygiene.
Follow standard breast milk storage guidelines to keep your collected milk safe for your baby. In warm, tropical environments, do not leave freshly expressed breast milk at room temperature for extended periods; place it in the refrigerator or freezer as soon as possible. If you plan to pool milk collected from different sessions throughout the day, ensure you cool the freshly collected milk in the refrigerator before mixing it with already chilled milk. Label each storage container with the date and time of collection so you can use the oldest milk first.
After transferring the milk, wash the silicone pump immediately with warm, soapy water to prevent milk fat from sticking to the silicone. Rinse it thoroughly to remove all soap residue, and sterilize it regularly according to the manufacturer’s guidelines. Store the dry pump in a clean, dust-free container away from direct sunlight to preserve the integrity of the silicone.
Troubleshooting Suction Loss, Leaks, and Discomfort
If you experience a sudden loss of suction, check the physical seal between the silicone flange and your skin. Moisture from sweat, lotion, or leaking milk can cause the pump to slip. Wipe your breast and the pump flange dry with a clean cloth before reattaching, and ensure no clothing is trapped under the silicone edge.
Persistent discomfort or nipple pain usually indicates that the suction is too strong or the nipple is not centered. If you feel a pinching sensation, remove the pump immediately and reapply it with a lighter squeeze on the bulb. Your nipple should move freely inside the neck of the pump without rubbing against the sides. If pain persists, stop using the pump and consult a lactation consultant.
During a very active let-down, condensation or milk splashing inside the flange can sometimes interfere with the vacuum. If you notice milk pooling around the rim of the flange, break the seal, pour the collected milk into a bottle, dry the flange, and reattach the pump to continue your session.
Over time, silicone can degrade due to frequent washing, sterilization, and exposure to heat. Inspect your pump regularly for signs of wear, such as a cloudy appearance, a sticky texture, or a loss of elasticity in the bulb. If the pump no longer holds suction as effectively as it used to, it is time to replace it with a new one.
Frequently Asked Questions (FAQ)
Can I use the Haakaa pump exclusively instead of an electric pump?
No, the silicone pump is designed primarily as a passive collector to catch let-down milk, not as a replacement for an active electric or manual breast pump. It relies on a continuous vacuum rather than a rhythmic pumping cycle, meaning it does not stimulate the breast in the same way a nursing baby or an electric pump does. If you need to fully empty your breasts, manage a low milk supply, or build a large stash without direct nursing, consult a lactation consultant or healthcare professional to choose an appropriate active pump.
How long can I leave the Haakaa pump attached during a feed?
You should generally limit the attachment time to the duration of your baby’s active feeding session on the opposite side, typically around 10 to 15 minutes. Leaving a passive suction pump attached for too long can cause nipple swelling, skin irritation, or bruising due to prolonged vacuum pressure. Always monitor how your breast feels during use, and remove the pump immediately if you experience any discomfort, pain, or if the milk flow has completely stopped.

Community discussion
Share your experience or ask a question. Comments are reviewed before publication.