
Using Dr. Isla milk storage bags correctly is essential for preserving the nutritional value of breast milk and keeping it safe for your baby. In the tropical climate of the Philippines, where high ambient temperatures and humidity can accelerate bacterial growth, proper handling, sealing, and storage techniques are even more critical. By mastering the correct preparation, filling, and thawing procedures, you can confidently build a reliable milk stash for your little one.
This guide walks you through the step-by-step process of using these storage bags, from the initial hygiene steps to troubleshooting common storage issues. Whether you are preparing for a return to work or organizing your freezer, these practical steps will help you maintain the quality of your expressed milk.
Preparation and Hygiene Before Pumping
Maintaining a clean environment before you begin expressing milk is the first and most crucial step in preventing contamination. Wash your hands thoroughly with soap and clean water for at least twenty seconds before handling any pumping equipment or storage bags. Ensure your pumping area is clean and free from dust or household debris.
Products mentioned in this guide
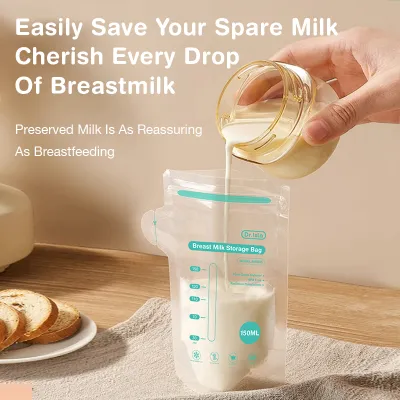
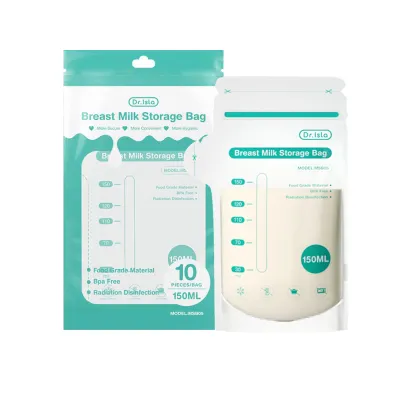
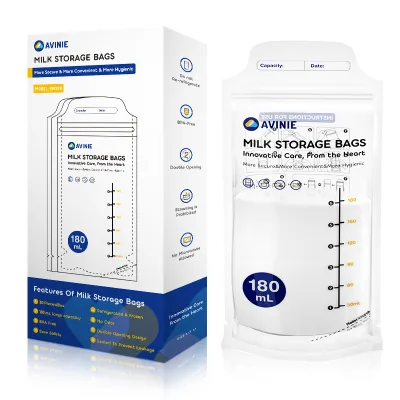
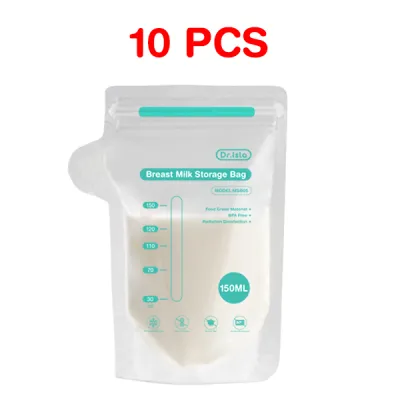
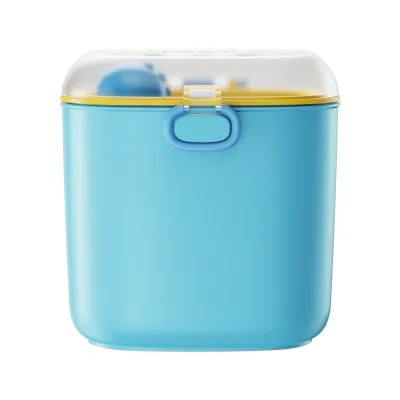
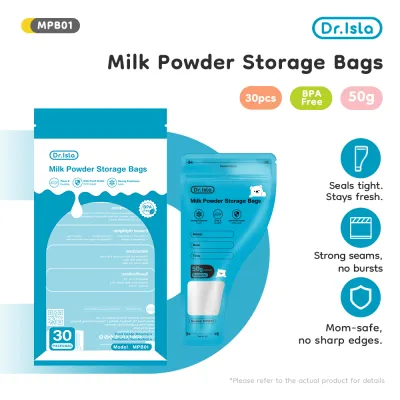
Prices are valid at publication and may change. Please refer to the product page for the latest price.
Sterilize all breast pump parts that come into direct contact with your milk, following the manufacturer’s specific instructions. Allow these parts to air-dry completely on a clean, dedicated paper towel or drying rack before assembly. Moisture left on pump parts can become a breeding ground for bacteria in warm, humid environments.
Before opening a new Dr. Isla milk storage bag, inspect the packaging and the individual bag carefully. Check for any visible manufacturing defects, tears, or compromised seals along the edges. It is also wise to check the manufacturing or expiration date printed on the box to ensure the bags are within their safe, recommended usage period.
Step-by-Step Guide to Filling and Sealing the Bag
When you are ready to transfer your expressed milk, open the storage bag by gently tearing off the safety seal at the top, if applicable, or pulling the zipper apart. Avoid inserting your fingers inside the bag or blowing air into it, as this introduces unwanted bacteria into a sterile environment. Keep the bag upright to prevent accidental spills during the transfer.

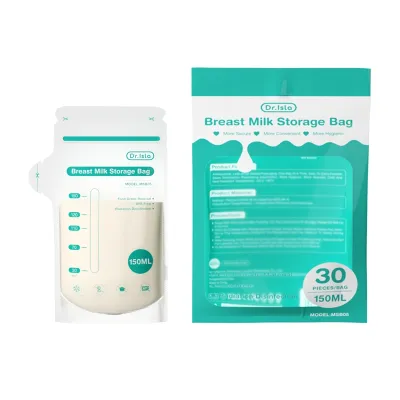
Locate the maximum fill line clearly printed on the front of the Dr. Isla milk storage bag. It is vital to respect this limit and avoid overfilling, as breast milk contains water and will expand significantly when frozen. Leaving adequate headspace at the top of the bag prevents the seams from bursting under pressure in the freezer.
Before sealing the bag, you must remove excess air to preserve the milk’s freshness and prevent freezer burn. Gently hold the bag just above the liquid line and use your other hand to squeeze the bag from the bottom upward, pushing the air out of the top. Once the air is expelled, immediately press the double zipper track closed.
Verify that the seal is completely secure by pinching one end of the double zipper and sliding your fingers firmly across to the other end. Run your fingers back and forth a few times to ensure both tracks are fully locked. A secure seal is your primary defense against leaks and external odors contaminating your milk.
Labeling and Organizing Your Breast Milk
Clear labeling is the key to managing your breast milk supply safely and avoiding waste. Always write the essential details on the designated write-on area of the bag before filling it, as writing on a flat, empty bag is much easier and prevents accidental punctures. Include the date of expression, the time, and the exact volume of milk.
Use a safe, permanent marker with a fine tip for labeling. Avoid standard ballpoint pens, which can easily puncture the delicate plastic layers of the bag, and water-based markers, which can smudge or run when exposed to condensation. Ensure the marker ink is non-toxic and fully dry before placing the bag in the refrigerator or freezer.
Organize your stored milk chronologically to implement a strict first-in, first-out (FIFO) rotation system. Place the newest bags at the back of your storage shelf or container, and move the oldest bags to the front so they are used first. This systematic approach ensures that no milk sits in storage past its safe shelf life.
Storage Guidelines and Temperature Safety
In the Philippines, managing storage temperatures requires extra diligence due to tropical heat and the potential for power interruptions. Always store your milk bags in the coldest part of the refrigerator or freezer, which is typically at the back of the main compartment. Avoid placing bags on the door shelves, as opening and closing the door exposes the milk to frequent temperature fluctuations.
When freezing breast milk, lay the sealed bags completely flat on a clean baking sheet, tray, or flat freezer shelf. Freezing the bags flat allows the liquid to solidify into thin, uniform layers. Once frozen solid, these flat bags can be stacked vertically or filed like documents in a storage bin, maximizing your freezer space.
Flat-frozen bags also thaw much faster and more evenly than bulky, irregularly shaped blocks of frozen milk. This quick-thawing capability is highly beneficial when you have a hungry baby waiting for a feed. It also reduces the time the milk spends transitioning from a frozen state to a liquid state, minimizing bacterial risks.
Always cross-reference general pediatric health guidelines with the specific storage duration limits printed on your Dr. Isla packaging. While standard guidelines offer general timeframes for room temperature, refrigeration, and freezing, local environmental factors like high humidity can affect these windows. When in doubt, prioritize conservative storage times to ensure maximum safety.
Thawing, Warming, and Transporting Safely
Thawing frozen breast milk must be done gently to preserve its delicate nutrients, proteins, and antibodies. The most recommended method is to transfer the frozen bag from the freezer to the refrigerator and let it thaw slowly overnight. For faster thawing, place the sealed bag in a bowl of lukewarm water or hold it under cool running water.
Never use a microwave or boil the milk storage bag on the stove. Microwaving creates dangerous hot spots in the milk that can burn your baby’s mouth, and extreme heat destroys the beneficial immunological properties of breast milk. Additionally, exposing the plastic bag to boiling water can compromise its structural integrity and cause it to melt or leak.
If you need to transport breast milk while on the go in the Philippines, pack the sealed bags tightly inside an insulated cooler bag. Surround the bags with high-quality, frozen ice packs to maintain a consistently cold temperature during transit. Avoid letting the bags sit directly in melting ice water, as water can seep through the zipper area and contaminate the milk.
Once your baby begins feeding from a bottle, saliva introduces bacteria into the milk, which can multiply rapidly at room temperature. For this reason, you must discard any leftover milk remaining in the feeding bottle within one to two hours after the session ends. Never re-refrigerate, re-freeze, or save leftover milk for a future feeding.
Troubleshooting Leaks and Storage Issues
Dealing with leaking bags or freezer burn can be frustrating, but most of these issues are preventable with proper handling. To prevent leaks, always double-check that you have not filled the bag past the maximum line. Additionally, ensure that the perforated tear-off tab at the top of the bag is removed cleanly along the designated line to avoid tearing the main body of the bag.
Before sealing the double zipper, inspect the track to ensure it is free of milk residue. Liquid trapped in the zipper track can expand during freezing, pushing the seal open and causing leaks when the milk thaws. If you notice any milk on the zipper, gently wipe it away with a clean, dry cloth before sealing.
Freezer burn occurs when air is left inside the bag or when the freezer temperature fluctuates significantly. Ensure you expel as much air as possible before sealing, and verify that your freezer maintains a consistent, sufficiently cold temperature. If your area experiences frequent power interruptions, keep the freezer door closed as much as possible to preserve the cold environment.
Sometimes, micro-punctures can occur if frozen bags rub against each other or bump into sharp ice crystals in the freezer. These tiny holes are often invisible while the bag is frozen but will leak as the plastic softens during thawing. To protect your milk, always place the frozen bag inside a clean, shallow bowl or container while thawing to catch any unexpected leaks.
Frequently Asked Questions (FAQ)
Can you reuse Dr. Isla milk storage bags?
No, Dr. Isla milk storage bags are strictly designed for single-use. Washing and attempting to reuse these plastic bags compromises the sterile environment inside, making it impossible to guarantee hygiene for your baby. Furthermore, the plastic material and the double zipper seal degrade after use, significantly increasing the risk of leaks, tears, and bacterial contamination.
Is it safe to add freshly pumped milk to already frozen milk?
It is not safe to pour warm, freshly expressed breast milk directly onto already frozen milk. The warmth of the fresh milk can raise the temperature of the frozen milk, causing it to partially thaw and creating an environment where bacteria can multiply. To combine batches safely, cool the freshly pumped milk in the refrigerator first until it reaches the same temperature as the frozen milk, then combine them.

Community discussion
Share your experience or ask a question. Comments are reviewed before publication.