
Securing a traditional cloth diaper, or lampin, requires a reliable fastening tool to keep your baby comfortable and dry. Using a lampin clip safely involves selecting a high-quality fastener, mastering a secure folding technique, and always keeping your fingers positioned as a physical barrier between the clip and your baby’s delicate skin. By following a systematic approach, you can prevent accidental pinpricks, skin pinching, and diaper sag, ensuring a comfortable fit even for active infants.
Preparing for Safe Diapering: Tools and Checks
Before placing your baby on the changing table, gather all necessary diapering supplies to ensure you never have to leave your little one unattended. In a warm, tropical climate, choosing the right fabric is essential for preventing heat rash. Opt for 100% cotton or bird’s eye weave lampin, which offer excellent breathability and absorbency while remaining soft against sensitive skin.
Ensure the fabric is completely dry, as residual moisture from laundry day can harbor bacteria and weaken the grip of your diaper fasteners. Next, inspect your lampin clips or diaper safety pins with close attention. Look for any signs of rust, which can develop quickly in humid environments and pose a serious hygiene risk.
Products mentioned in this guide
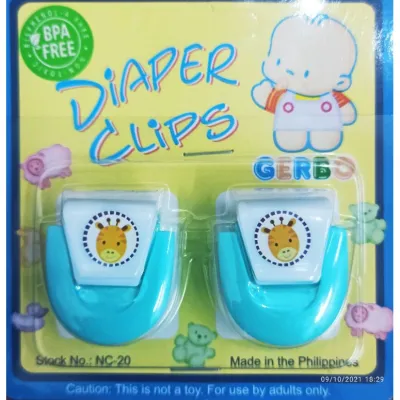
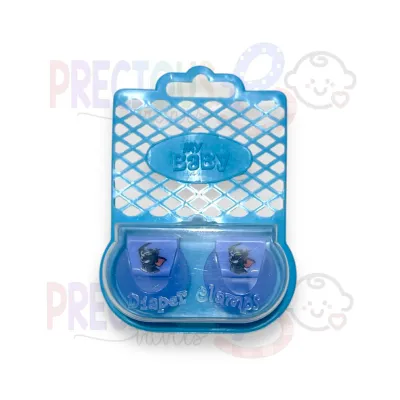
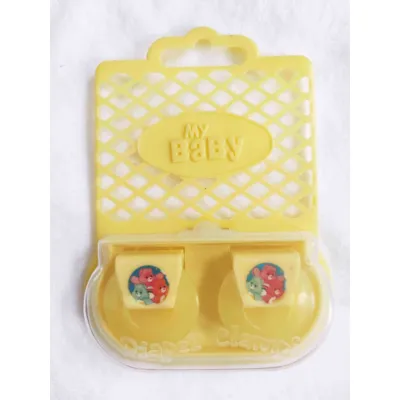
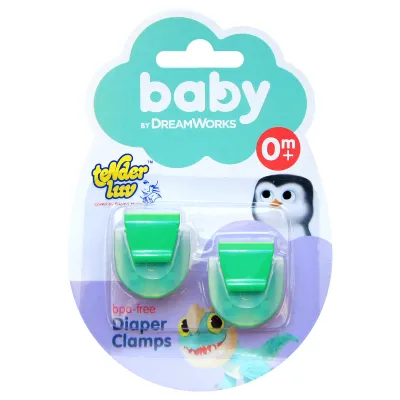

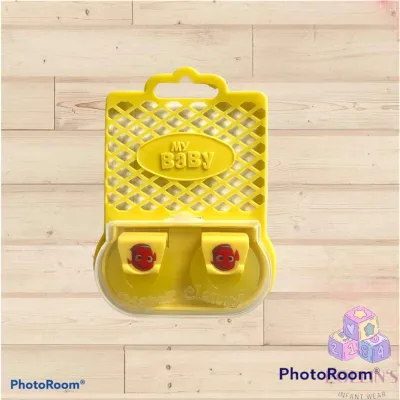
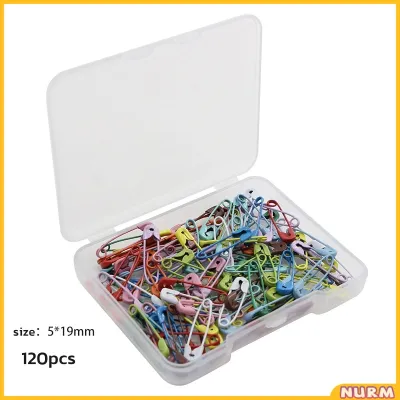
Prices are valid at publication and may change. Please refer to the product page for the latest price.
Check that the plastic hoods or locking mechanisms are intact, free of cracks, and snap shut securely. If you are using traditional safety pins, ensure the points are sharp and the safety caps are not bent or loose. A dull pin will resist piercing the fabric, increasing the force you must apply and raising the risk of a sudden slip.
Set up your changing area on a flat, stable surface, such as a dedicated changing table or a clean mat on the floor. Arrange your clean lampin, diaper clips, wipes, and any barrier creams within arm’s reach. Keeping your supplies organized ensures that you can maintain at least one hand on your baby at all times, preventing accidental rolls or falls during the diaper change.
Folding and Positioning the Cloth Diaper
The foundation of a secure diaper change lies in how you fold the lampin. A proper fold does not just contain messes; it also creates a thick, stable fabric band for the diaper clip to grip. For newborns and younger infants, the classic triangle fold or the origami fold works exceptionally well.

These folding styles concentrate multiple layers of fabric at the hips and front waist, providing a sturdy anchor point that prevents the clip from slipping or tearing through thin material. Once your lampin is folded, gently lay your baby down so the back edge of the diaper aligns with their natural waistline, just above the hips.
Ensure the fabric lies flat against their back without any uncomfortable bunches or folds. The bottom point of the triangle or the center panel should extend down between the baby’s legs, ready to be pulled upward.
Gently bring the front panel of the diaper up between your baby’s legs, smoothing out the fabric as you go. Avoid twisting the material, which can cause chafing in the sensitive thigh area. The front waist should rest comfortably below the belly button, especially for newborns whose umbilical cord stumps are still healing.
Bring the side wings of the diaper forward, wrapping them snugly around the baby’s hips to overlap with the front panel. This creates the designated fastening zones on each side.
Step-by-Step: Attaching the Lampin Clip Safely
To secure the diaper without risking injury, you must master the “two-finger rule.” Slide the index and middle fingers of your non-dominant hand flat beneath the overlapping fabric layers at the baby’s hip. Your fingers must rest directly against the baby’s skin, acting as a solid, protective shield.
This physical barrier ensures that even if a pin slips or a clip presses down too hard, it will only make contact with your fingers, completely protecting your baby’s skin from pinpricks or pinches. With your protective fingers firmly in place, use your dominant hand to guide the lampin clip or safety pin.
Pull the overlapping fabric wings slightly taut to ensure a snug fit around the waist. If you are using a specialized diaper safety pin, insert the point diagonally through the top layers of the folded fabric, angling it away from the baby’s body. Push the pin through the fabric until the point emerges, then slide the safety cap down to lock it securely in place.
For modern plastic diaper clips or claw-style fasteners, press the teeth of the clip firmly into the fabric layers of the overlapping wings. Ensure the teeth grip multiple layers of the folded lampin to prevent tearing. Once the teeth are embedded, engage the locking mechanism or slide the protective sleeve down until you hear or feel a distinct click, indicating the clip is locked.
Repeat this process on the opposite side of the diaper, maintaining even tension across the waistband. If your folding style requires a central fastener, apply the same two-finger rule at the center of the waist, keeping the clip positioned safely away from the delicate umbilical area. Always double-check that every clip is fully locked and that no sharp edges or metal parts are exposed to the baby’s skin.
Verifying the Fit and Baby's Comfort
Once the lampin is fully secured, you must verify that the fit is both safe and comfortable. Perform the “two-finger fit test” by sliding two fingers vertically into the waistband at the front. The diaper should feel snug but not tight; if you cannot easily slide your fingers in, the diaper is too tight and could restrict your baby’s breathing or digestion.
Similarly, check the leg openings to ensure they are snug enough to prevent leaks but loose enough to avoid red marks. Inspect the entire diaper for any fabric bunching, twisting, or gaps. Gaps around the thighs are a primary cause of leaks, while bunched fabric can rub against the skin and cause painful chafing, especially in hot and humid weather.
Smooth out any uneven folds around the leg gussets to ensure a clean, comfortable seal. Observe your baby’s movements for a few minutes after diapering. A well-fitted lampin should allow your baby to kick, roll, and wiggle their legs freely without the diaper shifting out of place.
During the next diaper change, carefully inspect your baby’s skin for any deep red marks or indentations around the waist and thighs. Mild, temporary pink lines are normal, but deep red marks indicate that the diaper was fastened too tightly or that the clip placement needs adjustment.
Common Mistakes and Safety Boundaries
One of the most common mistakes caregivers make is placing diaper clips or pins directly over the baby’s belly button. This area is highly sensitive, particularly in the first few weeks of life, and pressure from a hard plastic or metal clip can cause discomfort or interfere with healing. Always position your fasteners to the sides of the waist, keeping the central abdominal area free from heavy hardware.
Never attempt to use a diaper clip that is damaged, rusted, or has a loose locking mechanism. If you find that a pin has become dull and requires significant force to push through the cotton fabric, discard it immediately. Forcing a dull pin increases the likelihood of a sudden slip that could bypass your protective fingers and puncture the baby’s skin.
Additionally, if the folded fabric is too thick for your specific clip to close easily, do not force it; instead, adjust your folding style to reduce bulk at the fastening points. If you find it difficult to consistently secure lampin clips safely, or if your baby is highly active and wiggles excessively during changes, consider switching to modern cloth diaper covers.
These waterproof covers feature built-in snap buttons or hook-and-loop fasteners, completely eliminating the need for pins or clips. This alternative provides a straightforward diapering experience while still allowing you to use your traditional cotton lampin as the absorbent inner layer.
Frequently Asked Questions (FAQ)
Can I use a regular safety pin instead of a specific lampin clip?
No, you should never use standard household safety pins to secure a baby’s diaper. Regular safety pins lack the specialized safety features of diaper pins, such as locking plastic hoods or heavy-duty, bend-resistant shafts. Standard pins can easily pop open under the tension of a baby’s movements, exposing a sharp point directly against your baby’s skin.
If specialized diaper clips or safety pins are unavailable, it is much safer to use a diaper cover with snaps or to tie the lampin using a knot fold rather than risking the use of standard household pins.
How do I clean and maintain my lampin clips?
To maintain hygiene and prolong the lifespan of your diaper fasteners, wipe them down regularly with a damp cloth and mild, baby-safe soap. Avoid soaking metal safety pins or clips with metal springs in water, as prolonged exposure to moisture accelerates rust formation, especially in humid tropical climates.
After cleaning, dry them thoroughly with a clean towel and store them in a dry, well-ventilated container. Inspect each clip before every diaper change, checking for plastic degradation, cracks, or metal fatigue, and replace any fastener that shows signs of wear.

Community discussion
Share your experience or ask a question. Comments are reviewed before publication.