
Using a diaper clip is a highly effective, pin-free method to secure flat or prefold cloth diapers on an active baby. By mastering the proper stretching and gripping technique, you can achieve a snug, comfortable fit that prevents leaks and avoids skin irritation. Unlike traditional safety pins, which carry the risk of accidental pricks, modern diaper clips utilize flexible, elastic arms and tiny claw-like teeth to hold fabric layers together under tension. This approach provides a reliable hold that moves naturally with your baby’s movements, making it an excellent choice for daily wear.
In warm and humid tropical climates like the Philippines, cloth diapering offers a breathable, skin-friendly alternative to disposable options. However, the success of a cloth diaper depends heavily on how securely it is fastened. A loose diaper leads to sagging, leaks, and friction, while an overly tight one can cause discomfort and red marks on your baby’s delicate skin. Learning how to prepare the diaper, fold the fabric strategically, and apply the clip with even tension ensures a reliable fit every time.
Preparing the Cloth Diaper and Diaper Clip
Before placing any diaper on your baby, take a moment to inspect both the cloth diaper and the diaper clip to ensure they are in optimal condition. Start by examining the diaper clip itself. Look closely at the flexible arms for any signs of wear, such as micro-tears, stress discoloration, or a permanent loss of elasticity. Check the gripper teeth on each tab to ensure they are clean, intact, and free of lint or fabric buildup that could compromise their grip. If the clip feels unusually stiff or rigid—which can happen if it has been stored in an air-conditioned room—gently roll and warm the elastic material between your hands for a few seconds to restore its pliability.
Products mentioned in this guide
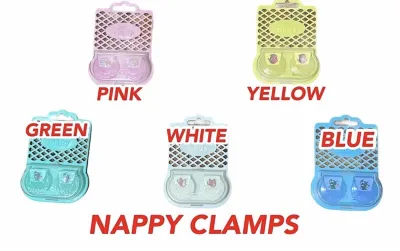
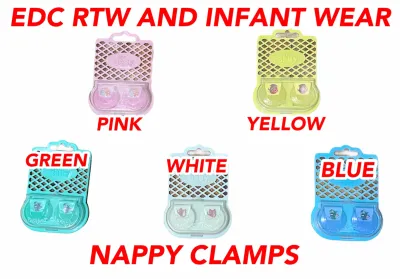
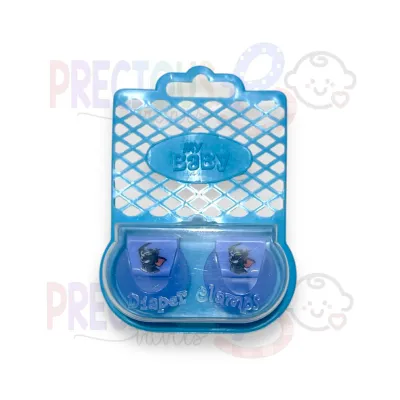
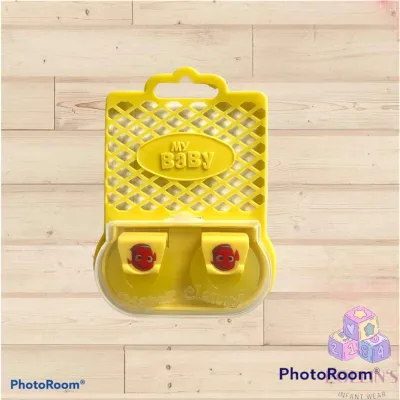
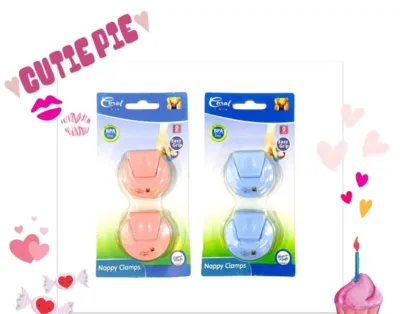
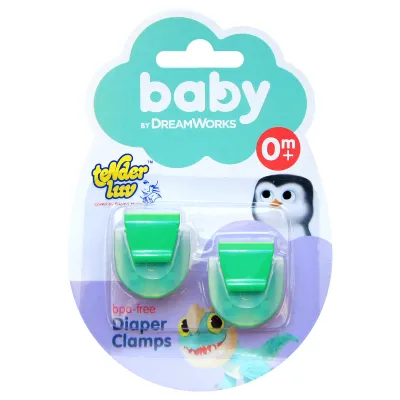
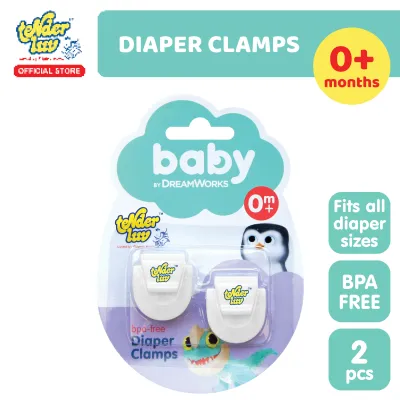
Prices are valid at publication and may change. Please refer to the product page for the latest price.
Next, prepare the cloth diaper. Ensure the fabric is completely clean, dry, and free of detergent residue. In humid environments, line-dried diapers can sometimes retain a slight dampness or feel stiff; make sure they are fully dry to prevent skin chafing and mold growth. Layer the diaper according to your baby’s current absorbency needs, placing any extra inserts or boosters in the wetness zone. Having everything laid out and ready before you place your baby on the changing mat makes the process smoother and safer, keeping your baby comfortable and secure throughout the change.
Folding the Cloth Diaper for a Secure Fit
The way you fold a flat or prefold cloth diaper directly impacts how well a diaper clip can grip the fabric. Standard folds like the angel fold, origami fold, or Jo fold are highly compatible with diaper clips because they naturally gather fabric at the hips and waist. The goal is to create structured, bunched sections of fabric where the clip’s teeth can bite securely. Without these thick anchor points, the teeth may slip off the smooth, flat surface of the diaper, causing the fastener to pop loose when your baby moves.

To create these anchor points, fold the diaper so that the side wings and the front waist panel have a slightly rolled or bunched edge. When wrapping the diaper around your baby, pull the side wings forward over the front panel, creating a layered zone of fabric at the hips. This overlapping area provides the perfect thickness for the clip to grip. Avoid placing the clip directly over extremely thick, hard seams or bulky knots, as this uneven thickness can prevent the gripper teeth from closing fully. Instead, aim for a consistent, medium-thickness fold that allows the teeth to sink in and hold multiple layers of fabric together.
Step-by-Step Guide to Fastening the Diaper Clip
Fastening a diaper clip requires a systematic approach to ensure even tension and a secure hold. Start by laying your baby on the folded diaper, ensuring the back waistline sits at a comfortable height, typically just above the hips. Pull the front panel of the diaper up between your baby’s legs, smoothing out any deep folds in the crotch area to prevent chafing. Bring the side wings forward over the front panel, holding them in place with one hand while you prepare the diaper clip with the other.
Step 1: Anchor the center or top tab first. Position the diaper clip at the center of the front waist panel. Press the teeth of the top tab firmly into the bunched fabric at the waist. Ensure the teeth grip the outer layers of the diaper securely without penetrating so deeply that they touch the baby’s skin. This central anchor point stabilizes the diaper and keeps the front panel from slipping down while you secure the sides.
Step 2: Stretch the side tabs across the baby’s hips. Hold the central anchor point with one hand to keep it steady. With your other hand, grasp one of the side arms of the clip. Pull the arm outward toward the baby’s hip, stretching the elastic material gently. It is crucial to pull from the base of the clip’s arm rather than the very tip or the gripper tab itself, as pulling the tips can tear the material over time. Once the arm is stretched taut, press the gripper teeth firmly into the overlapping fabric of the side wing. Repeat this process for the opposite side, ensuring the tension is balanced on both sides of the waist.
Step 3: Attach the bottom tab to the lower front fabric. If you are using a Y-shaped or T-shaped diaper clip, grasp the bottom arm of the fastener. Pull it downward toward the crotch area, stretching the elastic material slightly. Press the teeth into the lower front fabric of the diaper. This downward tension is essential because it pulls the leg openings snug against your baby’s thighs, preventing gaps where leaks can occur. Throughout this entire sequence, keep the fabric taut to maintain even tension across all three points of the clip, which prevents the fastener from snapping back or slipping during play.
Safety Checks and Troubleshooting Common Fit Issues
Once the diaper clip is secured, always perform a quick series of safety and fit checks before dressing your baby. Start with the finger-width check: slide one or two fingers comfortably between the diaper’s waistband and your baby’s tummy. The waistband should feel snug enough to stay in place but loose enough to allow your baby to breathe and move comfortably. Run your finger around the leg openings as well; the fabric should seal gently against the skin without digging in or leaving deep red marks.
Next, verify that no part of the diaper clip’s teeth or hard plastic edges is in direct contact with your baby’s skin. The clip must always rest entirely on top of the diaper fabric. If you notice any exposed teeth or if the clip is resting directly against the skin, unfasten that section, adjust the fabric fold to create a protective barrier, and reattach the clip. If the clip slips off frequently, it is usually a sign of insufficient fabric tension or a fold that is too thin. Try repositioning the grip to a thicker, more bunched area of the diaper.
To resolve leg gaps, which are a common cause of leaks, ensure the bottom tab of the clip is pulled downward with adequate tension. You can also gently tuck the excess fabric at the leg openings inward toward the crotch to create a clean, snug seal. If you find that the diaper clip repeatedly fails to hold, leaves persistent red marks that do not fade within a few minutes, or causes your baby to fuss, stop using it immediately. This may indicate that the clip has lost its elasticity, the diaper fold is incorrect, or your baby has outgrown the current diaper size and requires a larger setup.
Cleaning and Maintaining Your Diaper Clips
Proper maintenance of your diaper clips ensures they remain hygienic and retain their elasticity over time. After each use, rinse the clips under cool running water to remove any urine, soil, or lint that may have accumulated in the gripper teeth. Avoid using harsh chemical detergents, bleach, or boiling water, as extreme heat and strong chemicals can degrade the flexible material, making it brittle and prone to snapping.
After rinsing, shake off excess water and lay the clips flat to air-dry in a well-ventilated area. Keep them away from direct sunlight or high heat sources like clothes dryers or radiators, as UV rays and intense heat accelerate the breakdown of elastic polymers. Store your clean, dry clips in a cool, dry drawer or basket. In the humid climate of the Philippines, proper storage is especially important to prevent mold growth and maintain the integrity of the material. Inspect your clips regularly and replace them immediately if you notice cracks, a permanent loss of stretch, or dull teeth that can no longer grip fabric safely.
Frequently Asked Questions (FAQ)
Can I use a diaper clip on a fitted cloth diaper?
Fitted cloth diapers are designed with built-in fastening systems, such as snaps or hook-and-loop closures, which make diaper clips unnecessary. The contoured shape and elasticized edges of a fitted diaper are structured to stay secure on their own. However, if the built-in snaps on your fitted diaper break or lose their grip, a diaper clip can serve as a temporary emergency backup to keep the diaper closed until you can repair or replace it. Keep in mind that because fitted diapers are not designed with the flat, bunched fabric wings of flats or prefolds, a clip may not grip as securely or sit as flatly against the diaper surface.
Are diaper clips safe for newborns?
Diaper clips are generally safe for newborns when used with proper care and technique. Because a newborn’s skin is exceptionally delicate, it is vital to ensure that the fabric is folded and bunched sufficiently to act as a thick protective barrier beneath the clip’s teeth. When fastening a diaper on a newborn, fold the front waist panel downward to keep the diaper and the clip clear of the healing umbilical stump. This prevents friction and allows the area to stay dry and heal properly. Always monitor your newborn’s skin closely for any signs of redness, pressure marks, or irritation, and adjust the tension or fold as needed to ensure maximum comfort.

Community discussion
Share your experience or ask a question. Comments are reviewed before publication.