
Successfully transporting breastmilk while traveling requires a reliable storage breastmilk bag, a well-insulated cooler, and a strict temperature management routine. By carefully sealing, labeling, and packing your expressed milk with adequate cooling elements, you can safely preserve its nutritional value and ensure your baby has access to fresh milk wherever your journey takes you. Navigating tropical climates, long commutes, and changing environments becomes much simpler when you establish a systematic approach to handling, cooling, and serving your milk on the go.
Preparing Your Breastmilk Storage Bags Before Leaving
Before you step out the door, taking a few minutes to inspect and prepare your storage breastmilk bag collection can prevent messy spills and preserve milk quality. In warm, humid climates, moisture or tiny dust particles can easily cling to plastic surfaces. Run your clean fingers along the sealing tracks of each bag to ensure there are no tears, manufacturing defects, or debris that could compromise the closure. Taking this quick precautionary step helps guarantee a completely airtight seal.
When pouring your expressed milk into the bag, always leave about an inch of empty space at the top. Liquid expands as it freezes, and overfilling is one of the most common causes of burst seams and leaks during transit. Check the manufacturer’s maximum capacity line printed on the bag, but err on the side of caution by leaving a generous margin of empty space. This extra room allows the milk to expand safely without putting undue pressure on the plastic seams.
Products mentioned in this guide
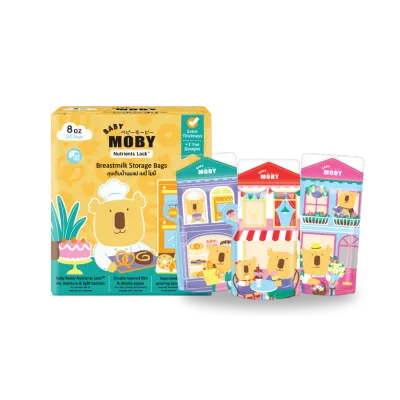
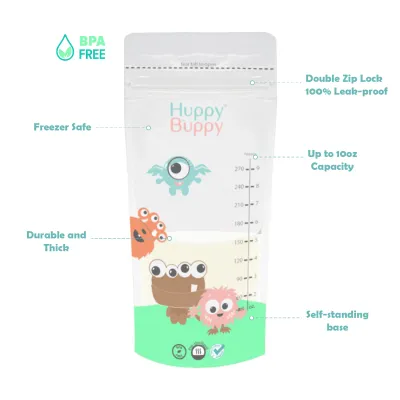
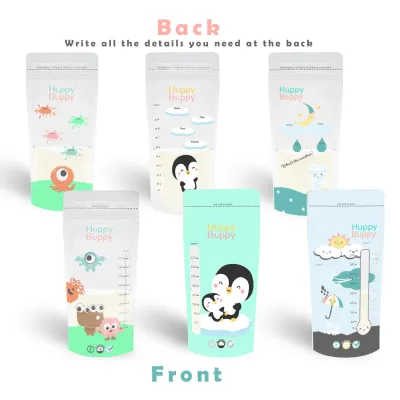
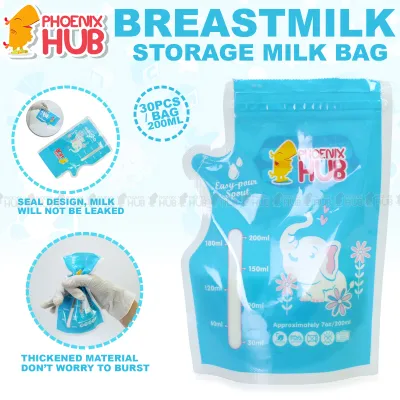
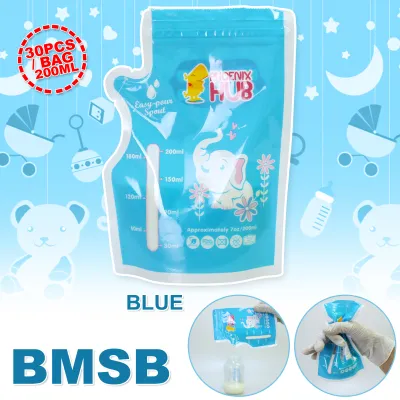
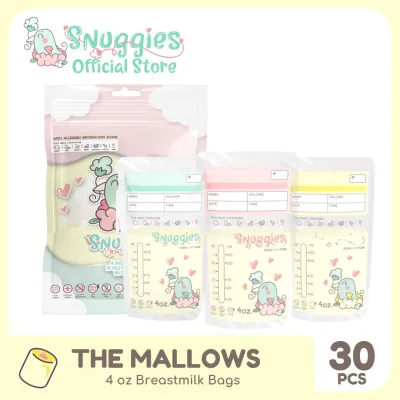
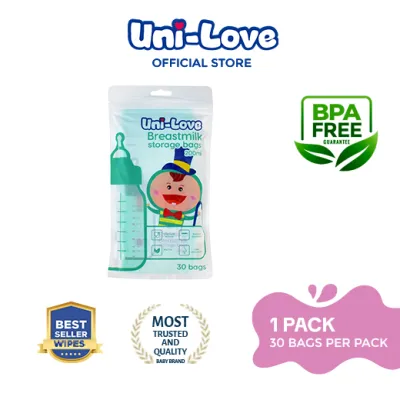
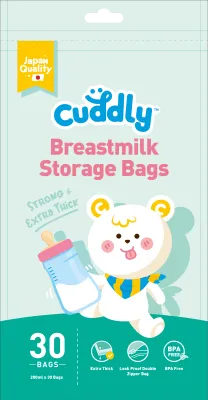
Prices are valid at publication and may change. Please refer to the product page for the latest price.
Accurate labeling is your best tool for tracking freshness and practicing the “first-in, first-out” method. Use a permanent marker to write the pumping date, time, and approximate volume on the designated writing area of the bag. Writing on the bag before filling it is often much easier and prevents accidental punctures from the pen tip. Clear labels ensure that anyone caring for your baby can easily identify which bag of milk should be used first.
Before zipping the seal completely shut, gently flatten the bag from the bottom upward to squeeze out excess air. Trapped air can contribute to freezer burn and takes up valuable space in your travel cooler. Once the air is removed, press the zip seal firmly from one end to the other, double-checking that both tracks are fully locked. For added security, you can gently tip the sealed bag upside down over a clean surface to verify that no liquid escapes.
Packing and Temperature Management for Transit
Choosing the right cooler is your primary defense against external heat, especially during long commutes or outdoor excursions. A high-quality insulated bag or a hard-sided cooler is essential for maintaining a stable internal environment. For short trips to a local mall or a quick doctor’s visit, a compact insulated pouch may suffice. For longer road trips or flights, a heavy-duty hard cooler with thick insulation walls provides much better thermal protection.

Arrange your fully frozen ice packs or gel packs strategically to maximize their cooling efficiency. Place them at the bottom, sides, and top of the cooler, sandwiching the storage breastmilk bags in the middle. This surrounding configuration ensures even cooling and prevents warm pockets from forming inside the container. Avoid placing the milk bags in direct contact with loose ice cubes, as melting ice can pool water at the bottom and potentially contaminate the exterior of the bags.
Do not guess the internal temperature based on how long you have been traveling. Place a small, reliable cooler thermometer inside the container where you can easily read it. This simple tool takes the guesswork out of milk safety, allowing you to verify that the environment remains consistently cold throughout your journey. If the temperature begins to rise, you will know immediately that it is time to replenish your ice packs.
Keep the cooler in the coolest part of your vehicle, away from direct sunlight and hot trunks. Limit the number of times you open the lid or zipper during your trip. Every opening lets in warm, humid air, which accelerates the melting of your ice packs and raises the internal temperature. If you need to access other items frequently, consider keeping your baby’s milk in a dedicated cooler separate from your family’s drinks and snacks.
Handling and Feeding Breastmilk on the Go
When it is time to feed your baby, thaw or warm the milk using a portable bottle warmer or a container of warm water. Never use a microwave to heat breastmilk. Microwaves heat liquids unevenly, creating dangerous hot spots that can burn your baby’s mouth, and the intense heat can destroy beneficial nutrients. If you are in a public space, carrying a clean thermos of hot water can serve as an easy, electricity-free warming station.
Breastmilk naturally separates into a watery layer and a creamy fat layer during storage. Gently swirl the storage breastmilk bag or the bottle to reintegrate these layers before feeding. Avoid shaking the milk vigorously, as aggressive shaking can break down delicate proteins and introduce excess air bubbles that might cause gas or discomfort in your baby. A gentle, circular motion is all that is needed to blend the milk smoothly.
Always test the temperature of the milk by splashing a few drops on the inside of your wrist before offering it to your baby. The milk should feel lukewarm or body temperature, not hot. If the milk is too cold, your baby may reject it, but if it is too warm, it poses a safety risk. Testing it on your skin is a quick and reliable way to ensure it is comfortable and safe for your little one.
Once your baby starts feeding, a countdown begins. Any milk remaining in the bottle after a feeding session must be discarded within a specific timeframe, typically within one to two hours. Bacteria from the baby’s saliva enter the bottle during feeding and can multiply quickly, making it unsafe to save leftovers for later. To minimize waste, consider warming only the amount of milk you expect your baby to consume in one sitting.
Transitioning Milk to Your Destination
Upon arriving at your destination, immediately inspect the condition of each storage breastmilk bag. If the milk was frozen and still contains visible ice crystals, current health guidelines generally indicate it can be safely refrozen. If it has completely thawed but remains cold, it must be refrigerated and used promptly. Taking a moment to assess the physical state of the milk helps you make the right decision for storage.
Transfer fully thawed, cold milk directly to the refrigerator. Plan to use this milk within the timeframe recommended by your pediatrician or the storage bag manufacturer, which is typically within 24 hours of complete thawing. Do not leave it sitting at room temperature or in a melting cooler. If you are staying at a hotel, verify that the room’s mini-fridge is cold enough to safely store breastmilk.
When placing your milk in the destination refrigerator or freezer, organize the bags so that the oldest milk is positioned at the front. This “first-in, first-out” system ensures you use the milk with the earliest expiration date first, minimizing waste and keeping your supply fresh. If you are sharing a refrigerator with others, keeping your milk bags in a labeled, dedicated container can prevent accidental handling or contamination.
If you need to pump new milk while traveling, let the freshly expressed milk cool completely in the refrigerator before combining it with already chilled or frozen milk. Adding warm milk directly to cold milk can raise the temperature of the existing supply, potentially encouraging bacterial growth. Keeping a few empty, clean bottles on hand allows you to cool new milk before transferring it to your storage bags.
Troubleshooting Common Storage and Transport Issues
Unexpected travel delays can happen, especially during long commutes or heavy traffic. If your journey is delayed, assess the safety of your milk by checking the cooler’s internal temperature. If the cooler has become warm, or if the milk exhibits an off-odor or unusual color changes, discard it to protect your baby’s health. When in doubt, it is always safest to prioritize your baby’s well-being and discard compromised milk.
To protect against minor leaks during transit, place each sealed storage breastmilk bag inside a secondary, food-grade zip-top bag. This double-bagging technique acts as a reliable barrier, ensuring that if a seam fails due to movement or pressure changes, the milk remains contained and uncontaminated. It also keeps the exterior of your storage bags clean and dry, making them easier to handle when it is time to feed.
If your ice packs melt before you reach your destination, look for a local convenience store, supermarket, or restaurant to purchase fresh ice. You can place the ice in sealed plastic bags and pack them tightly around your milk bags to maintain a cold environment until you reach a refrigerator. A pack of high-quality storage bags typically costs around ₱200 to ₱500 on an online marketplace, making them an affordable investment to keep your supply secure.
Inspect your storage bags regularly during the trip. If you notice any signs of structural failure, punctures, or a compromised zip seal, stop using that bag immediately. Transfer the milk to a clean, sterile bottle or a fresh storage bag if it has not been contaminated, or discard it if safety is uncertain. Regularly checking your gear helps you catch potential issues before they turn into major spills.
Frequently Asked Questions (FAQ)
Can I pump directly into a storage bag while traveling?
Yes, many modern breast pumps allow you to pump directly into a storage breastmilk bag, which is highly convenient when traveling. To do this safely, verify the compatibility between your pump’s flanges and the specific bag brand. You may need to purchase compatible adapter rings or clips to secure the bag tightly, preventing spills. Always find a stable, clean surface to set up your equipment, and sanitize your hands before handling the pump parts and bags.
What should I do if my ice packs melt before I reach my destination?
If your ice packs melt completely, act quickly to keep the milk cold. You can buy bagged ice from a nearby convenience store or ask hospitality staff at a hotel or restaurant for clean ice. Place the ice in leak-proof bags and pack them tightly around your milk. Check the physical state of the milk; if it is still cold to the touch, it is generally safe to transfer to a refrigerator or freezer once you arrive. If the milk has reached room temperature and has been warm for more than two hours, it should be discarded.

Community discussion
Share your experience or ask a question. Comments are reviewed before publication.