
Transitioning to cloth diapers with the Moosegear baby lampin is an excellent way to care for your baby’s skin, reduce household waste, and manage long-term parenting expenses. While switching from disposable diapers to a reusable system can feel intimidating to beginners, the process is straightforward once broken down into simple, repeatable steps. By mastering three core areas—prepping the diapers, achieving a secure fit, and establishing a consistent washing routine—you can easily integrate cloth diapering into your daily family life.
To make this transition successful, it helps to approach cloth diapering as a manageable daily habit rather than an all-or-nothing commitment. Many families start by using cloth diapers only while at home, gradually expanding their use as they become more comfortable with the routine. With a basic understanding of how the diaper components work together and a few essential accessories on hand, you will quickly find a rhythm that works for your household.
Gathering Your Supplies and Understanding the Components
Before putting your first cloth diaper on your baby, it is essential to understand the different parts of the diaper system. A standard Moosegear baby lampin typically consists of a waterproof outer cover (or shell) and an absorbent inner layer (the insert). The waterproof cover keeps moisture contained, while the insert does the heavy lifting of absorbing liquid. Depending on the specific model you purchased, the insert may slide into a built-in pocket or snap directly onto the cover.
Products mentioned in this guide
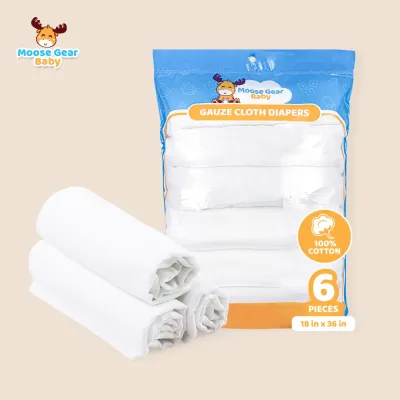
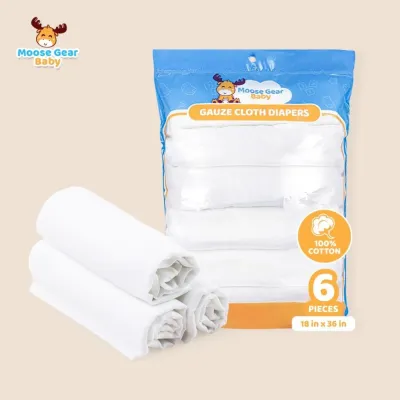
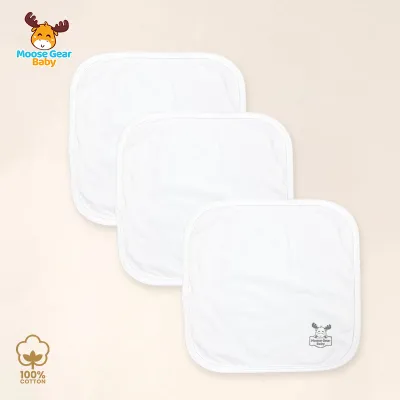
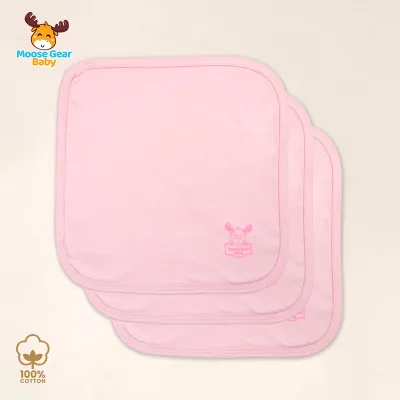
Prices are valid at publication and may change. Please refer to the product page for the latest price.
In addition to the diapers themselves, a few key accessories will make your daily routine much smoother. A high-quality, waterproof wet bag is indispensable for storing soiled diapers when you are away from home or waiting for wash day. At home, a dedicated diaper pail or a large, hanging wet bag keeps dirty diapers contained and minimizes odors. You might also consider reusable or flushable diaper liners, which sit on top of the diaper to catch solid waste and make cleanup significantly easier.
Before using your diapers, take a moment to review the manufacturer’s included manual or packaging instructions. This documentation provides crucial details regarding model-specific parts, recommended snap configurations for different weight ranges, and initial safety warnings. Familiarizing yourself with these details ensures you use the product safely and preserve its lifespan from day one.
Prepping Your Moosegear Cloth Diapers for First Use
New cloth diapers and inserts cannot be used straight out of the package; they must undergo an initial prepping process. Pre-washing is necessary to remove any manufacturing residues, dust, and oils that may have accumulated during production and packaging. More importantly, pre-washing primes the fabric fibers, opening them up to reach their maximum absorbency potential.

To prep your diapers correctly, always check the care label for material-specific instructions. Synthetic materials, such as microfiber, generally only require a single wash with a mild detergent to be ready for use. Natural fibers, such as bamboo, cotton, or hemp, contain natural oils that must be washed away before the fabric can absorb liquid effectively. These natural materials often require multiple wash and dry cycles before they reach peak absorbency, though they can usually be worn after the first few washes if changed more frequently.
To execute a standard pre-wash sequence, place your new covers and inserts into your washing machine with a small amount of residue-free detergent. Run a standard wash cycle according to the temperature limits specified on the care label. Avoid using fabric softeners or dryer sheets during this process, as they leave a coating on the fibers that severely limits absorbency. Once dried, your diapers are ready for their first wear.
How to Fit the Diaper Securely and Comfortably
Achieving a proper fit is the most effective way to prevent leaks and ensure your baby remains comfortable throughout the day. Start by preparing the diaper: if you are using a pocket style, stuff the absorbent insert flat inside the pocket, ensuring it is not bunched or folded. If your baby requires extra absorbency, you can layer a second insert or a booster companion flat against the primary insert.
Next, adjust the rise snaps on the front of the diaper. These snaps control the overall length of the diaper and should be adjusted to match your baby’s current size before you put the diaper on. Once the rise is set, slide the diaper under your baby, positioning the back elastic just above their hips. Pull the front of the diaper up over their tummy, keeping the fabric flat, and secure the waist snaps. The waist should be snug but comfortable; you should easily be able to slide two fingers between the diaper waistband and your baby’s stomach.
After securing the snaps, perform a quick visual and physical check. Run your finger along the leg elastics to ensure they sit snugly in the groin crease—similar to the fit of underwear—rather than resting on the outer thighs. Check that no part of the absorbent insert or inner lining is poking out of the waterproof cover, as this will cause moisture to wick onto your baby’s clothing. Finally, gently tuck any excess fabric from the rise snaps upward toward the waistband to lock the leg elastics in place.
As your baby grows, transitions from crawling to walking, or experiences changes in daily liquid output, you will need to adjust the fit. A diaper that fit perfectly last week may suddenly leak if the baby has thinned out or if you have added a thicker insert configuration. Regularly reassessing the snap settings ensures the diaper continues to perform reliably through every developmental stage.
Building a Daily Washing and Care Routine
Establishing a sustainable laundry routine is key to making cloth diapering a permanent part of your lifestyle. When handling soiled diapers, the method depends on your baby’s diet. For exclusively breastfed babies, the waste is completely water-soluble and can go directly into the washing machine. For formula-fed babies or toddlers eating solid foods, you must remove the solid waste into the toilet using a diaper sprayer, a scraper, or a liner before storing the diaper.
Once pre-cleaned, store the dirty diapers in a dry, breathable wet bag or diaper pail until wash day. Avoid soaking diapers in a bucket of water, as this creates a breeding ground for bacteria, increases odor, and poses a safety hazard for curious toddlers. For optimal hygiene and fabric longevity, plan to wash your diapers every two to three days.
When wash day arrives, follow a simple two-step machine cycle. First, run a short, cold pre-wash or rinse cycle with a small amount of detergent to flush out residual waste and urine. Second, follow with a long, heavy-duty main wash cycle using warm water (refer to the care label for maximum temperature limits) and a full dose of detergent to thoroughly clean the fibers. Ensure your detergent is free of fabric softeners, optical brighteners, and heavy fragrances, which can build up on the fabric.
Drying your diapers correctly is just as important as washing them. In the tropical climate of the Philippines, line drying outdoors is highly effective, as the sun acts as a natural sanitizer and helps fade stubborn stains. However, avoid leaving the waterproof covers in intense, direct midday sunlight for extended periods, as extreme heat can degrade the waterproof laminate layer. Inserts can generally be tumble dried on a low heat setting if outdoor drying is not feasible, but always verify specific limits on your product’s care label.
Troubleshooting Common Beginner Challenges
It is entirely normal to encounter a few minor challenges when first starting out with cloth diapers. If you experience leaks, begin by diagnosing the cause. If the leak occurs within an hour of putting the diaper on, it is likely a fit issue, such as a gap around the legs or an insert poking out. If the diaper leaks after several hours and the insert is completely saturated, your baby may simply need a more absorbent insert configuration or more frequent changes. Compression leaks can also occur if tight clothing squeezes moisture out of a saturated insert.
Unpleasant odors, such as a strong ammonia smell when your baby wets or a musty scent straight out of the drawer, usually indicate a buildup of detergent or minerals. In the humid conditions of the Philippines, diapers must dry completely and relatively quickly to prevent musty odors from developing. If you suspect buildup, evaluate your wash routine: ensure you are using enough water in the rinse cycles, adjust your detergent dosage, and make sure your storage area has adequate airflow.
While most minor issues can be resolved by adjusting your fit or wash routine, it is important to know when to seek help. If your baby develops a persistent, bright red skin irritation that does not improve with standard care, stop using cloth diapers immediately and consult a pediatrician. For structural issues with the diapers, such as failing snaps or degrading elastics, contact the manufacturer’s customer support team for guidance.
Frequently Asked Questions (FAQ)
Can I use diaper rash creams with my Moosegear baby lampin?
Traditional diaper rash creams containing petroleum, mineral oil, or high concentrations of zinc oxide can create a waterproof barrier on cloth diaper fabrics. This barrier prevents the inserts from absorbing liquid, leading to repelling and leaks. If your baby requires a barrier cream, check the manufacturer’s guidelines for approved, cloth-safe ingredients. Alternatively, you can place a disposable or reusable liner between your baby’s skin and the diaper to protect the fabric from cream buildup.
How many cloth diapers do I realistically need to start?
The number of cloth diapers you need depends on your baby’s age, daily diaper consumption, and your preferred laundry schedule. Newborns typically require 10 to 12 diaper changes per day, while older babies may need 6 to 8. If you plan to wash your diapers every day, a starting stash of 12 to 15 diapers is usually sufficient. If you prefer to wash every other day, aiming for a stash of 20 to 24 diapers will give you a comfortable buffer without requiring a massive initial investment.

Community discussion
Share your experience or ask a question. Comments are reviewed before publication.