
Feeding your baby while traveling or running errands requires careful planning, especially in a warm and humid tropical climate like the Philippines where bacteria can multiply rapidly in milk. Using a Bebeta milk container offers a practical way to transport breast milk or formula, but maintaining safety depends entirely on your preparation, storage, and cleaning habits. Whether you are heading to a mall in Manila or traveling to the province, understanding how to manage this container ensures your baby receives uncontaminated, high-quality nutrition.
Safe on-the-go feeding is not just about convenience; it is a critical aspect of protecting your infant’s developing immune system. Because babies are highly susceptible to foodborne illnesses, every step of handling their milk must be executed with strict hygiene in mind. By mastering the correct techniques for preparing, filling, transporting, and cleaning your storage container, you can confidently feed your little one anywhere without compromising their health.
Preparing Your Bebeta Milk Container Before Travel
Before you pack your diaper bag, the milk container must undergo a thorough inspection and sanitization process. Start by examining the container body, the lid, and any silicone sealing rings for signs of wear, hairline cracks, or discoloration. Even a tiny crack can harbor bacteria or cause a messy leak inside your bag during transit. If you notice any structural damage or permanent staining, it is best to replace the component immediately to ensure a secure and hygienic seal.
Products mentioned in this guide

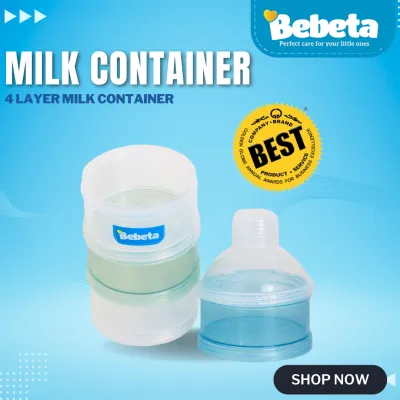

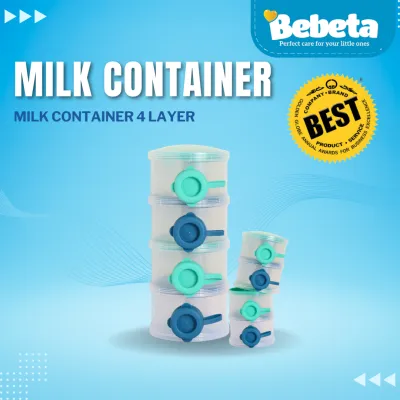
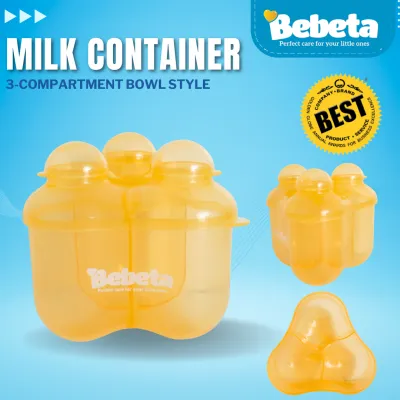
Prices are valid at publication and may change. Please refer to the product page for the latest price.
Once you verify that all parts are in good condition, wash them thoroughly using warm water and a mild, baby-safe dishwashing liquid. After washing, sterilize all detachable parts according to the manufacturer’s instructions, which may include steam sterilization, boiling, or using a cold-water sterilizing solution. Always check the product manual to confirm the maximum temperature limit the material can withstand, as excessive heat can warp certain plastics.
After sterilization, allow every component to air-dry completely on a clean, elevated drying rack in a well-ventilated area. Avoid using cloth towels to dry the parts, as towels can transfer lint, dust, or bacteria back onto the clean surfaces. Trapped moisture inside a closed container creates a highly humid microenvironment that encourages mold and bacterial growth, so assembly should only occur when every piece is bone-dry.
Storing and Transporting Milk Safely During Transit
When filling your container, always wash your hands thoroughly with soap and water first. Carefully pour your expressed breast milk or freshly prepared formula into the container, making sure to leave adequate headspace at the top. Leaving about a centimeter of space prevents the liquid from overflowing when you secure the lid and allows room for natural expansion if you plan to chill or freeze the milk.

Next, align the lid carefully with the container’s threads and turn it until it is firmly closed. Be careful not to over-tighten the lid, as excessive force can strip the plastic threads or deform the silicone sealing ring, which actually increases the risk of leaks. A gentle but firm twist is usually sufficient to create an airtight seal; you can perform a quick test by gently tilting the container over a clean sink to ensure no liquid escapes.
In the tropical heat of the Philippines, keeping milk at a safe temperature during transit is a major challenge. Place the sealed container upright inside an insulated cooler bag packed with frozen gel packs or ice bricks. The container should be surrounded by the cold source to maintain a consistently low temperature, ideally keeping breast milk chilled below 4°C. Avoid placing the container directly against loose ice cubes that will melt, as the resulting water can contaminate the lid and outer surfaces of the container.
Managing Temperature and Feeding on the Go
While you are out, keep a close eye on where you store your insulated diaper bag. Never leave the bag inside a parked car, under direct sunlight, or near hot surfaces, as temperatures in these environments can spike rapidly and compromise the cooling efficiency of your ice packs. Keep the cooler bag zipped shut as much as possible, opening it only when it is time to retrieve the milk for a feeding.
Before offering the milk to your baby, conduct a quick sensory check. Inspect the milk’s physical appearance and smell; if you notice an unusually sour odor, clumping, or separation that does not blend back together when gently swirled, discard the milk immediately. Remember that prepared formula should generally be consumed within two hours of preparation if kept at room temperature, while breast milk storage times vary depending on your cooling setup. If you are ever in doubt about the safety or freshness of the milk, do not risk feeding it to your baby; consult a healthcare professional or pediatrician for specific guidance on milk storage safety.
When it is time to feed, find a clean area and sanitize your hands thoroughly before handling the container. Depending on the design of your specific container, you can either attach a compatible sterilized feeding nipple directly to the collar or carefully pour the milk into a separate sterilized baby bottle. Ensure that the pouring lip of the container does not come into contact with unsanitized surfaces during this transition to keep the feeding process as sterile as possible.
Cleaning and Maintaining the Container After Use
As soon as your baby finishes feeding, rinse the empty container and its parts with cool water. This immediate rinse is a crucial step because it prevents milk proteins and fats from drying and sticking to the plastic walls, which makes deep cleaning much more difficult later. If you are still away from home, a quick rinse with clean bottled water will suffice until you can perform a thorough wash.
Once you return home, disassemble all parts completely, including the silicone sealing ring and any cap inserts. Wash each piece individually using a dedicated baby bottle brush and a mild, fragrance-free baby bottle cleanser. The brush helps you reach the bottom corners and the grooves of the screw threads where milk residue tends to accumulate. Avoid using abrasive scrubbing pads, which can scratch the plastic and create microscopic grooves where bacteria can hide.
After a thorough washing and a final rinse under clean running water, place all components on a clean drying rack to air-dry. Store the disassembled parts in a clean, dust-free cabinet or container once they are completely dry. Keeping the parts disassembled during storage prevents moisture from becoming trapped, ensuring your container remains fresh, odor-free, and ready for your next family adventure.
Frequently Asked Questions (FAQ)
Can I freeze milk directly in the Bebeta milk container?
Before freezing milk in your container, you must check the manufacturer’s packaging or product manual to verify if the specific material is rated for freezer temperatures. If the manual confirms it is freezer-safe, always leave at least an inch of headspace at the top of the container before sealing it. Liquids expand significantly as they freeze, and failing to leave enough room can cause the plastic to crack or the lid to pop off, ruining your stored milk.
How do I know if the sealing ring needs replacement?
You should inspect the silicone sealing ring during every wash for visible signs of wear, such as stretching, cracks, discoloration, or a sticky texture. If the ring has lost its elasticity or fits loosely in the lid groove, it will no longer provide an airtight seal. To verify its integrity, perform a simple water test at home: fill the container with water, seal it, and turn it upside down over a sink to check for any slow drips before using it for travel.
Is the Bebeta milk container dishwasher safe?
To determine if your container can go in the dishwasher, refer directly to the manufacturer’s instructions, as compatibility depends on the specific plastic blend used. If it is dishwasher-safe, always place the components on the top rack to keep them away from the high-heat drying elements at the bottom of the machine. Keep in mind that repeated exposure to the intense heat and harsh detergents of dishwasher cycles can accelerate the degradation of plastic and silicone, so hand-washing remains the gentler option for extending the container’s lifespan.

Community discussion
Share your experience or ask a question. Comments are reviewed before publication.