
Safely transporting breastmilk while running errands, traveling, or heading to work requires a reliable system to preserve its nutritional value and prevent bacterial growth. Using specialized storage bags, such as Lansinoh breastmilk storage bags, provides a convenient, space-saving solution for active mothers. However, maintaining the safety of expressed milk on the go depends heavily on proper hygiene, correct sealing techniques, and robust temperature control. In tropical climates like the Philippines, where high ambient temperatures and humidity can accelerate spoilage, understanding the precise steps to pack, transport, and warm your milk is essential for your baby’s health. By combining high-quality storage bags with a disciplined cooling strategy, you can confidently feed your baby safe, fresh milk anywhere.
Essential Supplies for Transporting Breastmilk
Before stepping out of the house, gathering the correct gear is the first line of defense against milk spoilage. A high-quality insulated cooler bag is indispensable for maintaining a stable, cold environment. When selecting a cooler bag, look for thick insulation walls and a durable, easy-to-clean inner lining. The bag should have sufficient capacity to hold your planned number of milk bags alongside multiple ice packs without crowding or forcing the zippers.
The choice of cooling agents directly impacts how long your breastmilk remains safe. Heavy-duty gel packs or solid frozen blocks are highly recommended over loose ice cubes, which melt quickly and can pool water at the bottom of your bag, potentially compromising the outer seals of your storage bags. Ensure your ice packs are placed in the deepest part of your home freezer for at least twelve to twenty-four hours before departure so they are completely solid.
Products mentioned in this guide
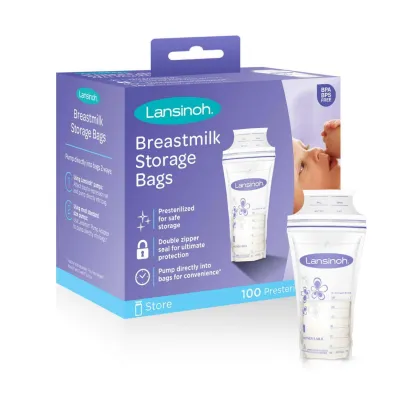
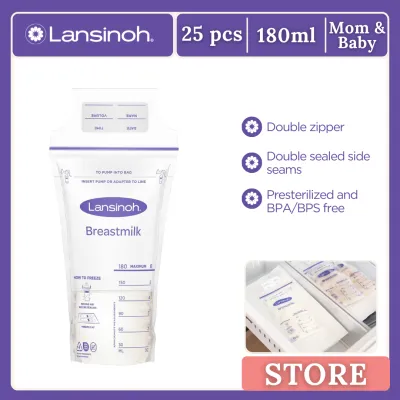
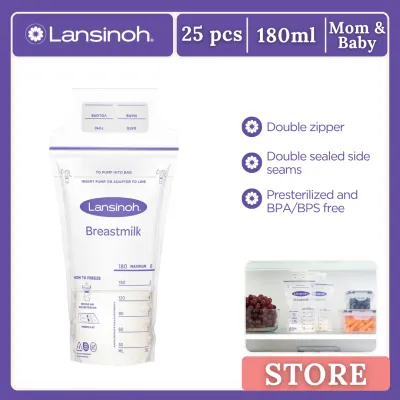
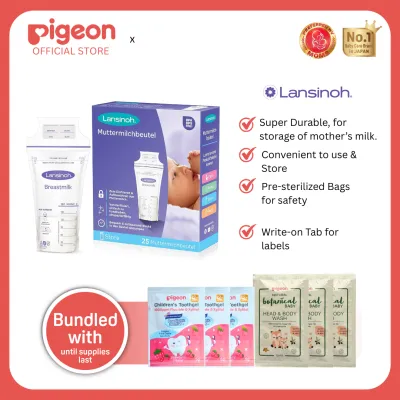
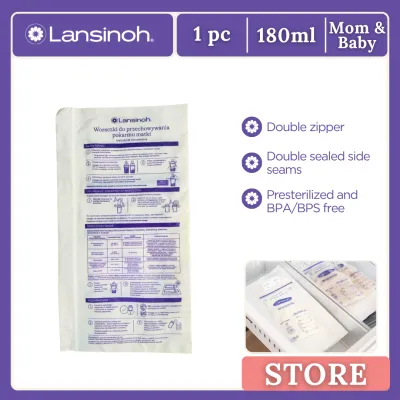
Prices are valid at publication and may change. Please refer to the product page for the latest price.
Additionally, keep a dedicated permanent marker in your travel kit to label each bag immediately after expression. For an extra layer of security, pack a few clean, secondary zip-top utility bags. Placing your filled breastmilk bags inside these secondary bags protects them from direct contact with condensation and provides a reliable barrier in the rare event of a leak. Always review the cooler manufacturer’s guidelines to understand its maximum thermal retention limits and capacity recommendations.
How to Pump and Fill Lansinoh Bags Correctly
Maintaining strict hygiene during the expression and filling process is paramount to preventing the introduction of harmful bacteria. Always wash your hands thoroughly with soap and clean water for at least twenty seconds before handling any pumping equipment or storage bags. Ensure all breast pump parts, including flanges, valves, and connectors, have been properly cleaned and sanitized according to the manufacturer’s instructions.

When you are ready to transfer the expressed milk, open the storage bag carefully without touching the inside of the neck or the interior walls to keep the pre-sterilized environment intact. Pour the milk slowly into the bag, paying close attention to the measurement markings on the side. It is critical to fill the bag only up to the indicated maximum fill line. If you plan to freeze the milk later, leaving this empty space at the top is essential, as liquid expands when frozen, and overfilling can cause the seams of the bag to burst.
Before sealing the bag, you must remove excess air, which can degrade the quality of the milk over time and take up unnecessary space in your cooler or freezer. To do this, hold the bag upright just below the zipper seal. Gently use your other hand to flatten the bag from the milk line upward, pushing the air out of the top. Once the air is expelled, immediately press the double-zipper seal closed.
Verifying the integrity of the seal is a step that should never be rushed. Run your thumb and forefinger firmly along the entire length of the double-zipper track at least twice. You should feel and hear the tracks interlocking securely. Inspect the seal visually to ensure there are no gaps, folds, or trapped liquid within the zipper grooves, as even a tiny opening can lead to leaks during transport.
Labeling and Organizing Your Milk Supply
Accurate labeling is the key to managing your milk supply safely and avoiding unnecessary waste. Every bag should be clearly marked with the date of expression, the exact time of pumping, and the total volume of milk contained. If your baby attends a daycare or is being cared for by a relative, also write your baby’s full name on the bag to prevent any mix-ups.
Always write these details on the designated write-on tab or label panel located at the top of the bag, above the zipper seal. Writing directly on the main body of the bag where the milk is stored carries risks; the ink from permanent markers can potentially leach through thin plastic over time, or the pressure of the pen tip could puncture the delicate material. Using the designated tab ensures the ink remains completely isolated from the milk.
When organizing your cooler bag or home freezer, always employ the “first in, first out” (FIFO) method. Arrange the bags so that the oldest milk—the bags with the earliest dates—is positioned where it will be used first. In a cooler bag, this means placing the oldest bags near the top or in the most accessible spot so you do not have to rummage through the contents, which keeps the cooler open longer than necessary and lets cold air escape.
Best Practices for Transporting Milk in a Cooler
To maintain a safe, consistent temperature while traveling, you must manage the internal environment of your cooler bag strategically. Start by pre-chilling your cooler bag before packing it. You can achieve this by placing a spare ice pack inside the empty cooler for about fifteen minutes before you load the actual milk bags, which lowers the starting temperature of the insulation.
When packing, arrange your ice packs so they surround the breastmilk bags completely. Place at least one frozen pack at the bottom of the cooler, stack your sealed milk bags flat or upright in the middle, and place another frozen pack directly on top of them. This configuration ensures that cold air, which naturally sinks, circulates evenly around all the milk bags.
Limit the frequency and duration of opening your cooler bag during your outing. Every time you open the zipper, warm, humid air enters, accelerating the melting of your ice packs and raising the internal temperature. Plan your stops and only open the cooler when you are ready to retrieve a bag for feeding or to add a newly expressed bag.
Be mindful of standard health authority guidelines regarding storage times. While breastmilk can remain safe at room temperature for a limited number of hours under ideal conditions, the high ambient heat of tropical regions significantly reduces this window. In a well-insulated cooler packed with sufficient ice packs, milk can generally be kept cold for up to twenty-four hours, but you should always verify specific storage limits on the Lansinoh packaging and consult local pediatric recommendations. Upon arriving at your destination, immediately inspect the bags to ensure they are still cold to the touch and check for any signs of condensation or leakage.
Warming and Feeding Milk at Your Destination
Once you reach your destination, preparing the milk for your baby must be done with care to preserve its immunological and nutritional properties. If the milk is chilled, the safest way to warm it is by placing the sealed Lansinoh bag directly into a bowl of warm—not hot—water for a few minutes. Alternatively, you can use a portable bottle warmer designed to accommodate storage bags, ensuring you follow its specific operational instructions.
Never use a microwave oven or place the bag in boiling water to heat breastmilk. Microwaves heat liquids unevenly, creating dangerous “hot spots” that can easily burn your baby’s sensitive mouth. Furthermore, excessive heat from boiling water or microwave radiation destroys the delicate proteins, antibodies, and vitamins that make breastmilk so beneficial.
Once the milk reaches a comfortable, lukewarm temperature, gently swirl the bag to redistribute any fat that may have separated during storage; avoid shaking the bag vigorously, as this can break down active components. Carefully pour the milk into a sanitized feeding bottle. According to standard pediatric guidelines, once a feeding session begins, any milk left in the bottle after your baby finishes must be discarded within two hours to prevent bacterial growth from the baby’s saliva.
Frequently Asked Questions (FAQ)
Can Lansinoh Breastmilk Storage Bags Be Reused?
No, Lansinoh breastmilk storage bags are strictly designed for single-use only. They are pre-sterilized during the manufacturing process to ensure they are completely free of bacteria when you first open them. Attempting to wash, sanitize, or reuse these bags compromises the integrity of the plastic and the double-zipper seal, making them highly susceptible to tearing and leaking. More importantly, it is virtually impossible to thoroughly clean and dry the interior corners and zipper tracks of a used bag, which creates a breeding ground for harmful bacteria that can contaminate subsequent batches of milk.
How Do I Know If the Milk Has Spoiled During Transport?
You can identify spoiled breastmilk through a few simple sensory checks. Fresh breastmilk naturally separates into a creamy top layer and a watery bottom layer, which should easily blend back together when gently swirled; if the layers remain separated or look clumpy after swirling, the milk may have spoiled. Additionally, smell the milk before feeding; spoiled breastmilk will have a distinctly sour, rancid, or metallic odor, quite different from its usual sweet scent. Finally, check the state of your cooler upon arrival; if the ice packs have completely melted into warm water and the milk bags feel warm to the touch, it is safest to discard the milk.
Can I Add Freshly Pumped Milk to a Bag Already in the Cooler?
It is highly recommended to avoid adding freshly expressed, warm breastmilk directly to a bag of already chilled milk. Introducing warm liquid raises the temperature of the chilled milk, which can encourage rapid bacterial growth and accelerate spoilage. Instead, cool the freshly pumped milk in a separate, clean container or bottle inside the cooler first until it reaches the same temperature as the stored milk before combining them. Alternatively, simply use a new, empty Lansinoh storage bag for the fresh expression to keep the batches safely separated.

Community discussion
Share your experience or ask a question. Comments are reviewed before publication.