
Traveling across the Philippines with an infant requires careful planning, especially when preserving the safety of breast milk and formula. The country’s tropical climate, characterized by high temperatures and humidity, accelerates bacterial growth in milk if it is not kept at optimal temperatures. Whether you are navigating a long road trip, boarding a domestic flight, or enduring Manila’s unpredictable traffic, maintaining a reliable cold chain is essential for your baby’s health.
To transport breast milk or formula safely over long distances, caregivers must rely on high-quality insulated storage, strategic packing, and strict temperature monitoring. This guide outlines practical steps to help you select the right travel milk container, pack your cooling gear efficiently, manage safety limits under the tropical sun, and handle feeding times smoothly while on the road. By establishing a systematic routine, you can minimize the risk of spoilage and ensure your baby receives safe nourishment throughout your journey.
Choosing and Preparing Your Travel Milk Container and Cooling Gear
Selecting the right travel milk container is the foundation of a successful journey. For breast milk, options include space-efficient storage bags that freeze flat to maximize contact with ice packs, or rigid plastic bottles that protect against accidental punctures during transit. When choosing containers, verify that they are made from food-grade, BPA-free materials and feature secure, leak-proof seals to prevent contamination and spills.
Products mentioned in this guide
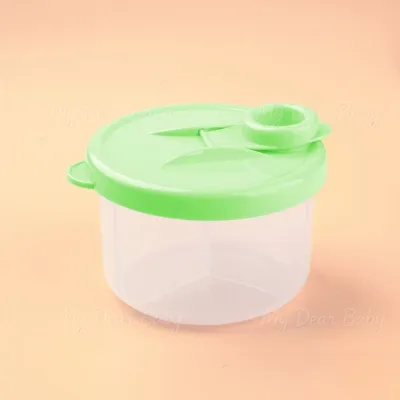
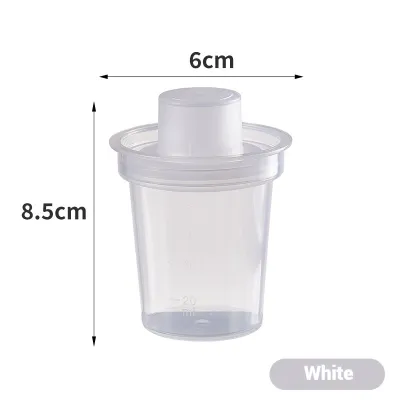
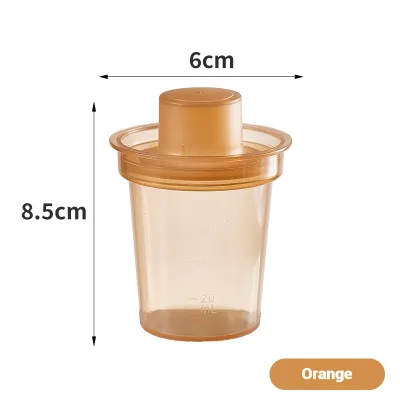
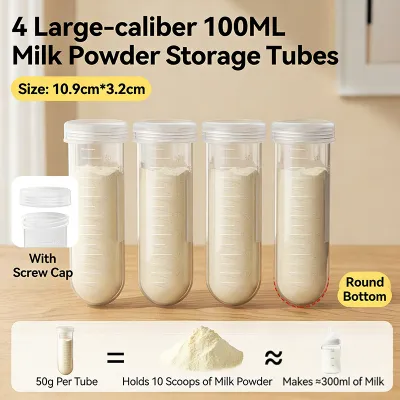
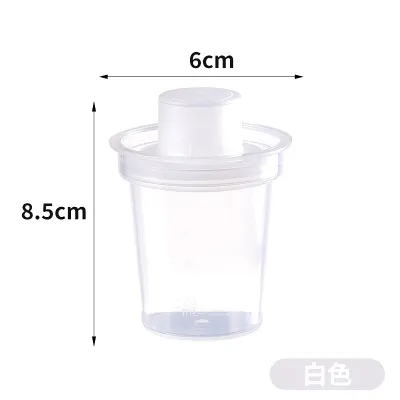
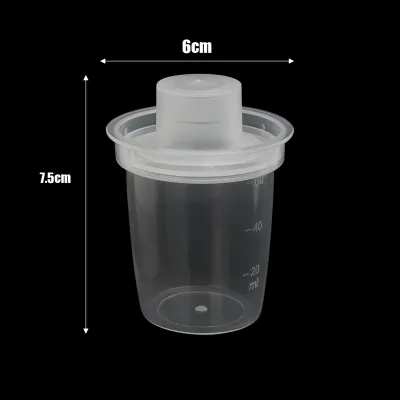
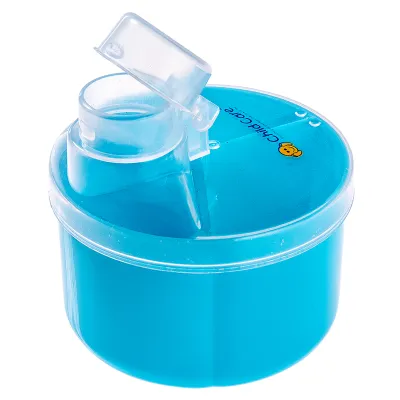
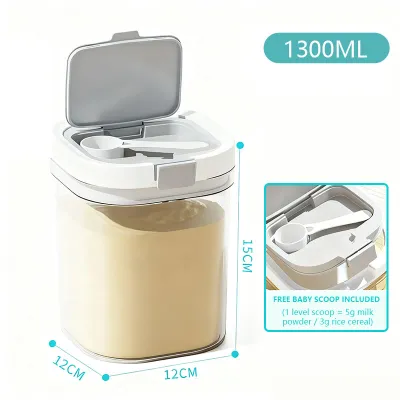
Prices are valid at publication and may change. Please refer to the product page for the latest price.
For formula feeding, transporting dry powder and mixing it on demand is generally the safest and most convenient approach. A dedicated travel milk container, such as a multi-compartment formula dispenser, allows you to pre-measure individual servings of powder before leaving home. This avoids carrying bulky tins and prevents moisture from clumping the powder. Ensure that the dispenser has a secure rotating lid or individual snap caps that prevent powder from migrating between compartments during bumpy rides.
Your cooling equipment is just as critical as the containers themselves. A high-quality, thickly insulated cooler bag or a hard-sided cooler is necessary to combat the tropical heat. Before packing, you must prepare your cooling media to ensure maximum temperature retention. Place your gel ice packs or ice bricks in the deepest part of your home freezer for at least 24 hours prior to departure. Pre-chilling your empty cooler bag in the refrigerator or by placing a sacrificial bag of ice inside it for an hour before packing will also help maintain a cold environment from the very start of your trip.
Before assembling your gear, inspect all components. Check the cooler bag’s zippers, seams, and insulation for wear, and inspect containers for cracks, loose lids, or worn silicone gaskets. Wash all reusable containers, lids, and pump parts thoroughly with hot, soapy water, and allow them to air-dry completely on a clean surface to prevent any moisture from trapping bacteria before you even begin your journey.
Step-by-Step Guide to Packing Breast Milk and Formula
Packing your travel cooler requires a strategic layout to ensure that every container of milk remains at a safe, consistent temperature. For breast milk, begin by cooling the expressed milk rapidly in the refrigerator before transferring it to your travel containers. Avoid packing warm, freshly expressed milk directly next to frozen milk to prevent premature thawing. Once the milk is chilled or frozen solid, layer the bottom of your cooler bag with pre-frozen gel packs, place the milk containers directly on top of them, and surround the sides and top with additional ice packs to create a fully insulated cocoon.

When traveling with formula, the packing strategy depends on whether you are using powder or pre-mixed liquid. Keep dry powder containers in a cool, shaded section of your diaper bag, away from direct sunlight. Carry sterilized water in clean, vacuum-insulated thermal bottles, which can keep the water at your desired mixing temperature for hours. If you must pre-mix formula before the trip, you must treat it with the same strict cold-chain protocols as breast milk: chill the prepared bottles immediately in the refrigerator, pack them in direct contact with frozen ice packs inside your cooler, and use them within the manufacturer’s recommended timeframe.
To maximize cooling efficiency, minimize empty air space inside the cooler bag. Fill remaining gaps with clean hand towels or extra ice packs to prevent warm air circulation. Additionally, limit the number of times you open the cooler during transit; every opening lets in warm, humid tropical air. Retrieve only what you need for an immediate feeding, and quickly zip the cooler shut to preserve the internal temperature.
Managing Temperature and Time Limits in Tropical Conditions
Maintaining safe temperatures is the most critical aspect of transporting infant milk. For chilled breast milk, standard pediatric guidelines recommend keeping the temperature at or below 4°C (39°F), while frozen milk should remain solid at -18°C (0°F) or lower. In the Philippines, where ambient temperatures frequently exceed 30°C, relying on ambient room temperature for storage is highly risky. Always check the specific storage and safety instructions on your formula packaging or consult your pediatrician to verify the exact room-temperature limits for prepared formula, which is typically highly perishable once mixed.
Place a small digital thermometer inside your insulated bag to verify the internal temperature without keeping the bag open too long. In addition to reading the thermometer, regularly observe the physical state of your ice packs. If you notice that the gel packs have completely liquefied or that the ice has melted into warm water, the cooling capacity of your setup has been compromised, and the internal temperature will begin to rise rapidly.
Establishing clear stop conditions is vital for your baby’s safety. If ice packs melt completely, check the milk immediately. Breast milk with ice crystals can be refrozen or kept chilled, but if it has completely thawed and feels warm, or if pre-mixed formula has exceeded safe refrigeration limits, discard it. Never risk feeding spoiled milk to your baby, as their developing digestive system is highly sensitive to foodborne bacteria.
Reheating and Feeding Safely at Your Destination
Once you arrive at your destination or a suitable rest stop, reheating the milk safely is essential to preserve its nutrients and prevent burns. The safest method to warm breast milk or prepared formula is to place the travel milk container into a bowl of warm water or hold it under running warm tap water for a few minutes. Avoid using microwaves to heat baby bottles under any circumstances. Microwaves heat liquids unevenly, creating dangerous “hot spots” that can burn your baby’s mouth, and they can also destroy beneficial proteins and antibodies present in breast milk.
Always test the milk temperature by dropping a few drops onto the inside of your wrist; it should feel lukewarm, not hot. Once your baby begins feeding, bacteria from their saliva enter the bottle and can multiply rapidly in the warm milk. Because of this, any leftover milk or formula that remains in the bottle after a feeding must be discarded within one to two hours; never save half-empty bottles for a later feeding or put them back in the cooler.
Upon arrival, transfer unused, safely chilled milk to a reliable refrigerator immediately. Home appliances provide a much more stable cooling environment than travel coolers. If your destination lacks a refrigerator, such as during a remote beach trip or camping excursion, you must continue to manage your ice supply diligently, replenishing the ice packs regularly to keep the milk at a safe temperature.
Troubleshooting Common Storage Issues on the Road
Even with careful planning, unexpected challenges can arise during long journeys. If your ice packs begin to melt prematurely due to extreme heat or travel delays, you must source supplemental cooling media immediately. Stop at a convenience store, gas station, or local market to purchase clean ice. Double-bag the loose ice in heavy-duty plastic bags before placing it inside your cooler to prevent melting water from soaking your travel milk containers and contaminating the bottle nipples.
To prevent leaks from ruining your luggage, place each travel milk container or breast milk bag inside an individual, sealable ziplock bag. This extra layer ensures that if a container leaks due to pressure changes during a flight or bumpy road conditions, the liquid remains contained and does not ruin other items in your travel bag.
If standard heating equipment is unavailable, ask a restaurant or gas station convenience store for a cup of hot water. Place your travel milk container inside for a few minutes to take the chill off. Always ensure the bottle is tightly sealed before submerging it, and dry the outside of the bottle thoroughly with a clean cloth before feeding your baby.
Frequently Asked Questions (FAQ)
Can I bring breast milk or formula through airport security in the Philippines?
Yes, you can generally bring breast milk, formula, and sterilized water through airport security checkpoints in the Philippines when traveling with an infant. The Office for Transportation Security (OTS) and local aviation authorities typically exempt reasonable quantities of liquid baby food, breast milk, and formula from the standard 100ml limit for carry-on liquids. However, you must declare these items to the security officers at the baggage screening area. Be prepared for security personnel to inspect the containers, which may involve visual checks or additional screening. To ensure a smooth process, pack these items in a separate, easily accessible bag and verify the specific carry-on policies of your airline before your flight.
How do I clean my travel milk containers while on the go?
Maintaining hygiene on the road requires a portable cleaning kit consisting of a travel-sized bottle brush, a small container of baby-safe dish soap, and a dedicated basin or clean bag to wash the items. Avoid washing your travel milk containers directly in public restroom sinks, as these surfaces can harbor harmful bacteria. Instead, use your portable basin to wash the bottles with clean, potable water and soap. After washing, rinse the containers thoroughly with safe drinking water. The most critical step is to allow all parts to air-dry completely on a clean paper towel or a portable drying rack before reassembling them, as assembling damp bottles can trap moisture and encourage bacterial growth.

Community discussion
Share your experience or ask a question. Comments are reviewed before publication.