
Properly caring for a plastic diaper washable system requires a balance of thorough sanitization and gentle material preservation. To keep these diapers hygienic and long-lasting, the correct routine involves prompt waste disposal, a cold pre-rinse, a thorough main wash with a safe detergent, and careful drying away from extreme heat. Because these diapers rely on specialized waterproof barriers, improper washing can lead to leaks, skin irritation, and premature wear.
In the warm and humid climate of the Philippines, establishing a disciplined laundry routine is even more critical. High humidity and high ambient temperatures create an ideal breeding ground for bacteria, mold, and ammonia odors if diapers are stored or washed incorrectly. By understanding the specific needs of your diaper’s materials and adapting your washing habits to your household environment, you can protect both your financial investment and your baby’s delicate skin. Always prioritize the manufacturer’s care guidelines, as diaper designs, weight ranges, and material compositions vary widely.
Preparing for the Wash: Checking Materials and Gathering Plastic Diaper Washable Supplies
Before starting your laundry routine, you must understand what materials make up your modern reusable diapers. While many parents refer to any waterproof cover as a “plastic diaper,” modern designs rarely use the stiff, non-breathable polyvinyl chloride (PVC) plastic pants of the past. Instead, most high-quality washable covers utilize polyurethane laminate (PUL) or thermoplastic polyurethane (TPU). These advanced fabrics bond a thin, stretchy, and breathable waterproof membrane to a polyester knit, allowing heat and moisture vapor to escape while keeping liquids contained.
Products mentioned in this guide
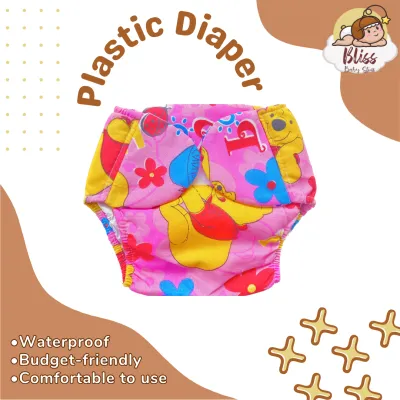
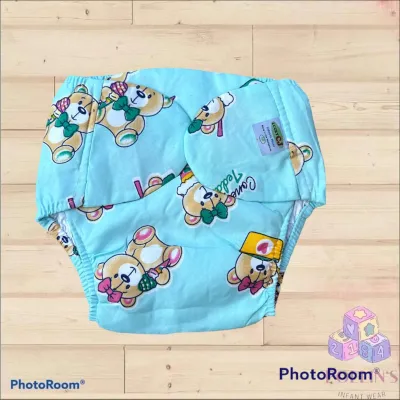
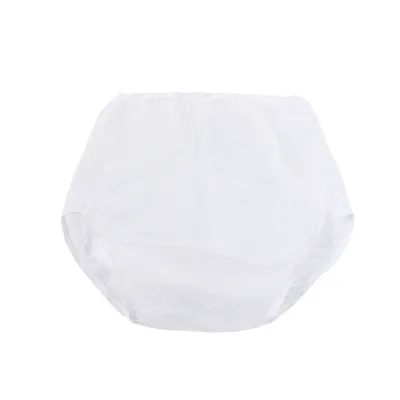
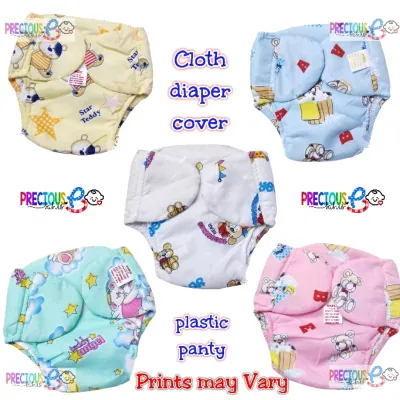
Prices are valid at publication and may change. Please refer to the product page for the latest price.
Because PUL, TPU, and traditional plastics respond differently to heat and chemicals, checking the manufacturer’s care label is your most important preparatory step. This label outlines the maximum safe water temperature, recommended detergent types, and explicit warnings against specific laundry additives. Ignoring these instructions can void your product warranty and cause the waterproof layer to delaminate, crack, or melt. Additionally, ensure the diaper is appropriate for your baby’s current weight and development stage, as an improper fit can lead to leaks regardless of how well the diaper is washed.
To streamline your washing routine, gather the necessary tools and storage supplies beforehand. A dedicated diaper sprayer attached to your toilet or a flexible silicone spatula makes solid waste removal clean and efficient. You will also need a mild, cloth-safe laundry detergent that is free from fabric softeners and optical brighteners. For storage between wash days, invest in a highly breathable wet bag made of PUL or an open, well-ventilated plastic diaper pail lined with a mesh laundry bag. These tools help manage moisture and airflow, reducing the risk of early bacterial growth.
Step 1: Handling Waste and Pre-Rinsing
Hygienic waste management is the foundation of any successful diaper laundry routine. If your baby is exclusively breastfed, their waste is completely water-soluble and can go directly into the washing machine without manual removal. However, once your child starts eating solid foods or formula, you must dispose of solid waste in the toilet before washing. Use a diaper sprayer to flush the waste off the inner lining, or use a reusable or flushable diaper liner to catch solids easily. A dedicated silicone spatula can also gently scrape off stubborn waste without damaging the delicate inner fleece or suede cloth.

Once the solids are removed, running a cold water pre-rinse or a short pre-wash cycle is essential. This initial step flushes out the bulk of the urine and loose organic matter, ensuring that your main wash cycle is performed in relatively clean water. Always use cold water for this pre-wash phase. Hot water can instantly cook and set protein-based stains and organic compounds from urine and feces into the diaper fibers, making them incredibly difficult to remove later. This short cycle should use little to no detergent, focusing purely on dilution and extraction.
After the pre-rinse, if you are not running a full laundry load immediately, you must store the soiled diapers correctly. In the tropical, high-humidity environment of the Philippines, storing damp diapers in a sealed, airtight container is a recipe for disaster. The lack of airflow combined with moisture accelerates ammonia buildup, mold development, and bacterial multiplication. Instead, place the damp covers and inserts into a highly breathable wet bag or an open, perforated laundry pail. This allows moisture to evaporate and keeps air circulating, which significantly minimizes stubborn odors and protects the integrity of the elastic bands.
Step 2: The Main Wash Cycle and Safe Detergent Choices
The main wash cycle is where deep cleaning and sanitization happen, making your choice of detergent incredibly important. When caring for a washable diaper, select a standard, residue-free laundry detergent. Avoid detergents containing fabric softeners, as these leave a greasy chemical coating over the fibers that clogs the fabric pores, causing the diaper to repel liquid instead of absorbing it. You must also avoid chlorine bleach, enzyme-heavy formulas not rated for baby clothes, and optical brighteners, which can degrade the delicate waterproof laminate and irritate your baby’s sensitive skin.
Water temperature requires careful calibration to balance sanitization with material safety. While warm water (around 30°C to 40°C) is highly effective at breaking down body oils and activating detergents, excessively hot water can ruin your diapers. High heat can cause PUL or TPU layers to delaminate—meaning the waterproof membrane detaches from the fabric backing—or cause traditional plastic covers to warp and crack. Always verify the maximum heat limit specified on your diaper’s care label before adjusting your washing machine settings, and avoid boiling your diaper covers under any circumstances.
For the machine settings, select a heavy-duty, cotton, or longest available wash cycle to provide maximum agitation. Modern washing machines are often designed to conserve water, but cloth diapers require a generous water level to agitate effectively and rub against each other to loosen dirt. Always program an extra rinse cycle at the end of the wash. This guarantees that every trace of soil and detergent residue is completely flushed out of the fabrics. Leftover detergent residue can trap bacteria, cause severe diaper rash on your baby’s skin, and lead to persistent fabric odors.
Step 3: Drying and Storing in a Humid Climate
Drying waterproof diaper covers requires a gentle touch, especially when dealing with the high relative humidity of the Philippines. Air drying is universally the safest and most energy-efficient method for preserving the waterproof laminate and elastics of your diaper covers. If you choose to use a mechanical clothes dryer, you must only do so on a low-heat or air-fluff setting, and only if the manufacturer’s care label explicitly permits tumble drying. High dryer heat can quickly melt plastic snaps, degrade elastics, and ruin the adhesive bond of PUL and TPU membranes.
When air drying outdoors, you must protect the waterproof layers from the intense, direct tropical sun. While sunlight is an excellent natural sanitizer and stain remover for the absorbent cotton or microfiber inserts, prolonged exposure to direct UV rays can cause plastic and laminate covers to dry out, become brittle, and crack. To prevent this degradation, hang your waterproof diaper covers in a well-ventilated, shaded area, such as a covered veranda, balcony, or under an awning. Hang them horizontally across the drying rack rather than vertically by the elastics, as the weight of the wet fabric can stretch out and ruin the elastic bands over time.
Ensuring complete dryness before folding and storing your diapers is critical to preventing mold, mildew, and musty odors. In humid regions, diapers that feel dry to the touch may still retain microscopic moisture deep within their seams and elastics. Leave the diapers on the drying rack for a few extra hours after they seem dry, or use an indoor electric fan to promote continuous air circulation. Once they are entirely dry, store your diapers in a cool, dry cabinet or drawer. Avoid tightly compressing them or storing them near direct heat sources, as heavy pressure can crease and weaken the waterproof barrier.
Troubleshooting Common Issues: Odors, Leaks, and Stains
Even with a solid washing routine, you may occasionally encounter issues like strong odors, unexpected leaks, or stubborn stains. If your diapers develop a pungent ammonia smell or a musty “barnyard” odor when wet, it usually indicates detergent buildup or insufficient washing. To resolve this, adjust your detergent dosage, ensure you are not overloading your washing machine, and add extra rinse cycles. If the buildup is severe, you may need to perform an occasional stripping routine using a manufacturer-approved deep-cleaning agent, ensuring you strictly follow their instructions to avoid fabric damage.
If you notice your diapers are leaking, you must diagnose whether the issue is caused by fabric repelling or physical damage. To check for repelling, pour a small amount of water onto the dry inner lining of a clean diaper; if the water puddles or rolls off instead of soaking in instantly, you have detergent or fabric softener buildup. If the water absorbs quickly but still leaks during use, inspect the waterproof outer layer for physical signs of delamination, cracks, or worn-out elastics that no longer hug your baby’s thighs. If the waterproof barrier is physically damaged, the cover must be replaced to prevent further leaks.
Stains are a natural part of diapering but do not necessarily mean the diaper is dirty. To safely remove stubborn yellow stains without using harsh, material-degrading chemicals, take advantage of indirect sunlight. Lay the clean, wet diaper inserts in a spot that receives bright, indirect light for a few hours, keeping the outer waterproof covers in the shade. The natural UV rays will gently bleach out organic stains without harming the fabric. For tough stains on the covers, use only mild, manufacturer-approved oxygen-based stain removers, and avoid scrubbing the waterproof laminate surface with abrasive brushes.
If your child develops a persistent, red, or painful skin rash that does not improve with basic diaper creams, stop using the diapers immediately and consult a pediatrician or pediatric dermatologist. A persistent rash can indicate a yeast infection or severe chemical sensitivity to detergent residues, requiring professional medical guidance and a complete sanitization of your diaper stash.
Frequently Asked Questions (FAQ)
Can I use vinegar or baking soda to clean plastic diapers?
No, you should avoid using vinegar, baking soda, or other household additives unless they are explicitly approved by your diaper’s manufacturer. Vinegar is highly acidic and can slowly eat away at the delicate elastics and degrade the polyurethane laminate (PUL) waterproof layer over time. Baking soda is highly alkaline and can create a harsh chemical reaction that wears down fabric fibers and alters the pH of the diaper, potentially causing skin irritation for your baby. To protect your product warranty and ensure the longevity of your diapers, stick to a simple, pH-neutral routine using a high-quality, cloth-safe detergent and plenty of clean water.
How often should I wash my stash of washable diapers?
For optimal hygiene and material preservation, you should wash your diaper stash every 2 to 3 days. Leaving soiled diapers in your storage pail for longer than three days allows urine to break down into highly corrosive ammonia, which can damage the waterproof lining and elastics. Furthermore, in the warm, humid climate of the Philippines, waiting too long to wash your diapers significantly increases the risk of mold, mildew, and deep-set bacterial growth. Washing your diapers every 48 to 72 hours strikes the perfect balance between managing laundry utility costs and maintaining a fresh, hygienic diapering environment.

Community discussion
Share your experience or ask a question. Comments are reviewed before publication.