
Properly cleaning your baby’s feeding equipment is essential for keeping them healthy and ensuring their milk remains uncontaminated. Using a dedicated baby bottle cleanser, such as the inspi bottle cleanser, requires adjusting your technique based on whether you are washing glass, plastic, or silicone bottles. Each material interacts differently with brushes, water temperatures, and cleaning agents, meaning a one-size-fits-all scrubbing method can lead to hidden scratches, lingering odors, or soap residue. By understanding the unique physical properties of each bottle type, you can effectively break down stubborn milk fats and proteins while preserving the lifespan of your feeding gear.
Preparing Your Cleaning Station and Tools
Before you begin washing, setting up a clean, organized workspace is crucial for preventing cross-contamination from family dishes. Start by thoroughly washing your hands with soap and warm water, and clean the sink area where you will be working. It is highly recommended to use a dedicated washbasin specifically for baby items rather than washing them directly in a shared kitchen sink, which can harbor food particles and bacteria.
Gathering the right tools is the next step in establishing an efficient cleaning routine. You will need a bottle brush, a nipple brush, and your chosen cleaning agent, such as the inspi bottle cleanser. When selecting a bottle brush, consider the material of your bottles; soft sponges or silicone brushes are excellent for delicate surfaces, while soft-bristle nylon brushes work well for sturdy containers.
Products mentioned in this guide
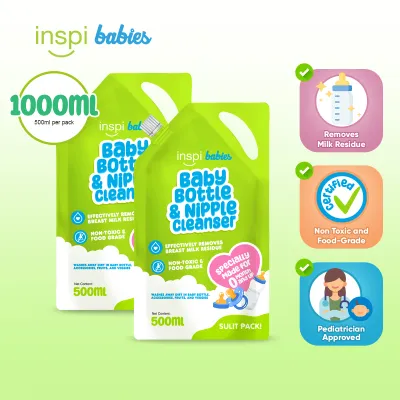
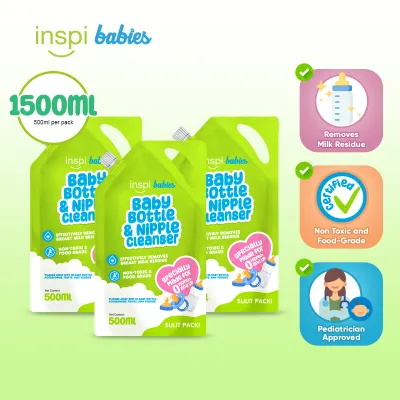
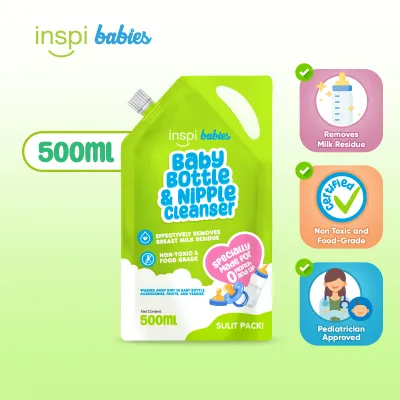
Prices are valid at publication and may change. Please refer to the product page for the latest price.
Always check the manufacturer’s care instructions for your specific bottles before proceeding. These guidelines will outline temperature limits for washing and sterilization, as well as disassembly rules for complex anti-colic valves or multi-part venting systems. Finally, read the specific usage directions on your bottle cleanser packaging to determine the correct dilution ratio or application method, as some formulas are highly concentrated and require mixing with water, while others can be applied directly to the brush.
Step-by-Step Cleaning Techniques by Bottle Material
Different bottle materials require distinct handling and cleaning approaches to ensure they remain hygienic and structurally sound. The porosity, flexibility, and scratch resistance of each material dictate how much pressure you should apply and what type of brush is safest to use. Paying close attention to these material differences prevents premature wear and ensures you reach the bottom corners and collar threads where milk fat tends to accumulate and spoil.

Glass Baby Bottles
Glass baby bottles are highly valued for their durability, resistance to odors, and non-porous surface, but they require careful handling due to their weight and fragility. When washing glass, always maintain a secure grip, especially when your hands are soapy and slippery. It is best to wash them over a plastic basin or a padded sink mat to minimize the risk of breakage if a bottle slips from your hands.
Use a soft-bristle nylon brush or a silicone brush to clean the interior of glass bottles. While glass is highly scratch-resistant compared to plastic, using extremely abrasive metal-backed brushes can still cause micro-scratches or weaken the structural integrity of the glass over time. Focus your brushing motion on the bottom curved edges where milk residue often settles.
Inspect each glass bottle thoroughly before and after every wash. Look closely for any hairline cracks, chips around the rim, or deep scratches that could harbor bacteria or cause the bottle to shatter during temperature changes. If you detect any structural damage, discard the bottle immediately to ensure safety during feeding.
Plastic (PP, PPSU, PES) Baby Bottles
Plastic baby bottles, whether made from polypropylene (PP), polyphenylene sulfone (PPSU), or polyethersulfone (PES), are lightweight and shatterproof, but they are highly susceptible to scratching. When cleaning plastic bottles, avoid abrasive sponges, steel wool, or stiff-bristle brushes. Even minor scratches on the inner plastic walls can create microscopic crevices where milk proteins and bacteria can hide, making them difficult to clean effectively.
To wash plastic bottles safely, apply a gentle cleaning agent like your inspi bottle cleanser to a soft sponge brush or a flexible silicone brush. Use gentle, circular motions to sweep the inner walls, paying extra attention to the neck threads where the collar screws on. Because plastic is prone to absorbing oils, ensure you use enough cleanser to fully emulsify and lift the stubborn milk fat.
Over time, plastic bottles can degrade due to frequent washing, heating, and exposure to UV light. Regularly monitor your plastic bottles for signs of wear, such as persistent cloudiness, deep discoloration, or stubborn odors that do not disappear after washing. If a plastic bottle remains cloudy or smells sour even after a thorough cleaning, it is time to replace it.
Silicone Baby Bottles
Silicone baby bottles are popular for their soft, squeezable texture and natural feel, but their flexible and high-friction surface requires a unique cleaning approach. Silicone tends to attract dust and static, and its pliable walls can make standard scrubbing difficult. To clean these bottles effectively, support the flexible body with one hand while gently brushing the interior with the other.
If the manufacturer’s instructions allow, you can carefully turn the silicone bottle inside out to access the bottom corners and seams directly. This allows you to wipe away any stubborn milk film that might be trapped in the flexible folds. Use a soft sponge or a silicone-bristled brush to avoid tearing or puncturing the soft material.
Rinsing is particularly important for silicone bottles because the material’s high-friction surface can easily hold onto soapy residues. Rinse each bottle thoroughly under warm running water, squeezing the body gently to ensure all cleanser is completely flushed out. The surface should feel clean and squeaky to the touch, with no slippery film or lingering scent of cleanser left behind.
Properly Cleaning Nipples, Rings, and Valves
The small, intricate parts of a baby bottle—such as the silicone nipples, collar rings, and anti-colic valves—are the most challenging to clean but are also the most critical. Because these components directly contact your baby’s mouth and the milk flow, any leftover residue can quickly become a breeding ground for mold and bacteria.
Begin by completely disassembling every single component of the bottle. Never wash a bottle with the nipple and collar ring still attached, as milk invariably gets trapped in the tight spaces between them. Remove any sealing rings, anti-colic vents, or internal straw mechanisms so that each part can be cleaned individually.
Use a dedicated, small nipple brush or a specialized cleaning straw brush to clean the narrow openings and crevices. Gently insert the nipple brush into the silicone nipple, taking care not to push too hard through the feeding hole, which can tear or stretch the opening. For anti-colic valves and vents, use a tiny brush to clear out any dried milk that might block the airflow.
To clean the nipple tip safely, squeeze a small amount of diluted bottle cleanser into the nipple cavity and rub it gently between your fingers. Flush clean water directly through the feeding hole to wash away any remaining milk fat and cleanser. Inspect the silicone or latex nipples regularly for signs of wear, such as stickiness, thinning, or enlargement of the hole, and replace them as recommended by the manufacturer.
Rinsing, Drying, and Storing Bottles Safely
Once all parts have been thoroughly scrubbed, the rinsing and drying process is vital for maintaining hygiene, especially in warm, humid tropical climates like the Philippines. Residual cleanser or trapped moisture can encourage bacterial growth and mold, undoing all your hard work.
Rinse every component under clean, running water. Ensure you rinse the bottles, nipples, rings, and valves until there are no visible bubbles, slippery feel, or soapy scent remaining. Using running water is far more effective than dipping parts in a basin of standing water, as it continuously flushes away suspended dirt and soap particles.
After rinsing, shake off excess water and place all components upside down on a dedicated, clean drying rack. Avoid using standard kitchen dish towels to dry baby bottles, as these towels can easily transfer bacteria and lint to the clean surfaces. Instead, let them air-dry naturally in a well-ventilated area. In high-humidity environments, ensure the drying rack is placed away from the sink or cooking areas to prevent airborne grease or moisture from settling on the clean parts.
Once every component is completely dry, store them in a clean, closed container or a dedicated cabinet. Do not reassemble the bottles for storage if there is any lingering moisture inside, as this can trap humidity and promote mold growth in the sealed spaces. Keep the storage container in a cool, dry place away from dust and pests.
Common Cleaning Mistakes and How to Avoid Them
Even well-meaning parents can fall into habits that compromise the cleanliness of their baby’s bottles. One of the most common mistakes is using regular household dish soap instead of a dedicated baby bottle cleanser. Standard dish soaps often contain strong fragrances, dyes, and harsh surfactants that can leave a chemical residue on the bottles or fail to break down the specific proteins and fats found in breast milk and formula. Using a specialized formula like the inspi bottle cleanser ensures that milk residues are targeted effectively without leaving harmful chemical traces.
Another frequent error is leaving dirty bottles sitting on the counter for hours before washing. Allowing milk to dry and harden inside the bottle makes it significantly more difficult to clean and encourages rapid bacterial growth. If you cannot wash the bottle immediately after a feeding, at least give it a quick rinse with warm water to flush out the bulk of the milk before it dries.
Finally, reassembling and storing bottles while they are still damp is a major hygiene risk. Trapping moisture inside a closed bottle creates a humid microenvironment that is perfect for mold and bacteria to flourish. Always ensure every part is bone-dry before screwing the collars back on or putting the bottles away in storage.
Frequently Asked Questions (FAQ)
Do I need to sterilize bottles after using a bottle cleanser?
Yes, sterilization is a separate and important step, especially for newborns, premature babies, or infants with weakened immune systems. While a dedicated bottle cleanser is highly effective at removing physical residues like milk fats, proteins, and surface dirt, it does not eliminate all microscopic pathogens. Sterilization uses heat or steam to kill remaining microorganisms. Always consult your pediatrician regarding how often you should sterilize your baby’s bottles, and follow the manufacturer’s guidelines for your specific bottle material to avoid heat damage.
Can I use the same bottle brush for different bottle materials?
While you can use the same brush, it is important to choose a brush type that is safe for the most delicate material in your collection. If you use both glass and plastic bottles, a stiff-bristle brush that is safe for glass might cause micro-scratches on your plastic bottles. To prevent this, opt for a soft silicone brush or a high-quality sponge brush, both of which are gentle enough to clean plastic and silicone without scratching, yet effective enough to clean glass thoroughly. Alternatively, you can keep separate, dedicated brushes for different bottle types to maintain their condition.

Community discussion
Share your experience or ask a question. Comments are reviewed before publication.