
As babies transition from crawling to taking their first tentative steps, the home suddenly transforms into a landscape of potential hazards. Sharp corners on coffee tables, TV consoles, and dining tables pose a constant risk to a curious toddler finding their balance. Installing a corner foam protector is one of the most practical steps you can take to cushion these impact points and minimize the risk of bumps and bruises. However, simply buying a pack of protectors is only half the battle; the effectiveness of these safety devices relies heavily on how securely they are installed.
A poorly installed protector can easily peel off, especially when subjected to the curious fingers of a baby or the high humidity typical of tropical climates. If a protector falls off, it not only exposes the sharp edge once more but can also become a choking hazard itself. Taking the time to understand the correct preparation, alignment, and curing process ensures that your baby-proofing efforts remain durable and effective over time. This guide walks you through the essential steps to achieve a secure, long-lasting bond on various furniture surfaces.
Preparing the Furniture Surface for Maximum Adhesion
The secret to a long-lasting corner foam installation lies almost entirely in the preparation of the furniture surface. Dust, oils, wax polish, and everyday grime create a barrier between the adhesive tape and the furniture, preventing a secure chemical bond. Before you even unpack the foam protectors, take a close look at the target corners. You will need to clean these areas thoroughly to ensure the adhesive can grip the surface directly without any microscopic interference.
Products mentioned in this guide
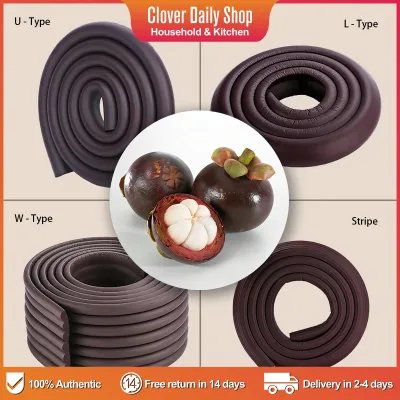
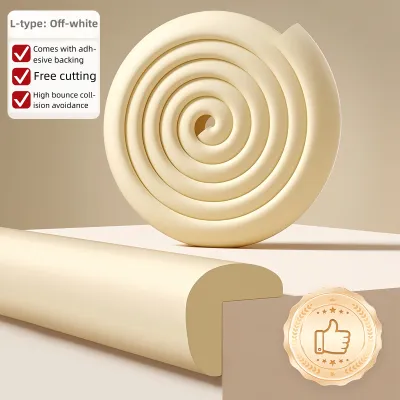
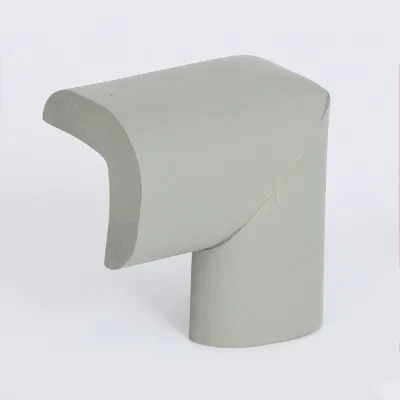
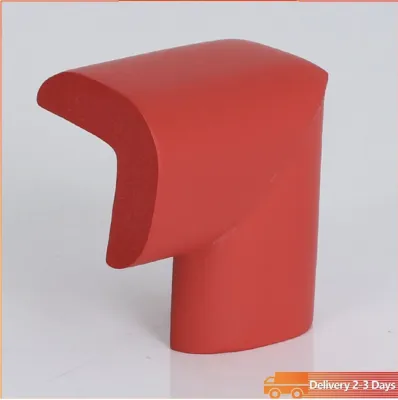
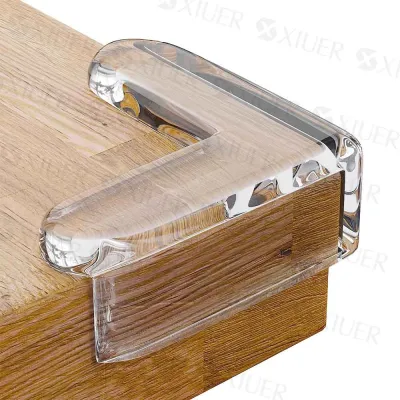
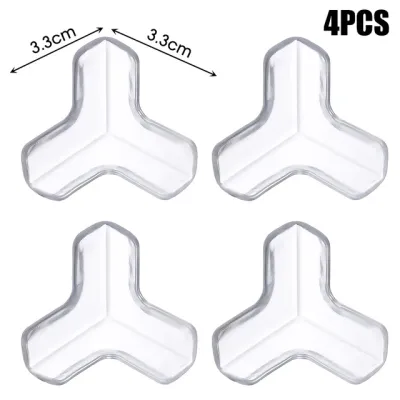
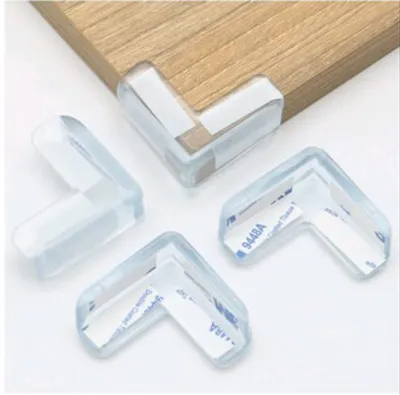
Prices are valid at publication and may change. Please refer to the product page for the latest price.
To clean the surface, use a mild, non-oily cleaner such as a diluted dishwashing liquid or a simple mixture of water and rubbing alcohol, depending on what is safe for your specific furniture finish. Avoid using heavy furniture polishes, oil-based soaps, or wax cleaners, as these leave behind a slick residue that is notorious for causing adhesives to fail within hours. Wipe the corner and the surrounding edges gently but firmly to lift away any accumulated grease or dust.
Once cleaned, the surface must be completely dry before you apply any adhesive. In warm, humid environments, moisture can easily cling to surfaces, trapped under the tape and ruining the bond before it even cures. Allow the cleaned area to air-dry completely, or use a clean, lint-free microfiber cloth to dry it manually. If you are working in a highly humid room, running an air conditioner or a fan nearby for a few minutes can help strip away excess moisture from the furniture surface.
It is also vital to identify surfaces that are simply unsuitable for standard adhesive-backed protectors. Untreated or rough wood, peeling paint, rusted metal, and highly delicate antique finishes do not bond well with standard double-sided tapes. Applying strong adhesives to peeling paint or delicate varnishes can also cause permanent damage when it comes time to remove the protectors. For these challenging surfaces, you may need to look for alternative baby-proofing solutions or accept that standard adhesive foam might require specialized, surface-safe mounting techniques.
Step-by-Step Installation Guide for Corner Foam
With a clean and dry surface ready, you can proceed to the physical installation of the corner foam. Start by dry-fitting the protector onto the corner without removing the adhesive backing. This step allows you to see exactly how the foam sits against the furniture, helping you visualize the alignment and identify if any trimming is necessary to accommodate unique furniture shapes or overlapping edges.

Once you are satisfied with the fit, carefully peel the protective backing off the adhesive tape. It is crucial to avoid touching the sticky side of the tape with your bare fingers. The natural oils and moisture on your skin can instantly degrade the adhesive’s holding power, leading to premature peeling at the edges. Hold the protector by its non-adhesive foam outer shell as you prepare to position it.
Align the foam protector precisely over the sharp corner, ensuring that it covers both the top and side edges equally. If the protector is misaligned, one side will have less surface contact, making it much easier for a baby to pull off. Lower the protector onto the corner in a single, smooth motion rather than trying to reposition it multiple times, as peeling and reapplying the tape significantly weakens its stickiness.
As soon as the protector is in place, apply firm, sustained pressure across the entire surface of the foam. Use your hands or fingers to press down hard on all sides for at least thirty seconds to a minute. This pressure is necessary to activate the pressure-sensitive adhesive, forcing it into the microscopic pores of the furniture surface and eliminating any trapped air bubbles that could compromise the bond.
After pressing, the most critical step is patience. Every adhesive requires a specific curing time to reach its maximum bonding strength, which is typically detailed in the manufacturer’s instructions. Avoid touching, testing, or letting your baby near the newly installed foam during this curing window, which often ranges from several hours to a full day. Allowing the adhesive to cure undisturbed ensures it can withstand the inevitable bumps and tugs of daily life.
Testing and Verifying the Protector's Security
Once the recommended curing time has passed, you must verify that the corner foam is securely attached before leaving your child unsupervised around the furniture. A quick visual inspection is the first step. Look closely at the edges of the foam to ensure there are no visible gaps, lifting corners, or misaligned sections. Any loose edge is an open invitation for a curious baby to pick, pull, and eventually tear the protector away.
Next, perform a gentle tug test to evaluate the strength of the bond. Grasp the foam protector lightly and apply a small amount of outward pressure, mimicking the gentle pull of a baby’s hand. Do not use excessive force that could rip the protector off or damage the underlying furniture finish. The goal is simply to confirm that the adhesive has taken hold and that the protector does not slide or wiggle under light pressure.
Keep a close eye on the newly installed protectors during their first few days of active use. Babies are remarkably observant and will often notice new additions to their environment, making the corner foam a prime target for exploration. Watch how the foam holds up when your baby bumps into it or attempts to play with it, and be prepared to reinforce or replace any pieces that show early signs of loosening.
Regular maintenance checks are essential as your child grows and becomes more active. Over time, dust, humidity, and repeated impacts can degrade even the strongest adhesives. Inspect the protectors weekly for signs of wear, crumbling foam, or peeling edges. If a protector becomes loose or damaged, it can quickly turn into a choking hazard; remove and replace it immediately to maintain a safe environment.
Safe Removal and Surface Protection
Eventually, your child will outgrow the need for corner protectors, or you may need to replace a worn-out piece. Removing adhesive-backed foam without damaging your furniture’s finish requires a patient, methodical approach. Rushing the removal process can easily strip away paint, varnish, or wood veneer, leaving behind unsightly scars on your favorite household items.
Before attempting to remove any protector, check the furniture manufacturer’s care guidelines if they are available. Different materials react differently to heat and solvents. For instance, solid wood with a delicate lacquer finish requires much gentler treatment than tempered glass or powder-coated metal. Understanding what lies beneath the adhesive will help you choose the safest removal method.
To soften the adhesive bond, apply gentle heat using a household hairdryer set to a low or medium temperature. Direct the warm air at the edges of the foam protector for a minute or two, keeping the dryer moving to avoid overheating any single spot. The heat will soften the glue, making it pliable and significantly reducing the risk of pulling the furniture finish off along with the tape. Slowly peel the foam away while continuing to apply gentle heat.
If any sticky residue remains on the surface, you can use a mild adhesive remover, rubbing alcohol, or even a small amount of cooking oil, depending on the furniture material. Always test your chosen solvent on a hidden, inconspicuous area of the furniture first to ensure it does not cause discoloration, cloudiness, or damage to the finish. Once the residue is softened, wipe it away with a soft cloth, clean the area with mild soapy water, and dry it thoroughly.
Matching Corner Foam to Furniture Materials and Shapes
Not all corner protectors are created equal, and selecting the right type for your specific furniture is key to both safety and durability. When shopping for replacements or expanding your baby-proofing setup, consider the material of your furniture. Non-porous surfaces like glass, metal, and laminate pair exceptionally well with clear, acrylic-based adhesives, while porous surfaces like solid wood may require specialized tapes designed to grip textured fibers.
The density and thickness of the foam should match the potential impact risk in each specific area. High-density foam offers superior shock absorption, making it ideal for low coffee tables that sit directly at a toddler’s head height. Thinner, low-profile protectors might be sufficient for higher dining tables or desks where the risk of a high-velocity impact is lower, or where you prefer a more subtle visual appearance.
Shape compatibility is another crucial factor to evaluate. Standard right-angle corner protectors are perfect for square tables, but rounded edges or unusually thick tabletops require specialized shapes, such as L-shaped guard strips or flexible, wrap-around protectors. Trying to force a standard square protector onto a rounded corner will result in poor surface contact and rapid adhesive failure.
Finally, always verify that the product you choose meets relevant safety standards for baby items by carefully reading the packaging labels. Look for indicators that the foam is non-toxic, flame-retardant, and free from harmful chemicals like phthalates, heavy metals, and BPA, as babies often explore their world by biting or chewing on accessible surfaces. While safety standards are dynamic, taking the time to verify these details on the manufacturer’s packaging provides peace of mind for your household.
Frequently Asked Questions (FAQ)
Can I use corner foam on glass tables?
Yes, corner foam can be used on glass tables, but it requires careful preparation and the right adhesive. Glass is a non-porous surface, meaning standard adhesives can slide if the surface is not perfectly clean. Use a dedicated glass cleaner to remove all fingerprints and oils before application, and consider clear, high-tack acrylic adhesives that blend visually with the glass while providing a strong, reliable grip.
How long should I wait before letting my baby near the installed foam?
You should strictly follow the specific curing time printed on your product’s packaging, which is typically between 12 to 24 hours. Allowing the adhesive to cure completely undisturbed is vital; letting a baby pull or bump the foam too early is one of the most common causes of premature peeling and adhesive failure.
What should I do if the adhesive leaves a sticky residue?
If the adhesive leaves a sticky residue after removal, you can clean it using gentle methods like warm soapy water, rubbing alcohol, or a specialized adhesive remover. Always test any chemical cleaner or solvent on a small, hidden spot of your furniture first to ensure it does not discolor or strip the finish, then wipe the area clean with a soft microfiber cloth.

Community discussion
Share your experience or ask a question. Comments are reviewed before publication.