
Thoroughly cleaning feeding bottles with a dedicated brush and warm, soapy water is the single most important step you must take before using a sterilizer. While a sterilizer is highly effective at killing microscopic pathogens, it is not designed to wash away physical debris. If milk fat or protein residue remains on the bottle walls, it forms a protective barrier that shields bacteria from steam or ultraviolet (UV) light. To ensure your baby’s feeding equipment is truly safe, you must use a reliable tool like the bebeta feeding bottle brush to scrub away every trace of milk before the sterilization process begins.
Feeding in a warm, humid environment accelerates bacterial growth, making meticulous pre-sterilization cleaning non-negotiable. Skipping the manual scrubbing step can leave invisible layers of spoiled milk that compromise your baby’s health.
Why Pre-Cleaning with a Bottle Brush is Essential Before Sterilization
Cleaning and sterilizing serve two entirely different purposes in infant feeding hygiene. Cleaning is the physical removal of organic matter, soil, and grease from the surfaces of the bottle and nipple. Sterilizing, on the other hand, is the process of using heat, steam, or UV light to eliminate any remaining microscopic pathogens. You cannot sterilize a bottle that has not been thoroughly cleaned first.
Products mentioned in this guide
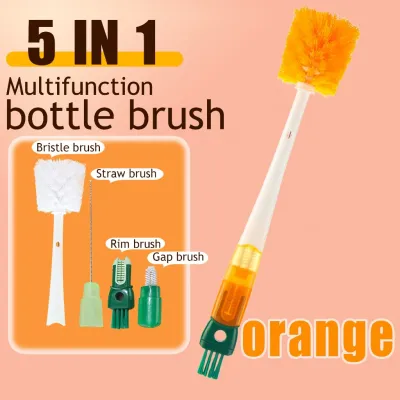
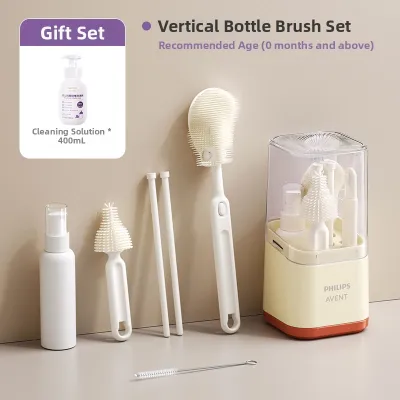

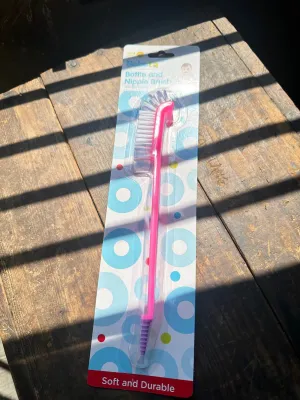
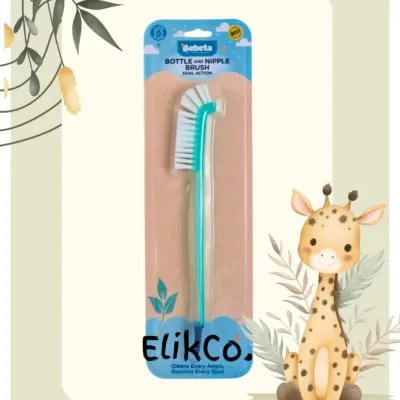
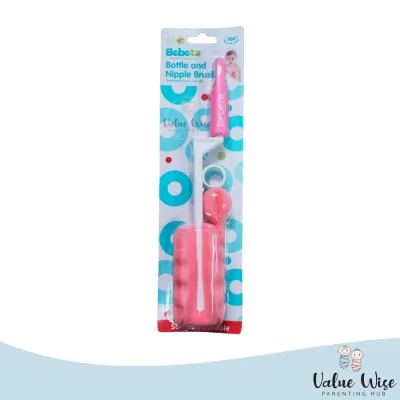
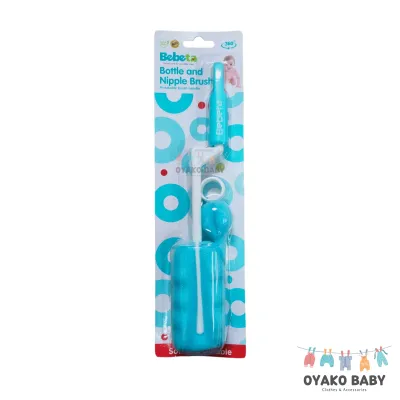
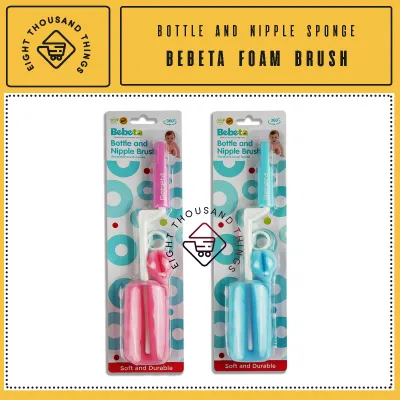
Prices are valid at publication and may change. Please refer to the product page for the latest price.
Milk is highly complex, containing fats, proteins like casein, and sugars such as lactose. When milk pools and dries on plastic, glass, or silicone, these organic components bind tightly to the surface, creating a microscopic biofilm. This biofilm acts as a physical shield. If you place a dirty bottle directly into a steam or UV sterilizer, the sterilizing agent cannot penetrate this organic barrier.
Any bacteria trapped underneath the biofilm can survive the sterilization cycle. Once the bottle cools down, these surviving bacteria will multiply rapidly, contaminating the next batch of milk. Sterilization must always be treated as the final sanitizing step, never as a shortcut or a substitute for manual scrubbing with a brush.
Essential Tools: Why a Bebeta Feeding Bottle Brush is Crucial for Cleaning
To clean feeding equipment effectively, you must gather a dedicated set of tools kept entirely separate from your regular household dishwashing supplies. A standard kitchen sponge is highly unsanitary and physically incapable of reaching the deep corners of a narrow feeding bottle.

Using a specialized tool like the bebeta feeding bottle brush ensures you can thoroughly clean the unique geometry of baby bottles. Look for a brush with an ergonomic handle that allows you to apply consistent pressure, and a brush head that combines soft nylon bristles with a sponge tip to sweep away residue without scratching the delicate bottle walls.
In addition to the main bottle brush, you will need several other essential items:
- Teat or Nipple Brush: A smaller, tapered brush specifically designed to fit inside delicate silicone nipples and valves without stretching or tearing them.
- Baby-Safe Dish Soap: A mild, plant-based detergent formulated specifically for baby bottles, free from harsh synthetic fragrances, parabens, and dyes.
- Warm Water: Crucial for breaking down and emulsifying stubborn milk fats that cold water simply smears around.
- Dedicated Drying Rack: A clean, well-ventilated space used exclusively for air-drying baby feeding gear, placed far away from raw food preparation areas.
Step-by-Step Guide to Scrubbing and Removing Milk Residue
Manual bottle washing requires a systematic approach to ensure no hidden pocket of milk is missed. Following a consistent routine protects your baby from harmful bacteria and preserves the lifespan of your feeding equipment.
Step 1: Dismantle and Pre-Rinse Immediately
As soon as your baby finishes a feed, fully disassemble the bottle. This means separating the bottle body, screw ring, silicone nipple, protective cap, and any internal anti-colic valves, vents, or straws. Leaving these components assembled creates tight spaces where milk pools, leading to rapid bacterial growth.
Rinse every single part under cool or lukewarm running water immediately after disassembly. This initial rinse washes away the bulk of the loose milk before the fats have a chance to solidify on the surfaces. Avoid using hot water for this initial rinse, as hot water denatures milk proteins, essentially cooking them onto the plastic or glass and making them much harder to scrub off later.
Step 2: Wash the Bottle Interior and Threads
Fill a clean washing basin or the bottle itself with warm water and add a few drops of baby-safe dish soap. Insert your bebeta feeding bottle brush into the bottle, ensuring the bristles reach the very bottom. Use a combination of vigorous up-and-down strokes and firm circular motions to scrub the entire interior surface, paying close attention to the bottom corners where milk fat tends to settle.
Next, focus on the bottle’s neck and the exterior screw threads. These threads are a notorious hiding spot for dried milk, which can easily contaminate the nipple collar during assembly. Once brushed, rinse the bottle thoroughly under clean, running water until all soap bubbles are completely gone and the water runs crystal clear.
Step 3: Detail the Nipple and Anti-Colic Valves
Silicone nipples and anti-colic components are highly delicate and require specialized care. If the manufacturer’s care instructions permit, gently turn the silicone nipple inside out to expose the inner surfaces. Use the smaller teat brush to clean the inside of the nipple, taking care not to force the bristles through the delicate feeding hole, which can cause micro-tears.
For bottles with anti-colic vents, tubes, or valves, flush warm, soapy water directly through them and use a specialized ultra-thin vent brush if provided. Rinse these small parts meticulously under running water. To prevent small valves or rings from slipping down the kitchen drain, place them in a clean mesh colander or sink basket during the rinsing process.
Common Mistakes to Avoid When Using a Bottle Brush
Avoiding common errors protects your baby and extends the life of your feeding gear. First, never use abrasive sponges, steel wool, or harsh household scrubbers. These materials create tiny micro-scratches on both glass and plastic bottles, which serve as microscopic valleys where bacteria can easily hide and multiply, rendering future sterilization attempts ineffective.
Second, do not ignore the threads, collars, and anti-colic vents. Focusing solely on the main bottle cavity leaves dried milk in the crevices, which will spoil and contaminate the fresh milk during the next feed.
Third, avoid leaving bottles to soak in soapy water for extended periods. While a quick soak can soften dried milk, prolonged soaking can cause silicone nipples to absorb water, swell, and degrade. It also creates a stagnant, lukewarm environment where bacteria can multiply.
Finally, do not use excessive force when scrubbing. Forcing a rigid brush into a glass bottle can cause stress fractures or chipping, while aggressive handling can tear delicate silicone parts. Always inspect your bottles and nipples for any signs of wear, cracking, or cloudiness, and replace them immediately if damaged.
How to Verify Your Bottles Are Truly Clean Before Sterilizing
Before you transfer your washed parts into the sterilizer, perform a quick three-step sensory check to verify they are truly clean.
- The Visual Check: Hold the bottle and nipple up to a bright light source. The material should be completely transparent and clear, with no cloudy patches, white film, or greasy streaks.
- The Touch Test: Wash your hands thoroughly, then run a clean finger along the inside walls of the bottle and across the screw threads. The surface should feel smooth and squeaky clean. If it feels greasy, slippery, or sticky, milk fat is still present.
- The Smell Test: Sniff the interior of the bottle and the silicone nipple. They should have a neutral scent, free from any sour milk odor or heavy perfume from highly fragranced soaps.
If any bottle or component fails these checks, do not put it in the sterilizer. Return it to the washing basin for another round of scrubbing with your brush and fresh soapy water.
Caring for Your Bottle Brush in a Humid Climate
In a tropical, high-humidity climate, caring for your cleaning tools is just as important as caring for the bottles themselves. Warmness and moisture create the perfect environment for mold, mildew, and bacteria to colonize your bottle brush.
After every cleaning session, rinse your bottle brush and teat brush thoroughly under running water to remove all soap residue and organic matter. Shake off excess water vigorously. Store the brush upright in a well-ventilated holder or hanging hook where air can circulate freely around the bristles. Never leave a wet brush lying flat on a damp sink edge or sealed inside a dark, closed cupboard.
Regularly inspect the bristles and sponge tips for any signs of fraying, discoloration, or black mold spots. To maintain strict hygiene, establish a routine to replace your bottle brush every two to three months, or immediately if you notice any signs of physical wear, persistent odors, or structural degradation.
Frequently Asked Questions (FAQ)
Can I use a regular kitchen sponge instead of a dedicated bottle brush?
No, you should strongly avoid using a standard kitchen sponge to clean your baby’s bottles. Kitchen sponges are used to wash family dishes, pots, and pans, meaning they quickly accumulate food debris, grease, and high concentrations of bacteria. Using them on baby bottles introduces these pathogens directly to your infant’s feeding gear. Furthermore, standard sponges cannot easily reach the bottom corners of narrow bottles and can cause abrasive micro-scratches on plastic surfaces.
Is it safe to wash baby bottles in the dishwasher before sterilizing?
You may wash baby bottles in a dishwasher only if the manufacturer’s instructions explicitly state that the bottles and all individual components are dishwasher-safe. If they are, place the bottle bodies on the top rack to prevent warping from the heating element, and secure all small parts, such as nipples and collar rings, inside a dedicated dishwasher basket. Keep in mind that a dishwasher may not always remove stubborn, dried-on milk residue from tight corners, so a manual pre-rinse and a thorough visual inspection are still highly recommended before you proceed to sterilization.

Community discussion
Share your experience or ask a question. Comments are reviewed before publication.