
To clean baby bottles properly with an Avent bottle brush, you must completely disassemble the bottle, rinse it immediately after use, submerge the parts in warm soapy water, and use the curved brush head to scrub all interior surfaces before utilizing the integrated nipple cleaner for delicate components. This essential pre-cleaning step removes the stubborn milk fats, proteins, and biofilm that naturally accumulate on feeding gear.
In tropical environments like the Philippines, where high humidity and warm temperatures accelerate bacterial growth and milk spoilage, meticulous pre-cleaning is the only way to ensure your subsequent sterilization step is fully effective. Without thorough manual scrubbing, any remaining organic residue can shield bacteria from steam, UV light, or boiling water, compromising your baby’s health.
Why Pre-Cleaning Is Essential Before Sterilization
Understanding the difference between cleaning and sterilizing is fundamental to maintaining safe infant feeding hygiene. Cleaning is the physical removal of visible dirt, milk fats, organic matter, and biofilm from the surfaces of the bottle components. Sterilizing, on the other hand, is the process of killing remaining microorganisms, such as bacteria, viruses, and mold spores, using heat, steam, or ultraviolet light. These two steps are not interchangeable, and one cannot succeed without the other.
Products mentioned in this guide
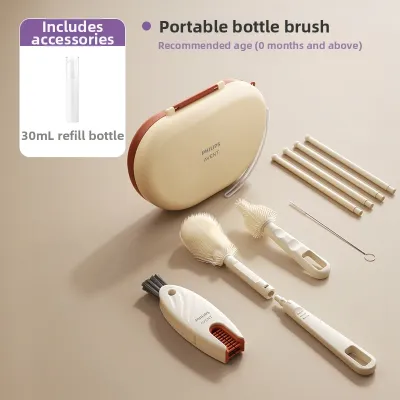
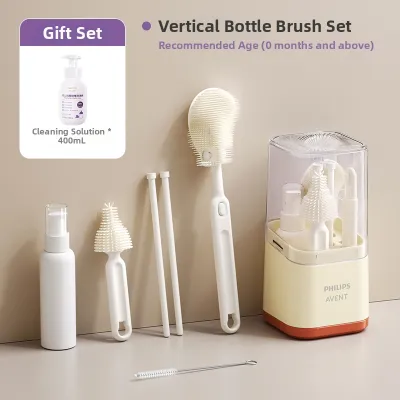
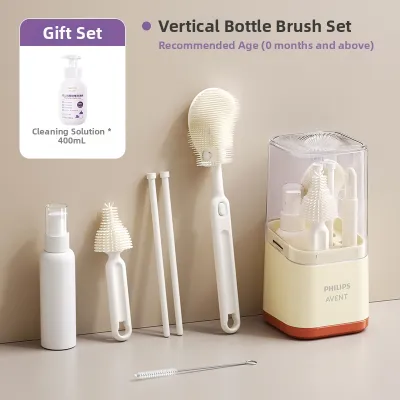
Prices are valid at publication and may change. Please refer to the product page for the latest price.
If you skip the cleaning phase and place a bottle with invisible milk residue straight into a sterilizer, the sterilization process will fail. Sterilizing agents, whether steam or UV rays, cannot effectively penetrate thick milk fats or dried biofilm. Instead, the heat or light may simply bake the organic matter onto the plastic or glass, creating a protective barrier under which harmful bacteria can survive and multiply. Using a dedicated tool like the Avent bottle brush to scrub away every trace of milk film ensures that the sterilizer can directly contact all surfaces, providing a genuinely sterile environment for your baby’s next feed. Always consult your pediatrician or a healthcare professional if you have concerns about your baby’s digestive health or specific hygiene requirements.
What You Need: Tools and Materials for Pre-Cleaning
Setting up a safe and efficient washing station requires a few specific, high-quality tools to prevent cross-contamination and protect your baby’s delicate immune system. Gather the following materials before you begin washing:

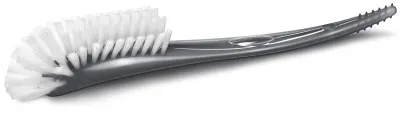
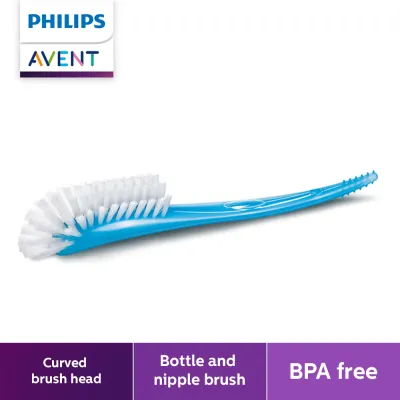
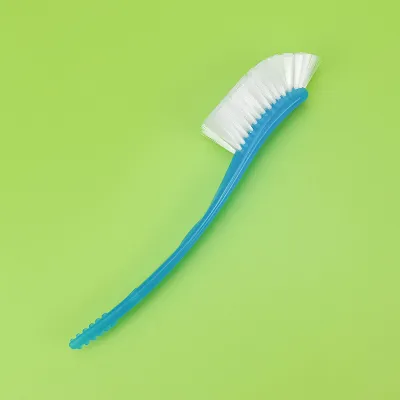
- Avent Bottle Brush: This specialized tool features a curved brush head with durable bristles designed to reach the tight corners and bottom edges of bottles, along with a contoured tip or integrated nipple cleaner in the handle for smaller components.
- Baby-Safe Dishwashing Liquid: Use a mild, fragrance-free dishwashing liquid formulated specifically for baby bottles and accessories. Standard household dish soaps often contain strong perfumes, synthetic dyes, or harsh chemical residues that can linger on the bottle and irritate your baby's stomach.
- Warm Water: Warm water is highly effective at breaking down stubborn milk fats and oils, allowing the dishwashing liquid to emulsify and lift the residue from the bottle walls.
- Dedicated Cleaning Basin: Never wash baby bottles directly in the kitchen sink or alongside family dinnerware. Use a clean, dedicated basin or tub reserved solely for baby feeding items. This practice prevents grease, food particles, and bacteria from raw kitchen prep from transferring to your baby's bottles.
Step-by-Step Guide to Cleaning with an Avent Bottle Brush
Establishing a consistent, hygienic routine ensures that no step is missed during the busy daily schedule of caring for an infant. Before you handle any of the cleaned feeding equipment, always wash your own hands thoroughly with soap and clean water for at least 20 seconds. This simple act prevents you from transferring household germs back onto the freshly washed items.
Step 1: Disassemble and Rinse Immediately
As soon as your baby finishes a feeding, disassemble the bottle completely. Separate the bottle body, the nipple, the screw ring, the cap, and any specialized parts such as anti-colic valves or venting tubes. Leaving the bottle assembled allows milk to pool in the crevices, creating a breeding ground for bacteria.
Immediately rinse all separated parts under cold or lukewarm running water. This initial rinse flushes out the bulk of the liquid milk before it has a chance to dry, harden, and stick to the surfaces. If you are away from home or unable to wash the bottles immediately, a quick rinse with clean water will make the eventual scrubbing process much easier.
Step 2: Prepare the Cleaning Solution
Fill your dedicated baby washing basin with warm water. Add a small squeeze of your chosen baby-safe dishwashing liquid, mixing it gently with your hand or the brush to create a soapy, sudsy solution.
Submerge all the disassembled bottle parts into the soapy water. Let them soak for a minute or two if there is any dried-on milk residue. Soaking helps loosen the proteins and fats, making the mechanical scrubbing action of your brush more effective and reducing the risk of scratching the materials.
Step 3: Scrub the Bottle Interior
Take the bottle body and insert the main bristle head of the Avent brush fully into the opening. Hold the bottle firmly and use a combination of twisting, rotating, and up-and-down motions to clean the interior.
Ensure the curved bristles make firm contact with the bottom edges and the shoulder of the bottle, as these are the areas where milk fats naturally settle and form a stubborn film. Pay close attention to the bottle neck and the outer rim where the screw ring attaches. Before scrubbing, check the bottle manufacturer’s care instructions for any specific limits on scrubbing force or material recommendations to avoid scratching the interior walls, especially if you are using plastic or silicone bottles.
Step 4: Clean the Nipple, Ring, and Small Parts
The delicate components of the bottle require a gentler, more precise approach. Locate the integrated nipple cleaner, which is typically molded into the handle of the Avent bottle brush, or use a dedicated small accessory brush.
Insert the tip of the cleaner into the nipple and rotate it gently to clear out any milk film from the inner surface. Clean the screw ring threads and any anti-colic valves thoroughly, as these intricate parts have small grooves where bacteria can easily hide. Never push the brush or nipple cleaner too forcefully through the small nipple hole or ventilation valves, as this can easily tear, stretch, or deform the silicone, altering the milk flow rate and compromising safety.
Step 5: Rinse Thoroughly and Inspect
Once all components have been thoroughly scrubbed, rinse each part individually under clean, running water. Ensure you wash away all traces of soapy suds and loosened milk residue.
Hold each part up to the light to conduct a visual and physical inspection. Run a clean finger along the inside of the bottle and nipple to check for any remaining greasy film, cloudiness, or soap scent. If you detect any residue, repeat the scrubbing and rinsing steps. Finally, place the clean parts on a dedicated, elevated drying rack in a well-ventilated area to air-dry completely before moving on to the sterilization phase.
Common Mistakes to Avoid When Using a Bottle Brush
Even with the right tools, small errors in your cleaning routine can compromise the hygiene of your baby’s feeding equipment. Avoid these common pitfalls to keep your bottles safe and durable:
- Using Regular Household Dish Soap: Standard dish soaps often contain strong synthetic fragrances, dyes, or harsh antibacterial chemicals that are difficult to rinse off completely. Any lingering residue can contaminate your baby's milk and cause digestive discomfort.
- Scrubbing Too Aggressively: While thorough cleaning is necessary, excessive force can cause micro-scratches on the interior surfaces of plastic or silicone bottles. These microscopic grooves act as shelters where bacteria and milk proteins can accumulate, making them extremely difficult to clean or sterilize later.
- Neglecting Brush Maintenance: A dirty bottle brush cannot clean effectively and can become a source of contamination. After each use, rinse your Avent brush thoroughly under hot water, squeeze out any excess moisture, and store it upright in a clean container to air-dry. Check the manufacturer's packaging for specific replacement timelines, and replace the brush immediately if you notice frayed bristles, a tearing sponge, or structural wear.
- Storing Wet Items in Enclosed Spaces: Leaving wet bottles, nipples, or brushes in closed cupboards, plastic containers, or poorly ventilated areas traps moisture. In humid climates like the Philippines, this damp environment rapidly promotes the growth of mold and mildew.
Pairing Pre-Cleaning with Sterilization Methods
Once your baby bottles are meticulously cleaned and rinsed, they are ready for the final step: sterilization. The method you choose depends on your household setup, but each requires proper preparation to be effective.
- Electric Steam Sterilizers: When using a steam sterilizer, place the cleaned bottles upside down or at a slight angle on the racks. This positioning allows the hot steam to rise directly into the bottle interior and circulate freely around all surfaces. Ensure that nipples, rings, and caps are spaced out and not stacked on top of one another. Always consult the sterilizer's manual for specific capacity limits and water measurement guidelines.
- Boiling: If you prefer the traditional boiling method, first verify that all your bottle and nipple materials are explicitly marked as boil-safe by their manufacturers. Fill a deep, dedicated pot with enough water to fully submerge all parts. Bring the water to a rolling boil, gently lower the parts in, and ensure they do not rest directly against the hot metal sides or bottom of the pot, which can warp or melt plastic and silicone.
- UV Sterilizers: Ultraviolet sterilizers rely on direct line-of-sight to destroy microorganisms. Because UV light cannot penetrate water droplets or shadows, you must ensure all bottle parts are completely dry before placing them inside. Arrange the items so they do not overlap, ensuring the UV bulb has an unobstructed path to every interior and exterior surface.
Regardless of the method you select, always defer to the specific product manuals for exact sterilization times, operating temperatures, and material compatibility limits to protect your equipment and ensure safety.
Frequently Asked Questions (FAQ)
How often should I replace my Avent bottle brush?
You should generally replace your bottle brush every 30 to 45 days, or as recommended on the manufacturer’s packaging. However, you should inspect the brush regularly for visual signs of wear. If you notice frayed or falling bristles, a tearing sponge head, a loss of bristle stiffness, or a bent handle, replace the brush immediately. A worn-out brush cannot apply the necessary mechanical action to remove biofilm and can harbor harmful bacteria within its damaged fibers.
Can I use the Avent brush on both silicone and glass bottles?
Yes, the Avent bottle brush is generally designed to be safe for a variety of bottle materials, including glass, plastic, and silicone. However, you must always verify the brush packaging and check the specific care instructions provided by your bottle’s manufacturer. When cleaning glass bottles, handle them carefully to avoid impact damage or cracking. For silicone and plastic bottles, use gentle, controlled scrubbing motions to prevent creating micro-scratches that can trap bacteria.

Community discussion
Share your experience or ask a question. Comments are reviewed before publication.