
To ensure your baby’s feeding equipment is safe, you must combine a dedicated bottle washing liquid with a reliable sterilizer in a strict, two-step sequence: wash first, then sterilize. Washing removes physical residue like stubborn milk fats and proteins, while sterilizing eliminates microscopic pathogens. Skipping either step compromises your infant’s health. In a tropical climate like the Philippines, where high humidity and warm ambient temperatures accelerate bacterial and mold growth, maintaining this hygiene standard is essential. This guide outlines how to pair these two cleaning phases effectively to protect your baby’s developing immune system.
Why You Need Both: Bottle Washing Liquid and Sterilization
Many caregivers wonder if using a sterilizer alone is enough, or if a thorough wash with water can replace sterilization. The reality is that these two steps perform entirely different, non-negotiable functions.
Milk is rich in fats, proteins, and carbohydrates. When milk dries, it leaves a sticky, invisible biofilm on the surfaces of bottles, nipples, and valves. Water alone cannot dissolve these fats, and standard dishwashing liquids often contain harsh chemicals or strong synthetic perfumes that leave a persistent residue. A specialized, food-grade bottle washing liquid is formulated specifically to break down lipid and protein bonds, lifting them completely off plastic, glass, or silicone surfaces.
Products mentioned in this guide
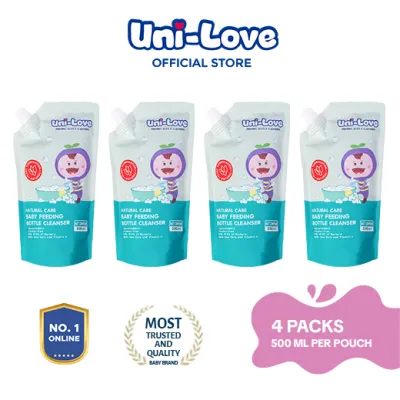
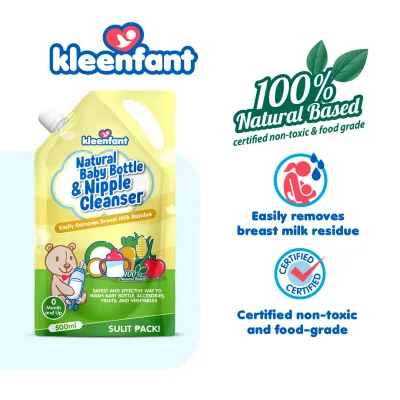
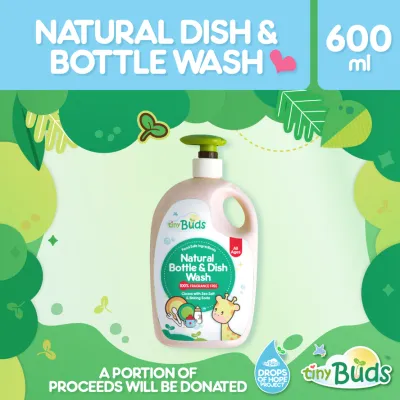
Prices are valid at publication and may change. Please refer to the product page for the latest price.
On the other hand, sterilizers use heat, steam, or ultraviolet (UV) light to neutralize pathogens. However, sterilizers do not wash away physical dirt. If you place a bottle with dried milk residue inside a sterilizer, the heat or light cannot penetrate the film. It essentially bakes the milk residue onto the surface, trapping active bacteria underneath.
Conversely, washing without sterilizing is incomplete. Even if a bottle looks clean to the naked eye, microscopic pathogens, mold spores, and viruses can remain on the surface, especially in humid conditions. Combining both steps ensures physical cleanliness and microbiological safety.
The Correct Sequence: Wash First, Sterilize Second
You must never reverse these steps or attempt to perform them simultaneously. Sterilizers are designed to sanitize clean, residue-free surfaces. They are not washing machines. Putting unwashed bottles into a sterilizer reduces the device’s lifespan, creates unpleasant odors, and fails to protect your baby.

Step 1: Disassemble and Pre-Rinse
To begin the process, completely disassemble all parts of the feeding bottle. This includes separating the bottle body, the nipple, the collar ring, travel caps, and any internal anti-colic valves or tubes. Milk residue easily gets trapped in the threads of the collar and the tip of the silicone nipple.
Perform a quick pre-rinse using cool or lukewarm water immediately after feeding. Do not let the bottle sit with leftover milk, as the tropical heat can cause the milk to spoil rapidly, making it much harder to clean later. Rinsing immediately prevents the milk proteins from hardening and bonding to the plastic or glass.
Step 2: Wash with Bottle Washing Liquid
Once rinsed, submerge the disassembled parts in warm water mixed with the recommended amount of bottle washing liquid. Avoid using generic household detergents, which often contain synthetic fragrances and surfactants that are difficult to rinse off completely. Use a dedicated bottle brush to scrub the interior of the bottle. A separate, smaller nipple brush is required to clean the delicate silicone teat without tearing it.
Pay close attention to the threads where the collar screws onto the bottle, as this is a common hotspot for biofilm accumulation. After scrubbing, rinse every component thoroughly under clean, running water. You must ensure that all soap suds and bubbles are completely gone. Any remaining soap residue can interact with the intense heat or UV light of your sterilizer, potentially baking a chemical film onto the bottle that is harmful to your baby and difficult to remove.
Step 3: Sterilize Using Your Device
After a thorough rinse, the clean, wet items are ready for the sterilizer. Place the bottles upside down on the sterilizer racks so steam or UV light can freely access the interior surfaces. Arrange the nipples, collar rings, and valves so they do not overlap, ensuring maximum exposure to the sterilizing agent.
Always check the manufacturer’s guidelines for your specific sterilizer model regarding capacity and correct placement. Different devices—whether steam, UV, or traditional boiling water—have specific loading patterns to ensure uniform heat or light distribution. Additionally, verify that all bottle materials (such as polypropylene, PPSU, glass, or silicone) are compatible with your specific sterilization method to prevent melting, warping, or chemical degradation.
Crucial Pairing Rules and Safety Boundaries
When combining these two cleaning phases, safety must remain your top priority. A common and highly dangerous mistake is adding bottle washing liquid directly into a standard steam or UV sterilizer. Standard sterilizers are not designed to process soap. Doing so can ruin the heating element, cause massive foam overflows, and leave a toxic chemical film on your baby’s feeding gear. Only specialized, multi-functional washer-sterilizer appliances allow detergent use, and even then, you must strictly use the specific type and amount of detergent recommended in the manufacturer’s manual.
Material compatibility is another critical factor. Repeated exposure to high temperatures from steam or boiling, as well as exposure to UV radiation, can degrade plastic and silicone over time. Polypropylene (PP) bottles may become cloudy or brittle, while silicone nipples can lose their elasticity, become sticky, or crack. Inspect all parts before every wash. If you notice any discoloration, cracks, tears, or persistent cloudiness, stop using the component immediately and replace it.
Furthermore, the risk of “baking” residue cannot be overstated. If milk fats or soap residues are not fully rinsed off during the washing phase, the heat of a steam sterilizer or the energy of a UV sterilizer can permanently bake these substances onto the bottle. This not only ruins the bottle’s clarity but also creates a rough surface where bacteria can easily anchor and multiply, defeating the purpose of sterilization. Always consult the user manuals for both your bottle washing liquid and your sterilizer to ensure their instructions do not conflict.
Drying and Storage: The Final Step for Safety
The routine does not end when the sterilizer cycle finishes. In fact, post-sterilization handling is where many caregivers accidentally reintroduce bacteria. High-humidity environments, typical of tropical regions like the Philippines, create the perfect breeding ground for mold and bacteria if moisture is left trapped inside the bottles.
Proper air-drying is absolutely essential. If your sterilizer does not have a built-in drying function, carefully remove the sterilized items using clean, sanitized tongs. Place them on a dedicated bottle drying rack that is kept in a clean, well-ventilated area away from the kitchen sink or food preparation zones. Never use a standard kitchen dish towel to wipe the bottles dry. Regular towels harbor millions of microscopic bacteria and lint that will instantly contaminate the freshly sanitized surfaces.
Once the bottles and accessories are completely dry, store them properly to maintain their hygienic state. You can assemble the dry bottles immediately with clean hands and place the travel caps over the nipples, or store the disassembled parts in a clean, dust-free, airtight container. If a bottle remains unused for an extended period, consult the manufacturer’s instructions or your pediatrician to decide if it needs to be sterilized again before the next feed.
Frequently Asked Questions (FAQ)
Can I put bottle washing liquid directly into my sterilizer?
No, you must never put bottle washing liquid directly into a standard steam, microwave, or UV sterilizer. These devices are designed to sanitize clean items using heat or light, not to wash away dirt or handle soap suds. Adding soap to these machines can damage the internal heating elements, cause dangerous overflows, and leave a highly concentrated, toxic chemical residue on the feeding equipment. The only exception is a dedicated, automatic bottle washer-sterilizer machine. If you own one of these combination appliances, you must strictly follow the manufacturer’s instructions and use only the approved, low-foaming detergent specified in their manual.
Do I need to sterilize bottles after every single wash?
While washing bottles with a dedicated bottle washing liquid is mandatory after every single feed, the frequency of sterilization depends on several factors, including your baby’s age and health status. Pediatric health guidelines generally recommend sterilizing feeding equipment at least once a day for newborn infants, premature babies, or those with weakened immune systems. For older, healthy babies who have started putting toys and other objects in their mouths, daily sterilization may become less critical, and thorough washing with clean water may suffice. However, because local water quality and environmental humidity vary, you should always consult your pediatrician to establish the safest routine for your child’s specific developmental stage.

Community discussion
Share your experience or ask a question. Comments are reviewed before publication.