
Leaving the house with a baby often feels like preparing for a major expedition. The key to maintaining your peace of mind on the go is a highly structured, predictable mom bag that allows you to locate any item in seconds, even in the dark or while holding a crying infant. By shifting from a disorganized packing style to a systematic, pouch-based organization method, you can eliminate the stress of rummaging through a bottomless pit of baby gear.
In tropical climates like the Philippines, where high humidity, sudden afternoon downpours, and intense heat are part of daily life, smart packing is even more critical. Damp clothes, melting snacks, and improperly stored liquids can quickly ruin your day if they are not managed correctly. Organizing your bag efficiently not only saves your shoulders from unnecessary strain but also ensures that essential items like hydration, sun protection, and clean diapers are always within arm’s reach.
Assess Outing Needs and Bag Capacity Before Packing
Before you place a single item inside your bag, take a moment to evaluate the specific parameters of your upcoming trip. Overpacking is the primary cause of heavy diaper bags that strain your back and make quick retrieval impossible. Consider the duration of your outing first; a quick run to a local neighborhood market requires a vastly different setup than a full-day excursion to an air-conditioned shopping mall or an outdoor family gathering.
Products mentioned in this guide
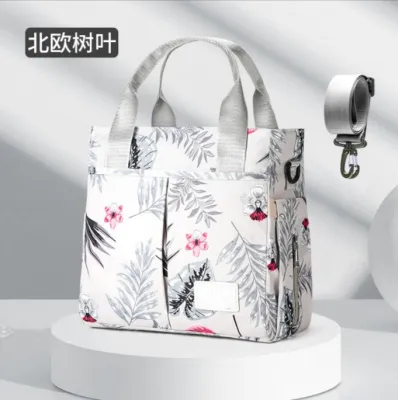
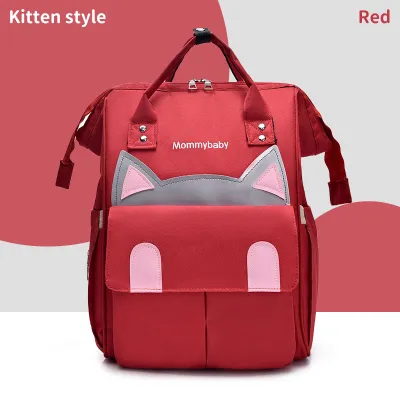
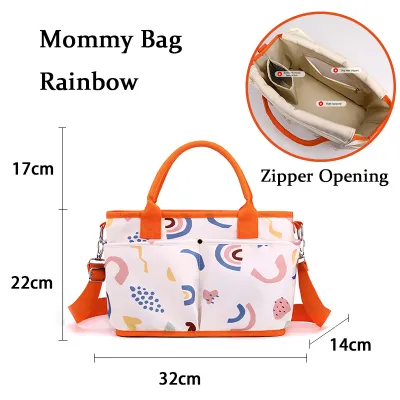
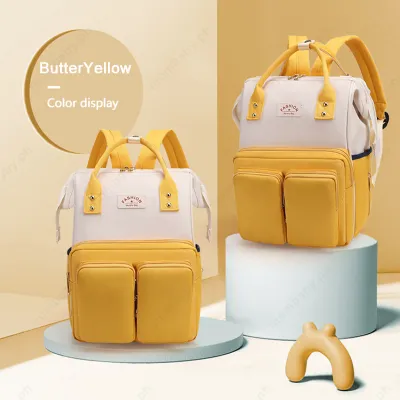
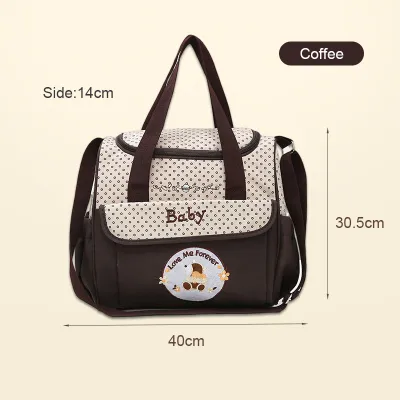
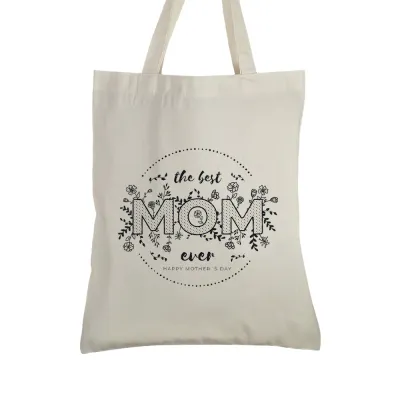
Prices are valid at publication and may change. Please refer to the product page for the latest price.
Your baby’s current developmental stage and feeding method dictate the bulk of your packing list. Breastfeeding mothers may only need a nursing cover and breast pads, while formula-feeding parents must carry sterilized water, pre-measured formula dispensers, and multiple bottles. Additionally, consider the destination’s facilities. If you are visiting a modern establishment with fully equipped family lounges and changing tables, you can carry a lighter load than if you are heading to an outdoor park where you must bring your own portable changing station and waste disposal bags.
Always check your bag’s physical limits and compartment layout before loading it. Diaper bags are designed with specific weight distributions in mind, and exceeding these limits can damage the zippers, straps, and seams. If you are only heading out for a brief errand, resist the temptation to carry your heavy, fully loaded main backpack. Instead, opt for a minimalist diaper clutch or a small crossbody sling that holds just one diaper, a travel-sized pack of wipes, a small tube of diaper cream, and your personal essentials like keys and a phone.
Build a Zone and Pouch System for Easy Retrieval
The secret to a perfectly organized mom bag is the bag-within-a-bag concept, which relies on categorizing your essentials into distinct functional zones. Instead of letting loose items float freely in the main compartment, group them into dedicated pouches based on their purpose. The primary zones you should establish include diapering, feeding, clothing changes, and maternal care. When your baby needs a diaper change, you should be able to pull out a single diapering pouch containing everything required for that task, rather than searching for individual items.

Selecting the right types of internal organizers is crucial for this system to work. Clear, zippered plastic or mesh pouches are highly recommended because they allow you to identify the contents at a glance without opening them. Color-coded wet bags are also invaluable, especially for separating clean items from soiled ones. For instance, you can use a bright yellow pouch for feeding supplies, a blue pouch for diapering, and a green waterproof wet bag for spare clothes.
In warm and humid environments, keeping clean items and soiled garments strictly separated is a matter of hygiene. Used diapers, sweat-soaked onesies, or clothes soiled by spit-up can quickly breed bacteria and cause unpleasant odors if left loose in your bag. Always pack at least one high-quality, waterproof wet bag with a reliable zipper closure to seal away dirty items until you return home. Keep this wet bag in a designated section of your main compartment, completely separate from clean pacifiers, teething toys, and feeding utensils.
Follow a Logical Packing Sequence for Weight and Access
How you layer items inside your bag directly impacts both your physical comfort and how quickly you can react to an emergency. A logical packing sequence ensures that the heaviest items do not strain your back and that high-priority essentials are always at the very top. Start by placing bulky, rarely needed items at the very bottom of the bag. This bottom layer typically includes items you hope you will not need but must carry just in case, such as a thick spare blanket, a portable play mat, or an extra set of heavy clothes for cooler, air-conditioned spaces.
The core layer, which sits in the middle of the bag and closest to your back panel, should hold your heaviest items. This includes your main diapering pouch, formula dispensers, thermos bottles filled with warm water, and solid food containers. Positioning these heavy items close to your spine keeps the bag’s center of gravity aligned with your body, reducing ergonomic strain on your shoulders and lower back during long walks.
Reserve the top layer and the bag’s exterior pockets for high-frequency access items that you might need at a second’s notice. Your phone, wallet, keys, hand sanitizer, wet wipes, and pacifiers should always live in these easily accessible spots. If your baby suddenly spits up or drops their pacifier on a dusty floor, you should not have to dig past layers of diapers and spare clothes to find a sanitizing wipe.
Before you zip up your bag and head out, perform a quick safety check. Ensure that no sharp objects, such as house keys, pen tips, or metal grooming tools, are pointing toward areas where they could puncture baby bottles or scratch your hands during a hurried search. Additionally, make sure that small items that could pose choking hazards, such as loose coins, hair ties, or small medication blister packs, are securely zipped inside interior pockets where a curious toddler cannot reach them if the bag is left open on a stroller or table. If you carry baby skin protectants or insect repellents, consult a pediatrician or qualified healthcare professional before application, and stop use immediately if any skin irritation occurs.
Establish a Post-Outing Reset and Restock Routine
An organized mom bag is only sustainable if you maintain it consistently. Developing a quick post-outing reset routine ensures that your bag is always clean, sanitary, and fully prepared for your next departure, preventing those stressful, rushed moments when you are trying to leave the house. As soon as you return home from an outing, make it a habit to empty the bag of all temporary items. Remove used diapers, trash, receipts, soiled clothes, and empty food containers immediately. Leaving damp clothes or half-eaten snacks in a bag in a warm, humid climate can lead to bacterial growth and unpleasant odors.
Once the temporary items are cleared out, immediately restock the consumables you used during the trip. If you used two diapers, replace them; if your travel wipes pack is running low, swap it for a fresh one. Replenish dry snacks, formula portions, and clean bottles so that the bag is essentially packed and ready to go at a moment’s notice. This practice is especially helpful for unexpected trips, such as a sudden doctor’s visit or a quick errand.
In addition to daily resets, schedule a periodic deep clean of your bag’s interior. Every few weeks, empty the bag completely, shake out any accumulated crumbs, and wipe down the inner lining with a damp cloth and mild, baby-safe soap. Always consult the manufacturer’s care label for specific cleaning instructions, as some materials may be machine washable while others require spot cleaning only. Allow the bag to air dry completely in a well-ventilated area before repacking it to prevent mold and mildew growth, which can thrive in humid climates.
Adapt Your Packing List as Your Baby Grows
Your organization system must evolve alongside your child’s developmental milestones. The packing list for a newborn baby is vastly different from that of an active toddler, and failing to adapt your bag will result in carrying unnecessary weight. Newborns require a high volume of diapers, multiple changes of clothes, burp cloths, and specialized feeding gear. During this stage, your bag will likely be at its heaviest and most complex.
As your baby transitions into toddlerhood, you can permanently remove several items from your daily carry. You will no longer need infant-specific items like nursing pillows, newborn scratch mittens, or bulky burp cloths. Instead, your focus will shift toward packing toddler essentials, which include a variety of dry snacks, a leak-proof straw cup, small travel-friendly toys or coloring books for entertainment, and potty training supplies such as flushable wipes and spare training pants. Always verify the age and development suitability of toys, cups, and feeding gear by checking the manufacturer’s product documentation before adding them to your daily carry.
Take time every few months to re-evaluate your pouch sizes and overall bag capacity. You may find that you no longer need a massive, heavy diaper backpack for short trips. A medium-sized tote with a few well-organized pouches or a compact backpack might become your preferred choice. Regularly auditing your bag’s contents ensures that you are only carrying what is truly useful for your child’s current age, keeping your load light and your outings stress-free.
Frequently Asked Questions (FAQ)
How do I prevent bottles from leaking inside the mom bag?
To prevent messy leaks, always verify that bottle valves, nipples, and collar rings are properly aligned and tightly sealed according to the manufacturer’s instructions before packing. Utilize the bag’s dedicated, upright insulated pockets or place bottles inside a separate, waterproof bottle sleeve. Storing bottles vertically and ensuring your diaper bag remains upright when placed on flat surfaces will significantly reduce the risk of spills.
What is the best way to organize a mom bag with no internal pockets?
If you are using an unstructured tote bag with no built-in compartments, the most effective solution is to purchase a removable diaper bag organizer insert. A high-quality insert typically ranges from ₱300 to ₱800, making it an affordable way to upgrade an existing bag. Alternatively, rely entirely on a system of distinct, color-coded zippered pouches to group your items, and use carabiner clips to attach your keys, hand sanitizer, and pacifier cases to the main straps for quick access.

Community discussion
Share your experience or ask a question. Comments are reviewed before publication.