
Packing a hospital bag is more than just throwing items into a duffel; it is about creating a systematic, stress-free retrieval system for one of the most intense days of your life. When active labor begins, neither you nor your partner should be rummaging through a dark, disorganized bag looking for a hair tie, an insurance card, or the baby’s first swaddle. The key to an organized hospital bag lies in compartmentalization, color-coding, and packing chronologically according to the stages of labor and recovery. By grouping items into distinct, labeled pouches and placing immediate essentials within arm’s reach, you ensure that anyone can find exactly what you need in seconds.
Choose the Right Bag and Organizers
Selecting the correct luggage type is the foundation of an efficient packing strategy. Hospital rooms, especially in busy maternity wards, often have limited floor space, meaning a massive hard-shell suitcase can quickly become an obstacle. A medium-sized duffel bag, a weekender bag, or a compact carry-on suitcase with smooth wheels usually offers an excellent balance of capacity and mobility. Consider a bag with a wide, doctor-bag style opening or a clamshell design, which allows you to see the entire contents at a single glance rather than forcing you to dig blindly to the bottom.
To prevent items from shifting during transit, internal organization tools are absolutely essential. Packing cubes, clear plastic cosmetic pouches, and heavy-duty resealable bags are excellent for dividing your gear into logical categories. Clear pouches are particularly useful because they allow your partner or a nurse to identify the contents instantly without unzipping them. In tropical climates, using water-resistant or wipeable organizers also helps protect your clean clothes and baby items from humidity or accidental spills.
Products mentioned in this guide
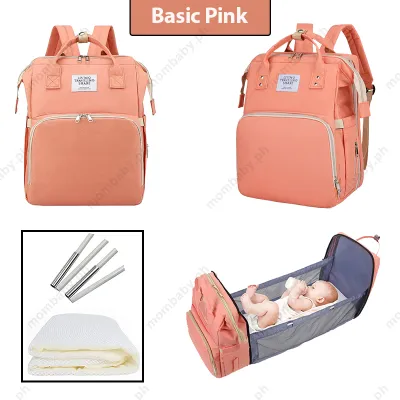
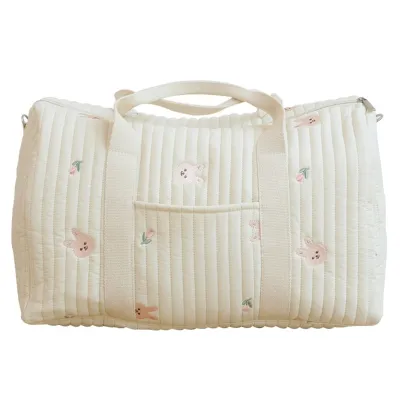
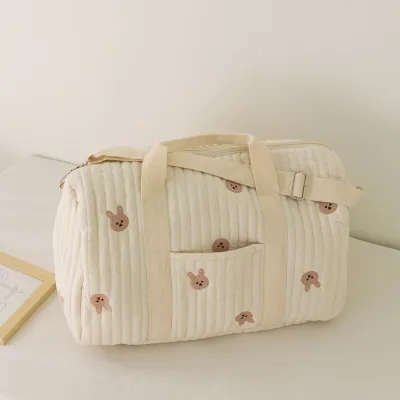
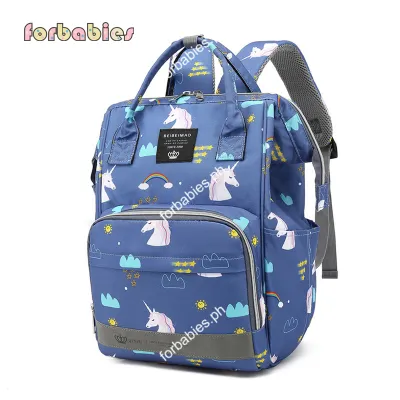
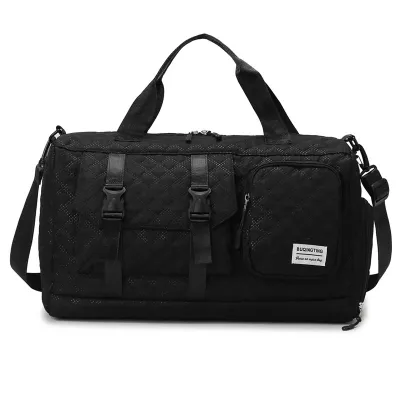
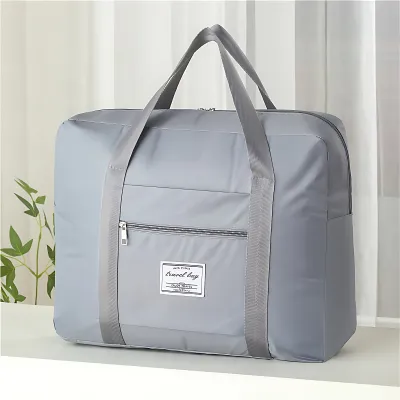
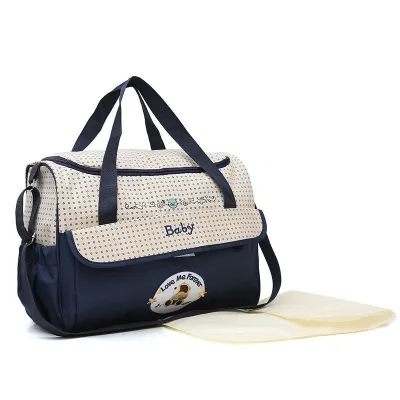
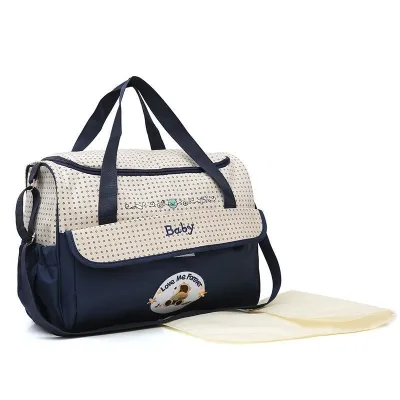
Prices are valid at publication and may change. Please refer to the product page for the latest price.
Before finalizing your bag selection, it is wise to verify the specific policies of your chosen hospital or lying-in clinic. Some facilities have strict guidelines regarding the size of bags permitted in the labor room, or they may restrict certain items like plug-in diffusers, large electronic devices, or external heating pads. Contact your hospital’s admission desk or ask your obstetrician during a prenatal visit to confirm what the facility provides and what limitations you must respect.
Pack by Labor and Recovery Stages
An organized bag follows a chronological timeline, separating what you need during active labor from what you will use during your postpartum stay. Grouping your items this way prevents you from unpacking your entire bag just to find a single item during admission. By placing your immediate labor essentials at the very top of your bag or in easily accessible external pockets, you ensure a smooth transition from the hospital lobby to the delivery room.

Essentials for Active Labor and Delivery
The first hours of your hospital stay require rapid access to administrative documents and immediate comfort measures. Keep all admission paperwork, government-issued identification, prenatal records, and health insurance or PhilHealth documents in a dedicated, waterproof folder. Place this folder in the most accessible external pocket of your bag, as you will need to present these documents immediately upon arrival at the triage desk.
Active labor can be physically demanding, making comfort and hydration items top priorities. Pack a small, grab-and-go pouch containing items to help you manage labor discomfort, such as lip balm to combat dry lips, hair ties or headbands to keep hair off your face, and a portable, rechargeable mini-fan to stay cool in warm delivery rooms. Include a reusable water bottle with a built-in bendy straw, which allows your partner to help you sip water easily even while you are reclining or in labor positions.
The baby’s very first outfit and swaddle should also be prepared for immediate use right after birth. Pack a single newborn-sized onesie, a soft receiving blanket or swaddle, a pair of mittens, and a tiny bonnet together in a small, clearly labeled resealable bag. Label this bag “Baby’s First Outfit” in bold letters so that your partner or the attending nurse can grab it instantly when the baby is ready to be dressed.
Postpartum Recovery and Going-Home Items
Once you transition to the recovery room, your needs will shift toward personal hygiene, physical comfort, and preparing to head home. Postpartum recovery requires specialized care items, including heavy-duty maternity pads, disposable underwear, and a gentle peri bottle for cleansing. Group these recovery essentials together with comfortable, loose-fitting nursing bras and front-opening button-down pajamas, which facilitate easy breastfeeding and skin-to-skin contact with your newborn.
Your own going-home outfit and personal toiletries should be packed in a separate, dedicated packing cube. Choose loose, breathable clothing made of natural fibers like cotton or bamboo, which are ideal for managing postpartum night sweats and tropical humidity. Include basic toiletries such as a toothbrush, toothpaste, mild body wash, shampoo, and a hairbrush to help you feel refreshed before discharge.
Because you will not need these recovery and going-home items until hours or days after delivery, store this packing cube at the very bottom of your main bag or in a secondary compartment. Keeping them tucked away ensures they do not clutter your workspace or get in the way during the active labor phase.
Organize for Your Partner or Support Person
During labor, you will likely be focused on managing contractions, meaning your partner or support person will be the one retrieving items from your bag. If your bag is not organized with their perspective in mind, they may struggle to find what you need, leading to unnecessary stress for both of you. To prevent this, use a clear labeling system on every packing cube and pouch, using a permanent marker or adhesive labels to state exactly what is inside, such as “Mama’s Toiletries” or “Chargers.”
You can also print or write a simple packing list and tape it directly to the inside lid of your bag. This quick-reference guide should outline exactly where critical items are located, such as the baby’s car seat, the pediatric documents, or specific comfort items. Having a visual map of the bag’s contents empowers your partner to act quickly and confidently without needing to interrupt your focus to ask where things are.
Do not forget to designate a specific, separate section of the bag—or a small secondary backpack—exclusively for your partner’s essentials. This section should hold their change of clothes, basic toiletries, a long phone charging cable, and a selection of high-energy snacks. Packing small change or bills in local currency, such as ₱50 and ₱100 notes, is also highly practical for paying for hospital parking, vending machines, or quick meals at nearby convenience stores.
Final Checks Before Heading to the Hospital
As your due date approaches, establishing a systematic verification routine ensures that you do not leave critical items behind in the rush to the hospital. Start by cross-referencing your packed bag with the specific checklist provided by your hospital or lying-in clinic. Lay everything out on a clean surface one last time to verify that you have not missed any mandatory items, then pack them back into their designated, labeled zones.
Electronic devices and their accessories require a final, careful check before you walk out the door. Ensure that your smartphones, cameras, and portable power banks are fully charged, and pack extra-long charging cables that can reach from distant hospital wall outlets to your bedside. Keep these chargers in an easily accessible pocket so they can be plugged in as soon as you are settled into your room.
Finally, confirm that your baby’s infant car seat is properly installed in your vehicle well ahead of time, as hospitals will not release your newborn without verifying a safe ride home. Place your fully packed hospital bag and the baby’s going-home gear in a designated spot near your front door or directly in the trunk of your car once you reach your 36th week of pregnancy. Having these items pre-staged reduces last-minute panic and allows you to focus entirely on a safe, calm journey to the hospital.
Frequently Asked Questions (FAQ)
When should I have my hospital bag fully packed and ready?
It is generally recommended to have your hospital bag fully packed, organized, and placed in your car or by the door by the time you reach 36 weeks of pregnancy. Preparing your bag by this milestone ensures you are ready for unexpected early labor or sudden medical recommendations for admission. If you are experiencing a high-risk pregnancy or expecting multiples, you may want to have your bag finalized even earlier, around 32 to 34 weeks, to provide peace of mind.
What items should I intentionally leave out of my hospital bag?
To avoid cluttering your limited hospital room space, leave valuable jewelry, large amounts of cash, and unnecessary electronics at home. Avoid packing bulky pillows or blankets unless you have a specific comfort need, as most hospitals provide these, and bringing your own increases the risk of misplacing them or exposing them to hospital germs. Additionally, do not pack excessive amounts of newborn clothes or heavy, tight-fitting pre-pregnancy outfits, as your body will still require loose, comfortable maternity wear immediately after birth. Always check your hospital’s restricted items list to ensure you do not bring prohibited appliances like electric kettles or unapproved medical devices.

Community discussion
Share your experience or ask a question. Comments are reviewed before publication.