
When you are out with your baby, a sudden diaper blowout or a hungry cry can quickly turn a pleasant stroll into a stressful scramble. The key to maintaining your peace of mind during these moments is not just what you pack, but how you arrange it. A chaotic diaper bag forces you to dig through layers of clothes, toys, and loose wipes while trying to soothe a fussy infant. By establishing a systematic, zone-based packing method, you can transform your nursing bag into a highly functional mobile station where every essential is exactly where you expect it to be.
In tropical climates, where high humidity and sudden downpours are part of daily life, smart organization also protects your baby’s gear from moisture, heat, and contamination. Whether you are navigating a crowded shopping mall, visiting family, or taking a quick trip to the local park, a structured bag ensures you can execute diaper changes and feedings in seconds. This guide provides a practical, step-by-step framework to categorize, pack, and maintain your nursing bag so you can focus on enjoying your time outside with your little one.
Assess Your Bag's Layout and Storage Features
Before placing a single item inside your nursing bag, take a close look at its physical architecture. Every bag has a unique blueprint of compartments, zippered pockets, and open sleeves designed to distribute weight and organize gear. Identifying the main central cavity helps you reserve this space for bulky, low-frequency items. Locating the specialized zones—such as insulated bottle pockets, quick-access exterior slots, and dedicated parent compartments—allows you to assign specific functions to each area, preventing the common mistake of throwing everything into one giant, disorganized pile.
Products mentioned in this guide
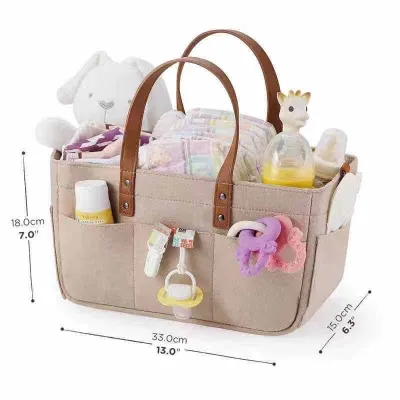
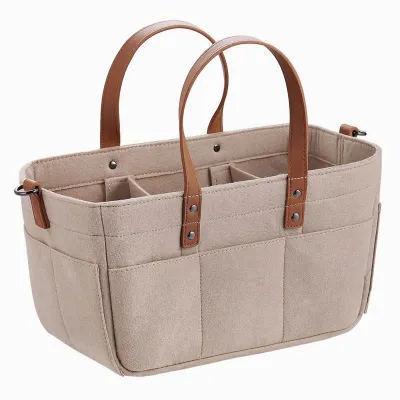
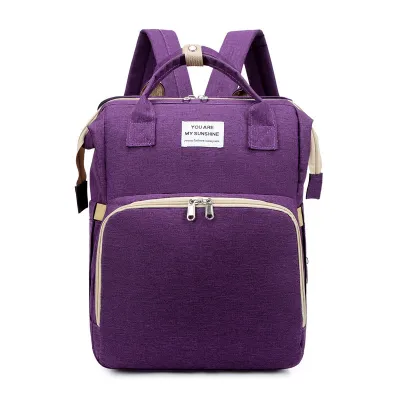
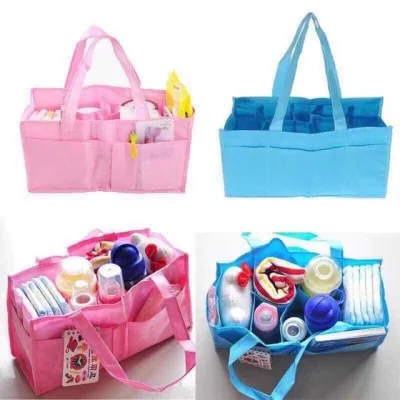
Prices are valid at publication and may change. Please refer to the product page for the latest price.
If your current bag is a simple tote or lacks structured compartments, you do not necessarily need to purchase a brand-new one. You can easily upgrade its functionality by introducing a removable nursing bag organizer or a set of lightweight, color-coded pouches. These modular inserts create artificial walls within an open bag, keeping items upright and preventing them from sliding to the bottom. Paying attention to how the bag carries weight when fully loaded is also crucial. Placing heavier items closer to your back or center of gravity prevents the bag from sagging, reduces strain on your shoulders, and keeps the bag stable when hung on a stroller hook.
Categorize Baby Essentials by Urgency
A successful packing system relies on prioritizing items by how quickly you need to reach them. When a baby is crying or a diaper is leaking, you do not have the luxury of time to search through deep pockets. Grouping your essentials into three distinct categories—high urgency, medium urgency, and low urgency—dictates exactly where each item should live inside your bag, ensuring that the most critical tools are always within arm’s reach.

High-urgency items are those you must be able to grab with one hand in under five seconds. This category includes baby wipes, pacifiers, burp cloths, hand sanitizer, and small toys to distract a restless infant. These items belong in the outermost zippered pockets, side sleeves, or right at the very top of the main compartment. If your bag has a dedicated wipe dispenser pocket, make sure it is loaded and functioning smoothly before you leave the house. Keeping these high-priority items easily accessible prevents you from having to set down a crying baby just to rummage through your gear.
Medium-urgency items are essential for routine care but do not require instant, split-second retrieval. This group includes clean diapers, a portable changing pad, diaper rash cream, disposal bags, and nursing covers or feeding bibs. These items are best stored in the upper half of the main compartment or grouped together in a dedicated, easily removable pouch. By keeping them clustered, you can pull out the entire diapering kit in one swift motion when it is time to head to a restroom or a public changing station.
Low-urgency items are those you typically use only once or twice during an outing, or in specific situations that allow for a bit of preparation. This category covers spare changes of clothes, extra formula dispensers, breast pumps, bulky toys, and weather protection like light jackets or sun hats. Because you will have time to prepare before using these items, they can safely sit at the bottom of the main compartment or in deeper, less accessible interior pockets. Storing them at the base also provides a stable foundation for the rest of your gear, keeping the bag upright when placed on a flat surface.
Step-by-Step Packing System for Fast Retrieval
To execute a flawless packing system, you must treat your nursing bag as a collection of modular zones rather than a single storage bin. Gathering all your categorized items on a clean table helps you visualize the layout before packing. The goal is to pack vertically rather than horizontally, ensuring that items are stacked side-by-side rather than piled on top of one another. This vertical packing method allows you to see every single item the moment you unzip the main compartment, eliminating the need to dig.
Assembling your modular pouches acts like creating drawers within your bag. Use one zippered pouch for medical and grooming essentials, such as baby-safe sunscreen, insect repellent, nail clippers, and a small thermometer. Use a second, waterproof pouch for a complete diapering kit, containing three to four diapers, a travel pack of wipes, and a small tube of barrier cream. This diapering pouch is a game-changer; instead of carrying your entire heavy bag into a cramped restroom, you can simply grab this single pouch and your changing pad.
Managing the feeding zone requires careful placement to prevent spills and maintain temperature. Secure baby bottles, water flasks, or milk storage bags upright in the insulated pockets of your bag. If your bag does not have insulated sleeves, use a separate insulated bottle bag with a secure zipper. In warm, humid environments, keeping milk or prepared formula at a safe temperature is crucial to prevent spoilage. Always ensure these liquid containers are kept strictly vertical to avoid slow leaks that can ruin clean clothes or paper documents stored nearby.
To maintain hygiene and order, establish a strict boundary between baby gear and your personal belongings. Use the designated parent pocket—usually located on the front or back exterior of the bag—to store your keys, wallet, phone, lip balm, and personal sanitizing wipes. Keeping your items separate prevents cross-contamination from used baby gear and ensures you do not accidentally drop a pacifier while reaching for your car keys. This dedicated zone also means you can use the bag as your primary purse, streamlining what you have to carry.
Adapt the Organization for Different Outings
A common mistake is carrying the exact same heavy load for a quick thirty-minute errand as you would for an all-day family gathering. Overpacking clutters your bag, makes items harder to find, and causes unnecessary physical strain. To keep your system efficient, learn to scale your packing list up or down based on the duration and nature of your outing. For short trips, such as a quick visit to a nearby grocery store, a minimalist setup with just two diapers, a small pack of wipes, one change of clothes, and a single bottle is usually more than enough.
Your feeding method also dictates how you should configure your bag’s interior space. For breastfeeding mothers, the bag can remain relatively light, requiring only a nursing cover, breast pads, and perhaps a manual pump if you plan to be away for several hours. For formula-feeding parents, space management is more demanding. You will need to pack pre-measured formula dispensers, sterilized bottles filled with clean water, and a thermos of warm water if your baby prefers warm milk. Grouping these feeding components together in a single insulated section allows you to prepare a bottle quickly without searching through diapering supplies.
Additionally, adapt your bag to the local weather conditions without disrupting your core organizational structure. In tropical regions, sudden rain showers or intense afternoon sun require quick adjustments. Keeping a compact, lightweight umbrella or a baby stroller rain cover in an exterior side pocket ensures it can be grabbed instantly. For sun protection, tuck a baby-safe sunscreen and a wide-brimmed hat into a medium-urgency zone. If you need to carry wet or soiled clothing after an outdoor play session, always keep a few reusable wet bags tucked into the bottom of your bag to isolate damp items from the rest of your clean gear.
Post-Outing Reset and Maintenance Routine
The secret to a permanently organized nursing bag is a consistent maintenance routine. When you return home from an outing, it is tempting to simply toss the bag by the door and forget about it until your next trip. However, leaving used items, empty wrappers, or damp clothes inside creates a breeding ground for bacteria and guarantees chaos the next time you leave the house. Spending just five minutes resetting your bag after every single outing ensures you are always prepared for unexpected departures.
Starting your reset by removing any trash, used diapers, dirty clothes, and empty bottles or food containers keeps the bag fresh. Replace the items you consumed during the trip, such as restocking the diaper count, refilling the wipe dispenser, and adding fresh burp cloths. Next, take a damp cloth with mild, baby-safe soap and wipe down the interior lining of the bag, paying special attention to the bottom corners where crumbs and dust tend to accumulate. If your bag or pouches are machine washable, follow the manufacturer’s care label instructions to launder them periodically, ensuring they dry completely in a well-ventilated area to prevent mold growth in humid climates.
Once a week, conduct a deeper audit of your bag’s contents. Checking the expiration dates on any emergency snacks, formula packets, or baby food jars you keep stored in the bag prevents health risks. Inspecting diaper creams, sunscreens, and hand sanitizers ensures their caps are tightly sealed and have not leaked. This weekly check is also the perfect time to assess your baby’s current size; babies grow rapidly, and keeping a newborn-sized onesie in your bag when your baby has transitioned to larger sizes is a common oversight. Updating the spare clothing set regularly ensures a comfortable fit when an emergency change is needed.
Frequently Asked Questions (FAQ)
How do I prevent bottles from leaking inside the bag?
To prevent messy leaks, always verify that the bottle valves, collars, and nipples are aligned and screwed on tightly before packing. Many baby bottles leak due to pressure changes or misaligned threads, so a quick physical check is your first line of defense. For secondary protection, place bottles inside individual silicone travel caps or seal them inside a waterproof, zippered pouch. This ensures that even if a leak does occur, the liquid is contained within a small, washable barrier and cannot soak into your diapers, spare clothes, or electronics.
What is the best way to organize a bag without built-in pockets?
If you are using an unstructured tote or a backpack without built-in compartments, the most effective solution is to use a removable diaper bag insert or structured caddy. These inserts feature multiple pockets and dividers that slide directly into your bag, instantly creating dedicated zones for bottles, diapers, and wipes. Alternatively, you can rely on a system of color-coded, zippered modular pouches. Assigning a specific color to each category—such as blue for diapering, yellow for feeding, and green for spare clothes—helps you identify and retrieve exactly what you need without having to search through a deep, dark bag.

Community discussion
Share your experience or ask a question. Comments are reviewed before publication.