
A disorganized diaper bag can turn a simple outing into a stressful scavenger hunt. When your baby is crying and you need a clean diaper immediately, rummaging through a deep, dark compartment is the last thing you want to do. Using a caddy organizer transforms the main compartment of your diaper bag into a structured, portable system, allowing you to find baby essentials in seconds and easily transfer the entire setup between different bags.
By establishing clear functional zones within your caddy, you can streamline your outings, reduce packing anxiety, and ensure you are always prepared for diaper changes, feeding times, or sudden weather shifts. Whether you are navigating a humid afternoon walk or heading out for a full day of errands, a well-organized caddy acts as the command center of your parenting gear.
Preparing Your Gear and Gathering Essentials
Before you begin packing, ensure that your caddy organizer and diaper bag are physically compatible. Start by measuring the exterior dimensions of your caddy organizer and comparing them to the interior dimensions of your diaper bag’s main compartment. The caddy should slide in smoothly without forcing the sides of the diaper bag to bulge outward, which can strain the zippers and make exterior pockets unusable. A tight fit also makes it difficult to pull the caddy out when transferring it to another bag.
Products mentioned in this guide
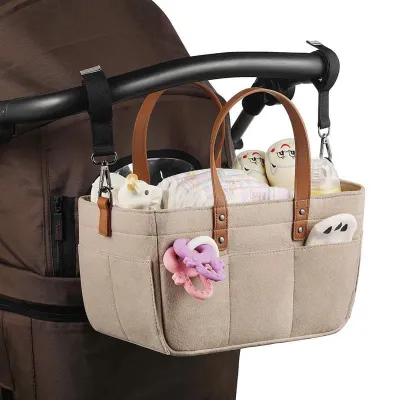
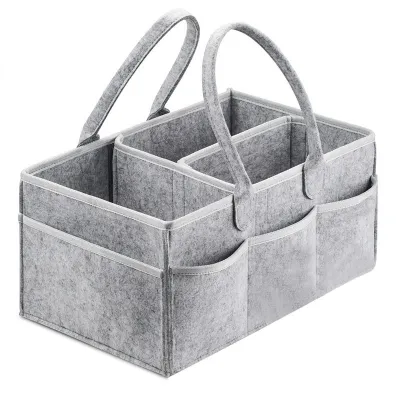
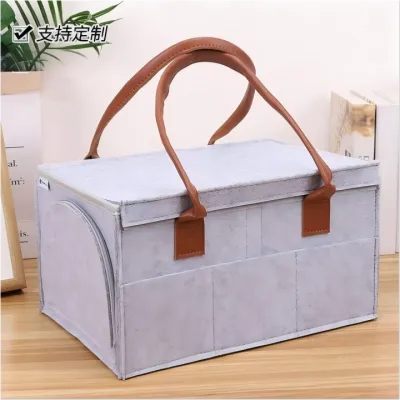
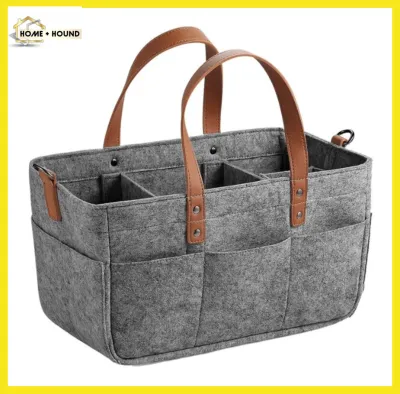
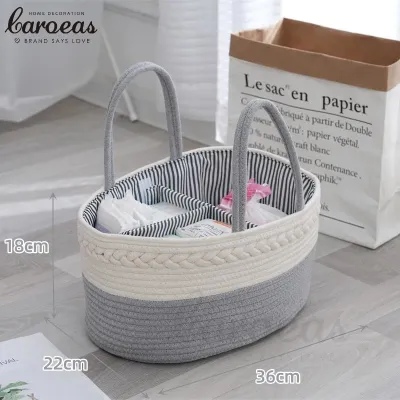
Prices are valid at publication and may change. Please refer to the product page for the latest price.
Next, assess your baby’s current developmental stage and age-specific needs, as a newborn’s requirements differ significantly from those of an active toddler. Younger infants require more frequent diaper changes and specialized feeding supplies, while older babies might need teething toys and solid snacks. Estimate the quantity of each item based on the planned duration of your outing, keeping in mind that tropical climates and high humidity may require extra changes of clothes.
You must also verify the weight capacity of your diaper bag’s straps and handles by consulting the manufacturer’s guidelines. Overloading a diaper bag can lead to frayed seams, broken hardware, or painful shoulder strain during long walks. To prevent this, gather all your intended items in a single staging area, such as a clean table, before placing them into the organizer. This visual staging allows you to evaluate the total volume of your gear, spot redundant items, and make conscious decisions about what is truly necessary.
Packing the Caddy Organizer by Functional Zones
To maximize both space and retrieval speed, organize your caddy using a zoned approach that groups items by their specific function. Zone 1 is dedicated entirely to diapering essentials, which form the foundation of your packing system. Place bulky items such as diapers, a travel pack of baby wipes, and a foldable changing pad at the bottom or within the largest central compartment of the caddy. Positioning these heavier, structural items at the base creates a stable foundation that prevents the caddy from tipping over when placed on a flat surface.

Zone 2 focuses on feeding supplies, which require careful placement to prevent messy spills and maintain appropriate temperatures. Utilize the upright, dedicated compartments or insulated bottle sleeves within your caddy to hold baby bottles, pre-measured formula dispensers, or clean bibs. Keeping bottles strictly upright minimizes the risk of caps loosening and leaking onto dry clothing or diapers. If you are traveling in warm, humid weather, placing insulated covers over milk or formula containers helps preserve freshness until feeding time.
Zone 3 is reserved for health, comfort, and quick-access items that you may need to grab at a moment’s notice. Use the smaller, outer pockets of the caddy organizer to store items like pacifiers, diaper rash creams, small tubes of sunscreen, and a spare outfit. Keeping these items on the periphery ensures you do not have to dig through the main compartment when your baby needs immediate soothing. For clothing, roll the spare outfit tightly into a compact bundle to save space and prevent wrinkles.
To keep tiny, loose items from getting lost in the depths of the caddy, corral them into small, transparent silicone bags or zippered mesh pouches. Items such as baby nail clippers, digital thermometers, infant paracetamol, or small saline drops should never float freely in the organizer. Grouping these healthcare items into a single, clearly labeled pouch allows you to locate them instantly during an emergency and keeps them clean and hygienic, away from external dirt and moisture.
Positioning the Caddy and Balancing the Diaper Bag
Once your caddy organizer is fully packed, how you position it inside the diaper bag plays a major role in your carrying comfort. Place the loaded caddy directly in the center of the diaper bag’s main compartment. Centering the caddy ensures that the bag maintains its natural shape and structural integrity, preventing it from sagging or folding inward. This central placement also makes it much easier to lift the entire organizer out of the bag when you need to transition to a diaper-changing station.
To optimize weight distribution, position the heaviest side of the loaded caddy close to the back panel of the diaper bag—the side that rests against your body when carrying it. Keeping the center of gravity close to your back reduces leverage strain on your shoulders and spine, making the bag feel significantly lighter during extended wear. If you are using a backpack-style diaper bag, this balancing technique is especially important for preventing the bag from pulling you backward or causing posture discomfort.
With the caddy occupying the central space, utilize the diaper bag’s built-in exterior pockets and secondary compartments for caregiver essentials and immediate-use items. Keep personal belongings like keys, phone, and wallet in secure exterior zippered pockets, and place high-frequency items like hand sanitizer, pocket tissues, or quick baby snacks in the easily accessible side pockets. Finally, ensure that the caddy’s handles or grab tabs remain completely clear and accessible at the top of the diaper bag. When you arrive at a changing area, you should be able to reach in and lift the entire caddy out by its handles without any snagging, allowing you to leave the bulky diaper bag behind.
Adjusting the Caddy Setup for Different Outings
A successful packing system must be adaptable, as a quick trip to a nearby neighborhood cafe requires a very different setup than a full-day family excursion. For short trips lasting only an hour or two, you can strip the caddy down to its absolute essentials—such as two diapers, a travel-sized pack of wipes, and a single bottle. Alternatively, you can lift the lightweight caddy out of your heavy diaper bag and drop it into a simple, everyday canvas tote bag, instantly converting your casual purse into a fully functional baby bag.
For long trips, flights, or full-day travel, you will need to scale up your caddy’s contents to handle unexpected delays or emergencies. This involves adding extra layers of clothing to protect against air-conditioned environments, packing additional feeding portions, and carrying backup diapering supplies. However, as you add more items, you must continuously monitor the total weight of the bag. Avoid the temptation to overpack “just in case” items that add unnecessary bulk and strain to your shoulders.
Always consult the manufacturer’s care labels and weight limits for both your caddy organizer and your diaper bag to prevent material damage. High-humidity environments can soften certain fabrics or adhesives over time, making them more susceptible to tearing under heavy loads. If you notice seams stretching, stitching pulling apart, or handles showing signs of wear, it is time to reduce the weight of your packed items or inspect the gear for structural integrity before your next outing.
Restocking and Maintaining Your Caddy Organizer
Maintaining a clean and fully stocked caddy organizer ensures that you are always ready to walk out the door without a frantic, last-minute packing rush. Immediately upon returning home from an outing, make it a habit to wipe down the interior of the caddy with a damp cloth to remove any dirt, crumbs, or spilled liquids. Take this opportunity to check for expired baby snacks, dried-out wet wipes, or diaper creams that may have leaked, discarding and replacing them as needed.
To streamline your preparation for the next trip, establish a standardized restocking checklist that you keep near your baby’s changing table or diaper storage area. Replenish consumed items—such as diapers, formula portions, and clean outfits—right away so the caddy is always sitting in a “ready-to-go” state. This simple routine eliminates the risk of forgetting critical items when you are rushing out the door for an unexpected doctor’s visit or a sudden errand.
Periodically, wash the entire caddy organizer according to the manufacturer’s specific care instructions to prevent the buildup of mold, mildew, and unpleasant odors. In tropical climates, moisture can easily trap inside fabric fibers, making regular cleaning essential for maintaining a hygienic environment for your baby’s gear. Allow the caddy to air dry completely in a well-ventilated area out of direct sunlight before restocking it with clean items.
During your regular cleaning sessions, inspect the structural components of the caddy, including the zippers, seams, and carrying handles. Look for loose threads, sticking zipper teeth, or weakened fabric joints that could fail while you are away from home. Catching these minor wear-and-tear issues early allows you to repair them or seek a replacement before a broken handle or split seam causes a major inconvenience during an outing.
Frequently Asked Questions (FAQ)
Can I use a regular storage caddy instead of a specific diaper bag insert?
While a standard household storage caddy can hold baby items, dedicated diaper bag inserts are specifically designed with parenting needs in mind. Baby-specific organizers typically feature wipeable, water-resistant fabrics that handle spills easily, whereas generic felt or fabric caddies may absorb liquids and harbor bacteria or mold in humid conditions. Additionally, you must carefully inspect any generic organizer for sharp metal rivets, rough plastic edges, or non-baby-safe dyes and materials before placing it near items that will touch your baby’s skin or mouth.
How do I prevent bottles from leaking inside the caddy?
Preventing bottle leaks starts with verifying that all bottle nipples, collars, caps, and sealing discs are tightly secured and correctly aligned before packing. Always store bottles in an upright position within the caddy’s designated elastic loops or insulated pockets to prevent them from tipping over during transit. For added protection, you can place individual bottles inside small, waterproof wet bags or silicone pouches, which will safely contain any accidental leaks and protect your diapers, clothing, and the caddy itself from moisture damage.

Community discussion
Share your experience or ask a question. Comments are reviewed before publication.