
Installing safety socket plug covers is one of the most immediate and effective ways to protect crawling babies and curious toddlers from electrical hazards in your home. To ensure these protective barriers remain truly child-resistant, they must be selected, prepared, and installed with precise attention to detail. A loose or poorly fitted cover can easily be pried off by small, persistent fingers, turning a safety device into a potential choking hazard or exposing live electrical contacts. By understanding how to match covers to your specific wall outlets, preparing the surfaces correctly, and verifying the security of the installation, you can create a reliable barrier that keeps your child safe.
Preparing Your Outlets and Selecting Compatible Covers
Before purchasing or installing any safety socket plug covers, you must inspect the physical condition and design of your home’s electrical outlets. In many households, outlets vary by room, featuring different faceplate shapes, screw configurations, and slot orientations. Standard duplex outlets, decor-style rectangular outlets, and single round outlets all require specific cover designs to achieve a flush, gap-free fit. Take note of whether your outlets are deeply recessed or flush with the wall, as this directly impacts how securely a plug cover can seat into the receptacle.
Tropical climates bring specific environmental challenges, such as high humidity and fine dust, which can accumulate inside and around electrical outlets. Before installing any cover, it is essential to clean the faceplate and the surrounding area thoroughly. Turn off the power at the circuit breaker for safety, then wipe the faceplate with a dry microfiber cloth to remove grease, dust, or insect debris. If you must use a slightly damp cloth to cut through stubborn grime, ensure the outlet is completely dry before restoring power or inserting any plastic covers. Moisture trapped behind a tight-fitting cover can lead to corrosion or electrical faults over time.
Products mentioned in this guide
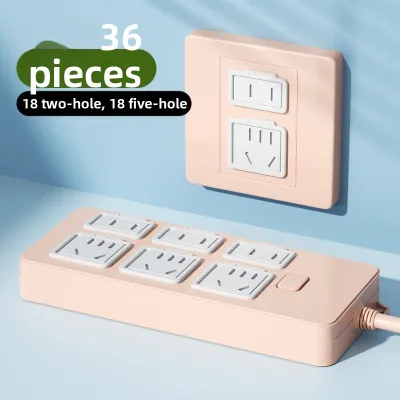
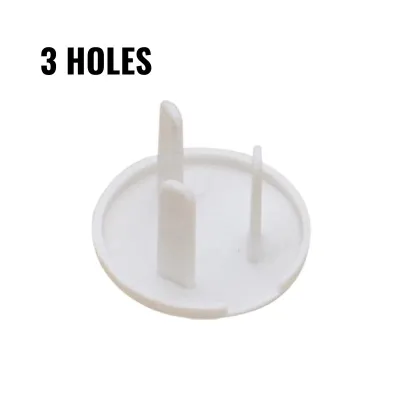
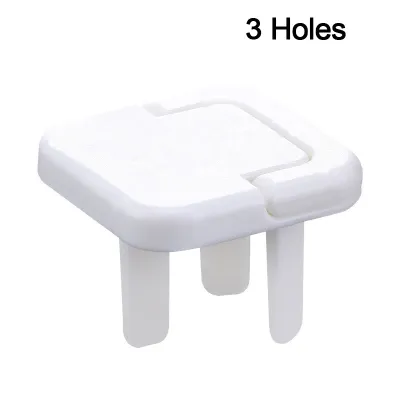
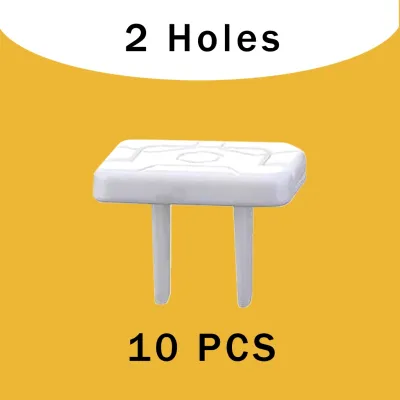
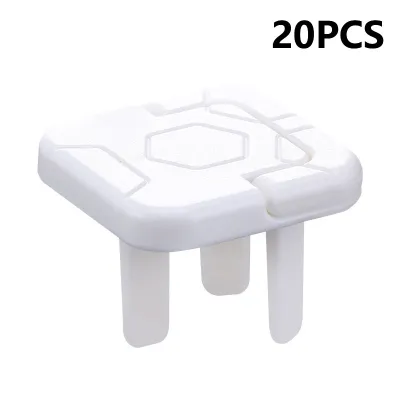
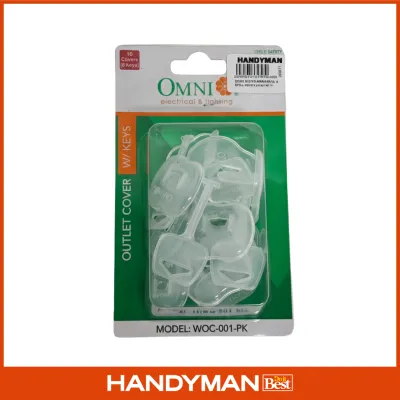
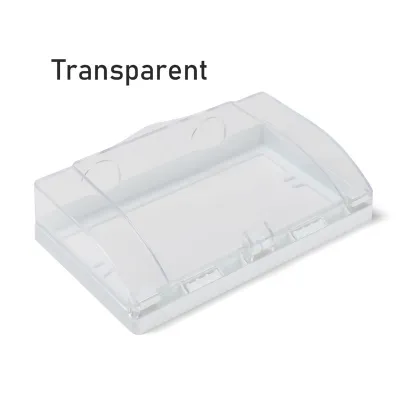
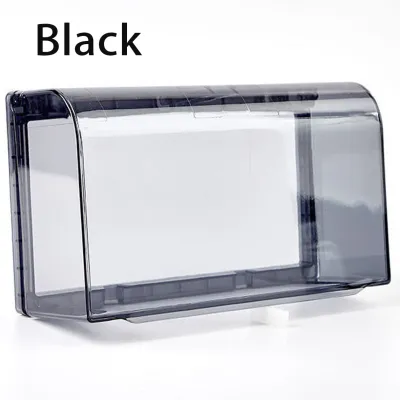
Prices are valid at publication and may change. Please refer to the product page for the latest price.
Always check the manufacturer’s documentation for age recommendations and specific socket compatibility. Some basic plastic insert caps are designed for younger infants but may be easily bypassed by older toddlers who have developed fine motor skills and finger strength. For older or more persistent children, you may need to look beyond simple push-in caps and consider full-box outlet enclosures or spring-loaded self-closing faceplates. Verify that the materials used in the covers are flame-retardant and designed to withstand the ambient temperatures of your living spaces.
Step-by-Step Installation Process
Achieving a secure, child-resistant fit requires a methodical approach during the physical installation of the covers. For standard push-in plastic socket covers, begin by aligning the prongs of the cover precisely with the hot, neutral, and ground slots of the outlet. Hold the cover straight and press it firmly into the receptacle until the flat face of the cover sits completely flush against the outlet faceplate. Any tilting or uneven pressure during insertion can bend the plastic prongs, weakening their grip and making the cover easier for a child to pull out.

If you are using adhesive-backed safety covers or sliding faceplate replacements, surface preparation is even more critical. For adhesive types, peel the protective backing carefully without touching the sticky surface with your fingers, as skin oils will degrade the adhesive strength. Align the cover precisely with the outer edges of the faceplate before making contact. Once aligned, press and hold the cover firmly against the faceplate for at least thirty seconds, applying even pressure across the entire surface to activate the bond. Many adhesives require a curing period of up to twenty-four hours before they reach full strength, during which time they should not be pulled or tested.
For screw-on or replacement faceplate covers, start by turning off the power at your home’s main breaker panel. Use a non-contact voltage tester to verify that the outlet is completely de-energized before proceeding. Unscrew the existing faceplate and set the screw aside, then position the child-resistant sliding cover plate over the outlet. Insert the mounting screw and tighten it until the plate is snug against the wall, taking care not to overtighten, which can crack the plastic plate or distort the outlet box. Once secured, test the sliding mechanism to ensure it snaps back into the closed position automatically when a plug is removed.
After completing the installation of any cover type, perform a meticulous perimeter check. Run your finger along the entire edge of the installed cover to ensure there are no gaps, raised corners, or loose edges. Even a tiny millimeter-wide gap can allow a toddler to insert a fingernail, a small toy, or a plastic card to pry the cover off. If you detect any wobbling or uneven gaps, remove the cover immediately and inspect the outlet faceplate for warping or misalignment that may be preventing a flush fit.
Verifying Child-Resistant Security
Once the safety socket plug covers are installed, you must verify their effectiveness by simulating the actions of a curious child. Toddlers do not simply pull straight outward; they twist, wiggle, scratch, and apply lateral force to objects that catch their attention. To perform a manual pull-and-twist test, grip the edges of the installed cover with your fingertips and attempt to pull it directly out of the socket. Next, apply firm side-to-side and up-and-down pressure to see if the cover rotates or shifts within the slots.
A secure cover should remain firmly seated, showing no noticeable movement or flexing under moderate manual force. If you can easily remove the cover using only your fingernails or a light pinch, a toddler will likely be able to do the same within a few attempts. Pay close attention to how much grip strength is required to remove the cover; if it slides out effortlessly, the prongs may be too thin for your specific outlet slots, or the outlet’s internal spring contacts may be worn out and loose.
If a cover fails these manual tests, it is a clear stop condition indicating that the current style is unsafe for your home. Worn-out outlets with loose internal contacts cannot safely hold standard push-in covers and should be replaced by a qualified electrician. In such cases, or if your child successfully removes a cover, you must transition to a different style of protection, such as a box-style outlet cover that locks over plugged-in cords, or a complete self-closing outlet plate replacement. Never rely on a cover that wiggles or can be pried loose, as it provides a false sense of security while leaving the hazard accessible.
Ongoing Maintenance and Replacement Triggers
Baby-proofing is not a one-time task; it requires ongoing vigilance to ensure that protective measures remain effective as your child grows and environmental factors take their toll. Establish a routine visual inspection schedule, checking every outlet cover in your home at least once a month. Look closely for signs of material degradation, such as hairline cracks, discoloration, or warping caused by heat and humidity. In tropical environments, plastic can become brittle over time, making locking tabs prone to snapping under pressure.
When cleaning your safety covers, avoid using harsh chemical solvents, abrasive scrubbing pads, or aerosol sprays, which can degrade the plastic structure or weaken adhesive bonds. Instead, wipe the exterior surfaces with a slightly damp microfiber cloth using mild soapy water, then dry them immediately with a clean towel. Never spray water or cleaning solutions directly onto or near an electrical outlet, as this poses a severe risk of short circuits and electrical shock.
Certain conditions require the immediate removal and replacement of a safety cover to prevent accidents. If you notice any broken prongs, cracked faceplates, or loose locking tabs, discard the cover immediately and install a new one. Similarly, if an adhesive cover begins to lift at the corners or shows signs of peeling, do not attempt to re-glue it; replace the entire unit to ensure a reliable bond. Keep a small stock of spare covers on hand so you can replace damaged ones instantly without leaving an outlet exposed.
Frequently Asked Questions (FAQ)
Can I use safety socket plug covers on extension cords?
Standard safety socket plug covers are primarily designed for permanent wall outlets and may not fit securely on extension cords or portable power strips. Extension cords often have shallower socket depths, different internal contact designs, or flexible plastic housings that prevent a flush, tight fit. Additionally, extension cords are easily dragged across the floor, which can cause push-in covers to knock loose or fall out. If you must child-proof an extension cord or power strip, consult the manufacturer’s guidelines to find compatible protective enclosures or specialized sliding-cover power strips designed specifically for child safety.
What should I do if a socket cover gets stuck and won't come out?
If a safety socket plug cover becomes stuck, do not attempt to pry it out with metal tools like screwdrivers, butter knives, or keys, as inserting metal into an outlet carries a high risk of severe electrical shock. Instead, use the specialized removal tool or key provided by the cover manufacturer, which is typically made of non-conductive plastic. If no tool is available, first turn off the power to the outlet at your home’s main circuit breaker. Once you have verified the power is off using a reliable voltage tester, you can safely use a pair of plastic or insulated pliers to grip the center of the cover and pull it straight out.
Are adhesive socket covers safe for painted walls?
Adhesive-based socket covers and safety locks carry a risk of peeling paint, tearing wallpaper, or damaging drywall when they are eventually removed. The strong adhesives required to keep these covers child-resistant can bond permanently to delicate wall finishes, especially in humid environments where paint may already be prone to lifting. If you live in a rental property or have custom wall finishes, consider using screw-on replacement faceplates or spring-loaded outlet covers instead. These mechanical alternatives secure directly to the outlet box using existing screw holes, providing robust protection without leaving any adhesive residue or wall damage behind.

Community discussion
Share your experience or ask a question. Comments are reviewed before publication.