
Securing corner protectors on wooden and glass furniture requires a precise combination of thorough surface preparation, correct adhesive selection, and disciplined curing times. In tropical environments where high humidity and temperature fluctuations constantly challenge adhesive bonds, skipping even a single step can cause these safety devices to peel off prematurely. By understanding the physical properties of your furniture materials and managing environmental factors, you can ensure a long-lasting hold that keeps your home safe for your little one.
Assessing Wood and Glass Surfaces for Adhesive Compatibility
Before purchasing or installing any corner protector, you must evaluate the specific material and finish of your furniture. Wooden furniture comes in various finishes, including sealed varnishes, polyurethane coatings, unsealed raw wood, and oiled or waxed surfaces. Sealed and lacquered woods generally provide a smooth, stable surface that allows adhesives to grip effectively. Conversely, unsealed or highly textured rustic wood surfaces lack the flatness required for full adhesive contact, which often leads to premature failure.
Waxed or oiled wooden furniture presents a major challenge for standard adhesives. These finishes are designed to repel moisture and dust, which means they will also repel the sticky backing of a corner protector. If your wooden table has been recently treated with furniture wax or polish, the adhesive will bond to the wax layer rather than the wood itself, causing the protector to slide off under minimal pressure.
Products mentioned in this guide
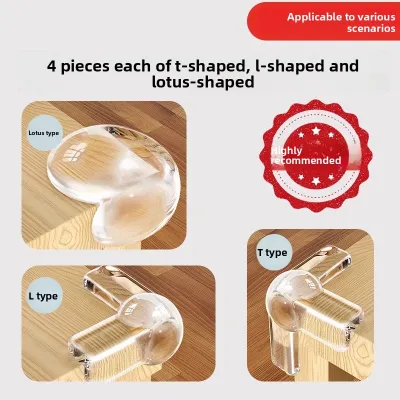
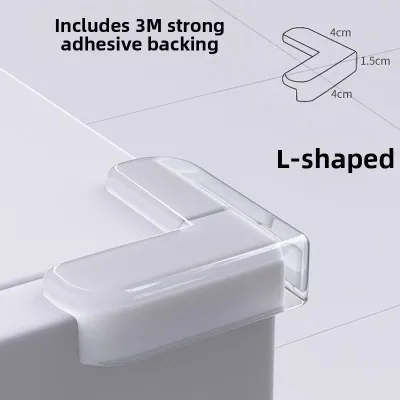
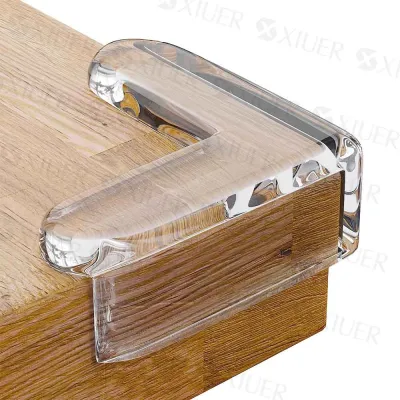
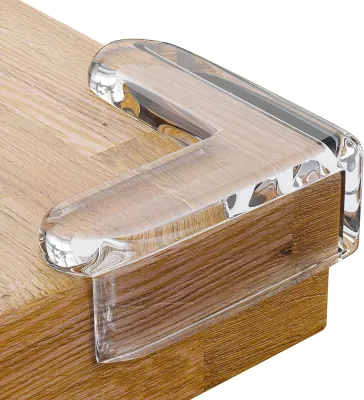
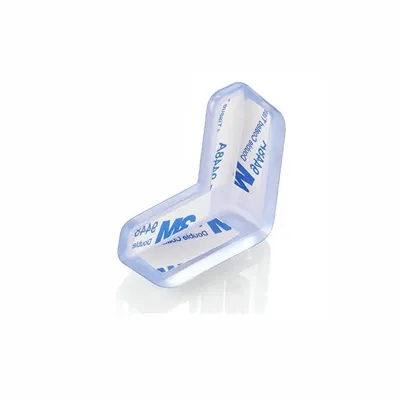
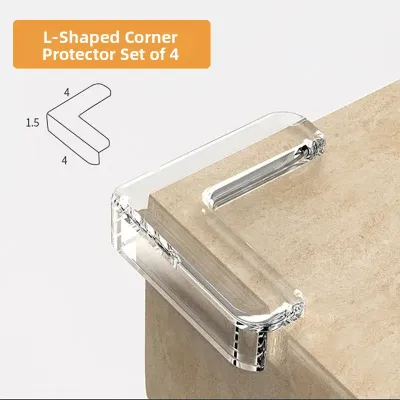
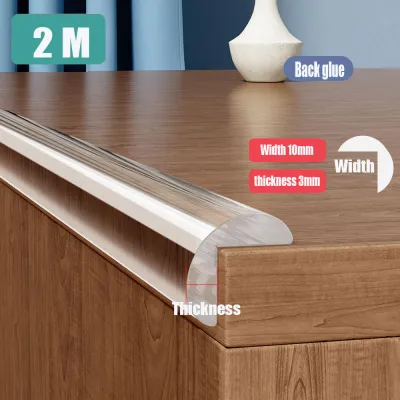
Prices are valid at publication and may change. Please refer to the product page for the latest price.
Glass surfaces are non-porous and highly receptive to adhesives, but they present physical challenges related to edge thickness and shape. You must assess the thickness of the glass edge to ensure the chosen protector fits the physical profile of the table or shelf. A thin glass tabletop might not have enough surface area on its edge to support a bulky, wrap-around corner protector, leading to an unstable installation that easily detaches.
Curved, beveled, or highly decorative edges on either wood or glass require careful consideration. Standard flat-backed protectors are designed for sharp, 90-degree angles. If applied to a beveled edge, the protector will flex, creating constant tension that eventually pulls the adhesive away from the surface. For these specialized shapes, look for flexible, multi-angle protectors that can conform to the edge without creating internal tension.
Always check the furniture manufacturer’s care instructions before applying any adhesive. Some high-end wood finishes, delicate veneers, or specialized glass coatings can be permanently damaged or discolored by strong adhesives. Verifying these details beforehand ensures you do not inadvertently void your furniture warranty or ruin a valuable heirloom.
Preparing Wood and Glass Surfaces for a Secure Bond
Invisible barriers like dust, skin oils, and residual furniture polish are the primary reasons corner protectors fail to stay attached. Even if a surface looks clean to the naked eye, a microscopic layer of oil or dust will prevent the adhesive from bonding directly to the furniture. Proper surface preparation is the most critical phase of the installation process.

Selecting the right cleaning agent is essential to avoid damaging your furniture while ensuring a clean surface. For glass, a standard glass cleaner or isopropyl alcohol is highly effective because it evaporates quickly without leaving a film. For wood, however, you must exercise extreme caution. Harsh chemicals or high-concentration alcohol can strip varnish, cloud lacquer, or discolor wood stains. Check the cleaning product label to ensure it is safe for your specific wood finish.
Once you have selected a safe cleaning agent, wipe the surface thoroughly using a clean, lint-free microfiber cloth. Avoid paper towels or standard cotton rags, as they can shed tiny fibers that get trapped under the adhesive and weaken the bond. Clean both the top surface and the vertical edges of the corner where the protector will make contact.
Allowing the surface to dry completely is a non-negotiable step, especially in humid tropical climates. Moisture trapped beneath an adhesive pad will prevent it from curing, leading to rapid peeling. After wiping the surface dry with a clean cloth, let it air-dry for at least fifteen minutes to ensure all residual moisture or cleaning solvent has fully evaporated.
Establish a clear stop condition during the preparation phase. If you notice any discoloration, softening, or lifting of the wood finish when applying your chosen cleaning agent, stop immediately. Do not apply the adhesive, and consult the furniture manufacturer or a professional furniture restorer for safe cleaning alternatives that will not compromise the wood.
Step-by-Step Guide to Installing Corner Protectors
Before peeling the backing off the adhesive, perform a dry fit of the corner protector. Place the protector on the furniture corner to verify the alignment and ensure it sits flush against all sides. This step allows you to identify any gaps or physical obstructions before the adhesive is exposed.
When you are ready to install, peel the adhesive backing carefully. Avoid touching the sticky surface with your fingers, as the natural oils on your skin will instantly contaminate the adhesive and reduce its bonding strength. If the protector uses separate adhesive strips, apply them to the protector first, pressing them firmly into place before removing the outer backing.
Align the protector precisely with the furniture corner. Once the adhesive touches the surface, repositioning it can ruin the bond, so take your time to get the placement right on the first attempt. Lower the protector slowly onto the corner, ensuring it makes contact with all sides simultaneously.
Apply firm, even pressure across the entire surface of the protector. Press down for at least 30 seconds, ensuring you apply pressure to both the top and the sides to activate the pressure-sensitive adhesive fully. Use a clean cloth to press down, which helps distribute the force evenly and protects your hands.
Observe the manufacturer’s specified curing time. Most adhesives require 24 to 48 hours to reach maximum bonding strength. Keep children away from the area and avoid testing, pulling, or bumping the protector during this critical window. Allowing the adhesive to cure undisturbed is essential for a long-lasting hold.
Managing Adhesive Performance in Tropical Climates
Tropical climates, such as the warm and humid conditions experienced in the Philippines, present unique challenges for baby-proofing adhesives. High ambient humidity and elevated indoor temperatures can soften certain adhesive compounds, making them gummy and prone to sliding under pressure.
Glass surfaces are particularly susceptible to condensation. When warm, humid air meets a glass table cooled by indoor air conditioning, microscopic moisture droplets can form beneath the edges of the protector, gradually undermining the adhesive. This moisture barrier can cause the protector to slide off without leaving much residue behind.
To mitigate these environmental factors, try to manage the indoor climate during and immediately after installation. Keep air conditioning vents directed away from the treated furniture to prevent rapid temperature shifts and condensation. If possible, perform the installation during the coolest part of the day when humidity levels inside the home are more manageable.
Incorporate corner protectors into your routine baby-proofing safety checks. Inspect them weekly for visual signs of degradation, such as lifting edges, shifting positions, or a sticky residue seeping out from the sides. Gently press on the protectors to verify they are still firmly anchored to the furniture.
If a specific adhesive type repeatedly fails despite perfect preparation, stop using it. Consult the manufacturer or explore alternative baby-proofing solutions, such as heavy-duty, non-adhesive foam bumpers that wrap around the entire edge of the table and are secured by tension rather than glue.
Removing Protectors Safely Without Damaging Furniture
When your child outgrows the need for corner protectors, removing them safely requires patience to avoid pulling up wood veneer or scratching glass. Rushing the removal process can result in costly damage to your favorite furniture pieces.
To soften the adhesive on wood, you can use a hairdryer on a low, warm setting. Direct the heat at the protector for a few seconds at a time, verifying the wood’s heat tolerance first to avoid blistering the finish. The heat will soften the adhesive, making it much easier to peel away.
Once the adhesive is warm and pliable, gently peel the protector away from the corner. Avoid using sharp metal tools like knives or scrapers, which can easily gouge wood or scratch glass. Instead, use a plastic card, a silicone spatula, or your fingers to lift the edges slowly.
To clean up any remaining sticky residue, select a safe remover. For glass, isopropyl alcohol or a mild adhesive remover works well. For wood, check the product label carefully and test the remover on an inconspicuous area first to ensure it does not dull or discolor the finish.
If you notice the wood finish beginning to lift, cloud, or discolor during the removal process, stop immediately. Seek professional furniture restoration advice rather than risking further cosmetic damage to the piece.
Frequently Asked Questions (FAQ)
Can I use the same corner protectors on both wood and glass?
Many corner protectors are marketed as multi-surface, but you must check the manufacturer’s specifications to confirm compatibility. Adhesives optimized for porous wood may not bond effectively to non-porous glass, and vice versa. Always verify that the product packaging explicitly lists both wood and glass as approved surfaces before application.
What should I do if the corner protector falls off after a few days?
If a protector falls off prematurely, re-evaluate your surface preparation. Invisible wax, polish residues, or trapped moisture from high humidity are the usual culprits. Clean the area thoroughly again, ensure it is completely dry, and apply a fresh adhesive strip. If the problem persists, check if the room’s humidity or temperature exceeds the adhesive’s rated limits on the packaging.
Are silicone or foam corner protectors better for glass tables?
Silicone protectors offer a low-profile, clear aesthetic that blends well with glass, while foam protectors provide thicker, highly visible shock absorption. Your choice should depend on your aesthetic preferences and the level of impact protection required. Regardless of the material, check the product labels to ensure the chosen protector and its adhesive are explicitly rated for glass surfaces.

Community discussion
Share your experience or ask a question. Comments are reviewed before publication.