
Installing a corner edge protector is one of the first steps parents take when a baby starts crawling and exploring the home. However, in tropical climates where high humidity and warmth are constant, keeping these safety devices securely attached to furniture can be a frustrating challenge. Adhesives often soften, peel, or slide off under the combined forces of moisture and a curious toddler’s tugging. To ensure your baby-proofing efforts remain effective, you must focus on meticulous surface preparation, precise installation techniques, and adequate curing times. Remember that while these protectors help minimize impact injuries, they are designed to complement, not replace, active caregiver supervision.
Preparing the Furniture Surface for Maximum Adhesion
Before peeling any adhesive backing, you must evaluate the furniture material and prepare the surface. Adhesives rely on clean, flat contact to form a strong physical bond. In tropical environments, microscopic moisture and dust particles constantly settle on household surfaces, creating an invisible barrier that prevents adhesives from sticking properly.
Suitable surfaces for standard adhesive corner protectors include sealed or varnished wood, glass, smooth metal, and flat, non-porous plastics. These materials allow the adhesive to spread evenly and grip the surface. Conversely, unsuitable surfaces include raw or unvarnished wood, textured paint, wallpaper, and surfaces with peeling or flaky finishes. Applying an adhesive protector to raw wood often fails because the porous material absorbs the adhesive oils, while textured or painted surfaces do not offer enough flat surface area for a secure bond.
Products mentioned in this guide
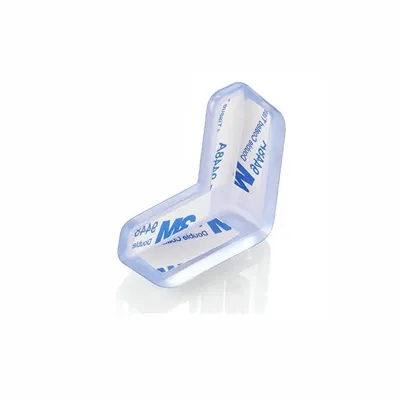
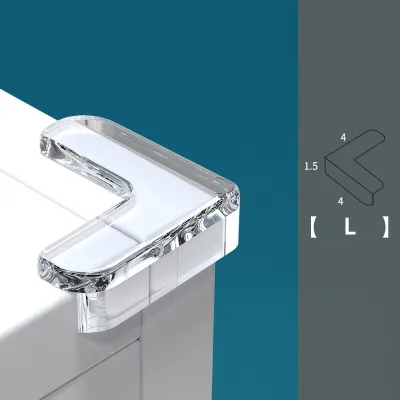
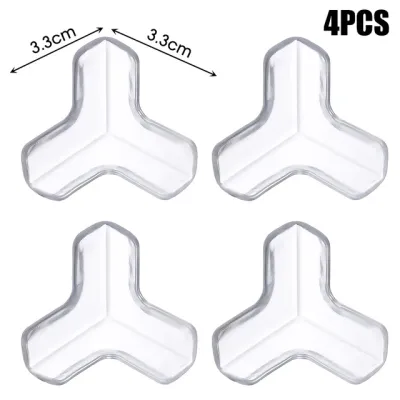
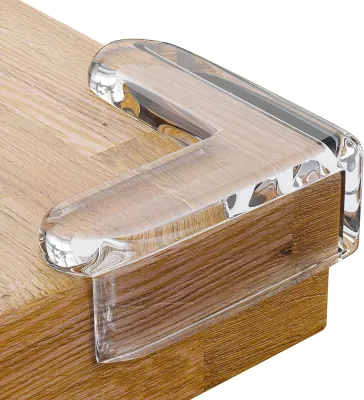
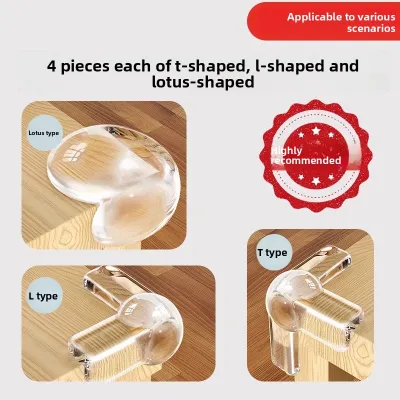
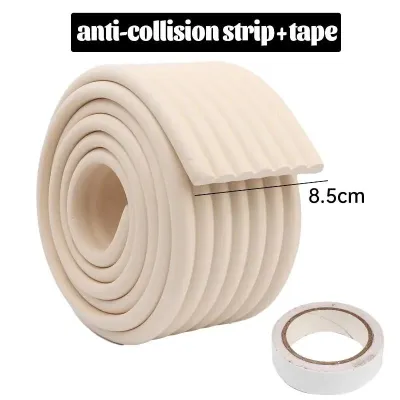
Prices are valid at publication and may change. Please refer to the product page for the latest price.
To prepare a suitable surface, begin by cleaning the application area thoroughly. Dust the surface first with a dry microfiber cloth to remove loose debris. Next, use a mild cleaning agent or a diluted isopropyl alcohol solution—if permitted by your furniture’s care instructions—to strip away grease, fingerprint oils, and accumulated grime. Avoid using heavy oil-based polishes or wax cleaners, as these leave a slick residue that guarantees adhesive failure.
Once cleaned, the surface must be completely dry. In humid conditions, air-drying can take longer than expected, so wipe the area with a clean, dry cloth and wait several minutes to ensure no moisture remains. Always consult both the corner edge protector packaging and your furniture manufacturer’s care guide before cleaning. Using the wrong solvent can permanently discolor varnished wood or strip delicate finishes, potentially costing thousands of pesos (₱) in furniture restoration.
Step-by-Step Installation Technique for Corner and Edge Protectors
Once the furniture surface is clean and dry, you can proceed with the physical installation. Proper technique during this phase determines whether the protector will withstand daily bumps or peel off at the first touch.

Start by verifying the age and developmental stage recommendations on your corner edge protector packaging. Ensure the product is appropriate for your child’s current mobility level. When you are ready to apply the protector, carefully peel the protective backing off the adhesive strip. It is crucial to avoid touching the sticky side with your fingers. The natural oils and sweat on your skin will instantly contaminate the adhesive, significantly reducing its bonding strength before it even touches the furniture.
Next, align the protector precisely with the corner or edge of the furniture. Take your time during this step, as repositioning the protector after it has made contact with the surface is one of the most common causes of installation failure. Pulling the adhesive off to realign it stretches the material and destroys the delicate adhesive structure, making it highly likely to peel later. If you misalign the protector, it is usually best to discard that specific adhesive strip and use a fresh one.
After placing the protector in the correct position, apply firm, sustained pressure across its entire surface. Most baby-proofing adhesives are pressure-sensitive, meaning they require physical force to flow into the microscopic crevices of the furniture surface and establish a strong bond. Use the palms of your hands or your thumbs to press down firmly on all sides of the protector. Maintain this pressure continuously for at least 30 to 60 seconds, or for the specific duration recommended by the manufacturer. Ensure you apply pressure to the edges and corners of the protector itself, as these are the areas most vulnerable to lifting.
Curing Time and Testing the Bond
One of the most overlooked steps in baby-proofing is allowing the adhesive sufficient time to cure. Curing is a chemical process where the adhesive slowly flows and hardens to reach its maximum holding capacity.
Most manufacturers recommend a curing period of 24 hours before subjecting the protector to any stress. During this waiting period, keep your child away from the newly installed protectors. Any premature pulling, bumping, or tugging can disrupt the bonding process, causing the adhesive to fail prematurely. If possible, perform the installation in the evening after your child has gone to sleep to allow the adhesive to cure undisturbed overnight.
After the curing period has passed, perform a gentle visual and physical check. Inspect the edges of the protector to ensure there is no lifting, peeling, or shifting. Give the protector a light tug to verify that it feels secure and stable. If you notice any gaps or loose edges, the protector is not safe for use and should be reinstalled with fresh adhesive.
Because high humidity and warm temperatures can naturally degrade adhesives over time, establish a routine inspection schedule. Check all corner and edge protectors weekly to ensure they remain firmly attached. If a protector becomes loose, it poses a choking hazard or fails to protect your child during a fall, requiring immediate replacement or re-application.
Troubleshooting Peeling and Safe Removal Methods
If your corner edge protector continues to peel despite careful installation, several factors could be at play. High ambient humidity, improper surface preparation, or expired adhesive are common culprits. In some cases, the furniture’s finish may simply be incompatible with standard adhesives. If a protector fails repeatedly, do not attempt to reuse the compromised adhesive. Instead, clean the surface again and apply a new protector with fresh adhesive strips, or consider alternative baby-proofing methods such as rearranging furniture to block access to sharp corners.
When your child outgrows the need for corner protectors, or if you need to replace a damaged unit, safe removal is essential to protect your furniture’s finish. To remove a protector without tearing the wood grain or peeling the paint, use a hairdryer on a low heat setting. Direct the warm air toward the adhesive for a few minutes to soften it.
Once the adhesive is warm and pliable, gently slide a piece of dental floss or a thin plastic card underneath the protector to slice through the softened bond. Avoid pulling the protector straight up, as this can rip the underlying finish.
After removing the protector, clean up any residual adhesive using a mild, manufacturer-approved solvent or soapy water. Stop the cleaning process immediately and consult a professional furniture restorer if you notice any signs of damage, discoloration, or softening of the furniture finish.
Frequently Asked Questions (FAQ)
Do I need to use extra glue if the corner edge protector keeps peeling?
No, you should not use unauthorized third-party glues, such as superglue or industrial adhesives, if your corner edge protector keeps peeling. Adding unauthorized glues can compromise the safety design of the product, introduce toxic chemical risks if your baby attempts to chew on the protector, and make future removal nearly impossible without permanently ruining your furniture. If the adhesive fails to stick, check the manufacturer’s guidelines for troubleshooting, verify that the surface was prepared correctly, or replace the adhesive strips with approved refills designed specifically for baby-proofing products.

Community discussion
Share your experience or ask a question. Comments are reviewed before publication.