
Installing a magnetic refrigerator door lock is a highly effective way to prevent toddlers from accessing hazardous foods, heavy glass jars, or raw ingredients. A successful installation relies on meticulous surface preparation, precise alignment of the magnetic components, and strict adherence to the adhesive curing process. This guide walks you through the exact steps to secure your appliance while ensuring the lock can be removed later without damaging the refrigerator’s finish.
As babies grow into curious toddlers, usually around nine to twelve months of age, their physical strength and curiosity increase rapidly. They begin to explore the kitchen, and the refrigerator door becomes an attractive target. While a magnetic lock is an excellent tool to secure this area, it is a secondary line of defense. It should always be paired with active caregiver supervision to ensure complete safety in the home.
In tropical environments like the Philippines, high humidity and ambient heat can significantly affect how adhesives bond to metal and plastic surfaces. Moisture in the air can prevent the adhesive from curing correctly, which may cause the lock to fail prematurely. Understanding how to prepare the surface and allow the adhesive to cure under these conditions is essential for a secure, long-lasting installation.
Products mentioned in this guide
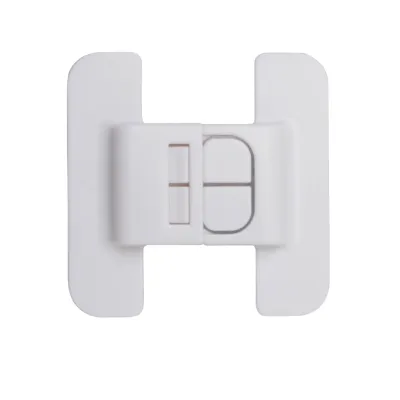
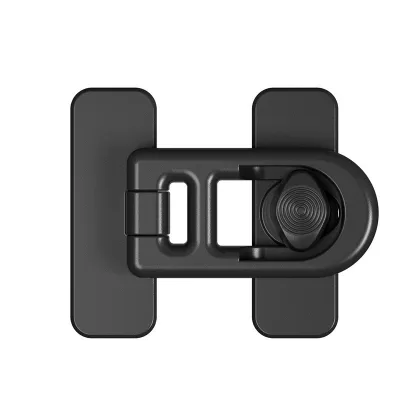
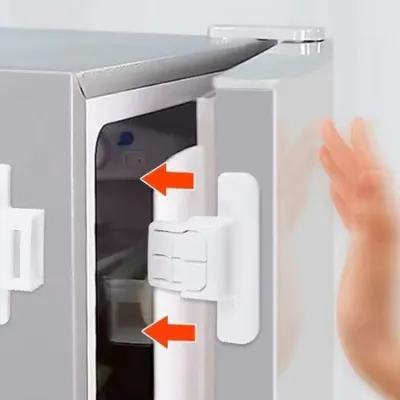
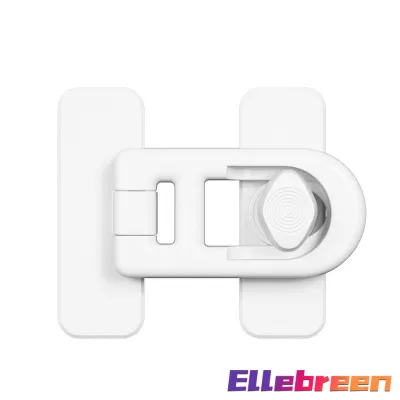
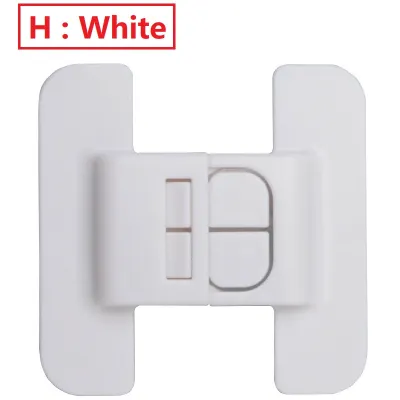
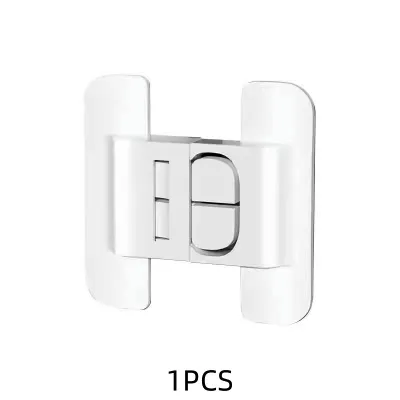
Prices are valid at publication and may change. Please refer to the product page for the latest price.
Pre-Installation Checks and Preparation
Before purchasing or installing a magnetic refrigerator door lock, you must verify that your appliance’s surface is compatible with adhesive-backed safety devices. Start by checking both the lock’s packaging and your refrigerator’s user manual. Modern appliances often feature specialized finishes, such as textured surfaces, anti-fingerprint coatings, matte paint, or glass doors. Some heavy-duty adhesives may not bond securely to textured or oil-resistant coatings, while others might cause discoloration or peeling upon removal.
Gathering the correct supplies beforehand will prevent delays and protect your appliance from accidental damage. You will need high-purity isopropyl alcohol (preferably 70% or higher, which is widely available in local pharmacies), a clean lint-free microfiber cloth, and a measuring tape. Avoid using standard household glass cleaners, multi-surface sprays, or soapy water. These products often leave behind a microscopic chemical film or oily residue that prevents the adhesive from forming a strong, permanent bond with the refrigerator surface.
Identifying the optimal installation height is crucial for both safety and convenience. The lock must be placed completely out of your toddler’s reach, taking into account their current height and developmental stage. Keep in mind that toddlers are creative and may try to stand on toys, small stools, or plastic containers to reach higher areas. Position the lock high enough to prevent this, while ensuring it remains ergonomically comfortable for adult family members to operate daily.
Additionally, carefully inspect the area where you plan to mount the lock to ensure it does not interfere with the refrigerator’s rubber door seal (gasket) or the hinge mechanism. The lock body and the magnetic catch must sit flat on the frame and the door without pressing against or compressing the rubber gasket. If the gasket is compromised, cold air will escape, leading to food spoilage, increased energy consumption, and potential frost buildup inside your appliance.
Step-by-Step Installation Process
Executing a secure installation requires patience and precision. Rushing through the steps or skipping the preparation phase is the most common reason baby-proofing locks fail when a toddler pulls on them. By following a systematic approach, you can ensure the adhesive achieves its maximum bonding strength and the magnetic mechanism functions smoothly.

Cleaning and Preparing the Surface
Begin by thoroughly cleaning the designated mounting areas on both the refrigerator door and the side frame. Pour a generous amount of isopropyl alcohol onto a clean microfiber cloth and wipe the surfaces vigorously. This step is essential for removing invisible kitchen grease, cooking oil splatters, dust, and fingerprint oils that naturally accumulate in a busy kitchen environment.
After wiping the surfaces, allow them to air-dry completely. Do not use a standard kitchen towel or paper towel to dry the area, as these can reintroduce lint, fibers, or soap residues. In highly humid tropical climates, moisture can quickly condense on cold metal surfaces. If the refrigerator is running and the kitchen is warm, wait a few minutes to ensure no condensation has formed on the cleaned area before proceeding.
Ensure the ambient room temperature is within the adhesive manufacturer’s recommended range for optimal bonding. If your kitchen is exceptionally hot or humid, you may want to turn on an air conditioner or a fan to cool and dry the air during the installation process. Proper temperature and low humidity are critical for the chemical adhesive to bond effectively to the appliance’s exterior.
Positioning and Aligning the Components
Before removing any adhesive backing, perform a dry-fit of the lock components. Hold the lock body and the magnetic catch against the refrigerator door and frame exactly where you plan to install them. This allows you to test the alignment of the magnetic mechanism and ensure that the lock engages and disengages smoothly without any friction or resistance.
Use a pencil or a small piece of painter’s tape to lightly mark the boundaries of each component on the refrigerator. Because the heavy-duty adhesives used on safety locks are designed for single-use application, you will not have a second chance to adjust the position once the tape touches the surface. Attempting to peel off and reposition a stuck component will destroy the adhesive’s integrity, rendering the lock unsafe.
Confirm that the temporary placement allows the refrigerator door to close fully and naturally. The lock should not pull the door too tightly or leave any gap in the rubber seal. A properly aligned lock will secure the door firmly while maintaining the appliance’s airtight seal, preserving your food and keeping your energy bills manageable.
Applying the Adhesive and Curing
Once you are satisfied with the alignment, carefully peel the protective backing off the adhesive pads. Avoid touching the sticky surface with your fingers, as the natural oils on your skin can weaken the bond. Align the components with the pencil or tape marks you made during the dry-fit phase.
Press the lock body and the catch firmly against the refrigerator surface. Apply strong, even pressure across the entire surface of each component for at least thirty seconds. This pressure-sensitive adhesive requires physical force to activate the bond and expel any microscopic air bubbles trapped between the tape and the appliance surface.
Observe the specific curing time recommended by the manufacturer, which is typically 24 to 72 hours. Do not test the lock, pull on the door, or attempt to use the magnetic key during this period. The adhesive needs this time to undergo a chemical curing process and reach its maximum holding strength.
To prevent accidental pulling or tampering during the curing phase, keep the refrigerator door closed as much as possible. If you must open the refrigerator to retrieve food, do so with extreme care. Hold the lock body steady with one hand to absorb any tension while gently opening the door with the other, ensuring no stress is placed on the curing adhesive.
Testing and Troubleshooting the Lock
After the full curing period has passed, it is time to verify that the lock is fully functional and secure. Begin by testing the unlocking mechanism using the provided magnetic key. Hold the key against the designated target area on the lock body and check if the internal latch releases smoothly. Try operating the lock from slightly different angles to familiarize yourself with the exact sweet spot required for quick access.
Store the magnetic key in a safe, high location that is completely out of your child’s sight and reach. A magnetic hook placed high on the side of a nearby cabinet or the top of the microwave is often an ideal spot. Never leave the key resting on top of the refrigerator or within a toddler’s line of sight, as they are highly observant and will quickly learn how to use it to bypass the lock.
Next, simulate a toddler’s pulling force to test the strength of the adhesive. Gently but firmly tug on the locked refrigerator door. If the lock detaches or the adhesive begins to peel, stop using it immediately. Do not attempt to re-stick the loose lock; instead, clean the surface thoroughly and apply a fresh, high-quality adhesive strip.
If you encounter alignment issues where the latch does not engage properly, consult the manufacturer’s troubleshooting guidelines. Avoid trying to force the components into alignment by bending the plastic or pulling hard on the lock. If the alignment is significantly off, the safest course of action is to remove the misaligned component, clean the surface, and reinstall it using a new adhesive pad.
Safe Removal and Appliance Surface Care
When your child outgrows the need for baby-proofing, you will want to remove the magnetic lock without leaving permanent marks, scratches, or dents on your refrigerator. Avoid using metal scrapers, butter knives, or screwdrivers to pry the lock off. These hard tools can easily scratch the paint, gouge stainless steel, or damage the underlying metal of your appliance, leading to costly repairs that can run into thousands of pesos (₱).
Instead, use a gentle cutting method to separate the lock from the adhesive. Take a long piece of dental floss, high-strength fishing line, or strong sewing thread. Slide the line behind the plastic lock body, keeping it tight against the refrigerator surface. Use a gentle, back-and-forth sawing motion to slice through the foam core of the adhesive tape. This will safely detach the lock body, leaving only a layer of foam residue on the appliance.
To remove the remaining adhesive residue, you can apply mild heat to soften the glue. Use a hairdryer set to a low or medium heat setting, directing the warm air at the residue for a few seconds at a time. Before doing this, consult your refrigerator’s user manual to verify the heat tolerance of the door finish. Excessive heat can damage certain plastic trims, specialized coatings, or internal insulation, so use the lowest effective heat setting and keep the hairdryer moving.
Once the adhesive is warm and soft, gently roll it off the surface with your fingers or wipe it away with a microfiber cloth. For stubborn spots, apply a small amount of a mild, manufacturer-approved adhesive remover or a safe household alternative like coconut oil or eucalyptus oil. Let the oil sit on the residue for a few minutes to break down the stickiness, then wipe it clean with soapy water and dry the area thoroughly. If you notice any signs of paint peeling, bubbling, or discoloration, stop immediately and consult a professional appliance technician.
Frequently Asked Questions (FAQ)
Will the adhesive damage my stainless steel refrigerator?
Most high-quality magnetic safety locks use adhesives that are specifically formulated to be safe for smooth, non-porous surfaces like stainless steel. However, many modern refrigerators feature specialized finishes, such as textured patterns, matte paint, or anti-fingerprint coatings. These coatings can sometimes be delicate and may peel, discolor, or lift when heavy-duty adhesives are removed.
To protect your appliance, always perform a spot test on a small, inconspicuous area of the refrigerator, such as the lower back edge or the side panel, before installing the lock. This allows you to verify how the adhesive interacts with your specific finish. If your appliance manufacturer warns against using adhesives, or if you are renting your home and want to avoid any risk of damage, look for alternative baby-proofing solutions that do not require permanent adhesives.
What should I do if the magnetic key stops working?
If your magnetic key fails to release the lock, first inspect both the key and the lock body for any visible physical damage, cracks, or warping. Check if any metallic debris, magnetic dust, or kitchen grease has accumulated on either component. Even a small layer of dirt or a tiny metal shaving can interfere with the magnetic field and prevent the lock from engaging or disengaging properly.
Clean both surfaces thoroughly with a damp microfiber cloth and dry them completely. If the key still does not work, try using a spare key if one was included in your lock kit. If the internal magnetic mechanism of the lock has failed or demagnetized, do not attempt to force the door open repeatedly or bypass the lock with makeshift tools. Forcing the door can damage the refrigerator’s handle or door frame, and bypassing the lock defeats its safety purpose. In this situation, the safest option is to remove the faulty lock unit entirely and replace it with a new one to maintain a secure environment for your child.

Community discussion
Share your experience or ask a question. Comments are reviewed before publication.