
Installing a baby door barrier properly requires selecting the correct mounting style for your space, preparing the mounting surfaces, and carefully adjusting the tension or hardware to ensure a secure fit. A crawling baby can exert surprising force when pushing or pulling against a barrier, making a stable installation essential for preventing falls and keeping restricted areas out of reach. By taking precise measurements and verifying the structural integrity of your walls, you can create a reliable safety boundary that withstands daily use.
In tropical environments, factors like high humidity can cause wooden door frames to swell or contract, which directly impacts how securely a barrier sits. Moisture in the air can also degrade adhesive pads or cause metal tension rods to slip against polished surfaces. Understanding these environmental variables and choosing the correct installation method will help you maintain a firm, wobble-free barrier throughout the year.
Choosing the Right Installation Method for Your Doorway
Before purchasing or installing a baby door barrier, you must determine which mounting method fits your specific doorway and safety requirements. Baby barriers generally fall into two categories: pressure-mounted and hardware-mounted. Each type serves a distinct purpose and has specific structural requirements that dictate where it can be safely used.
Products mentioned in this guide
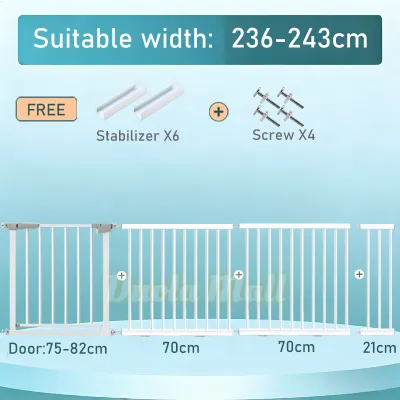
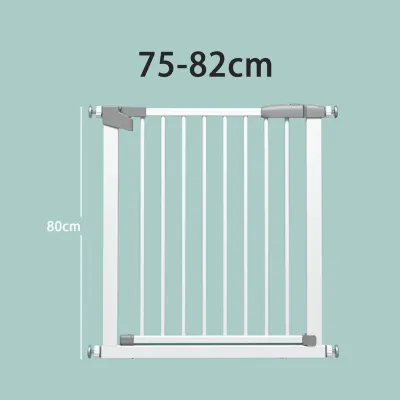
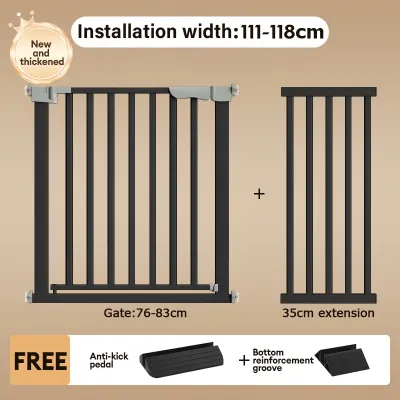
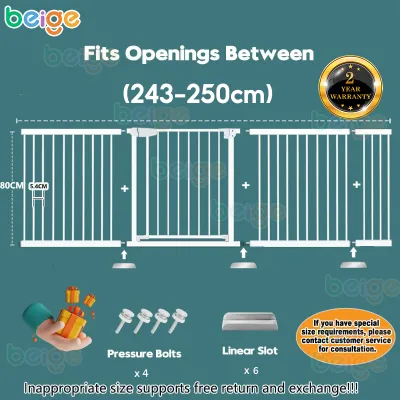
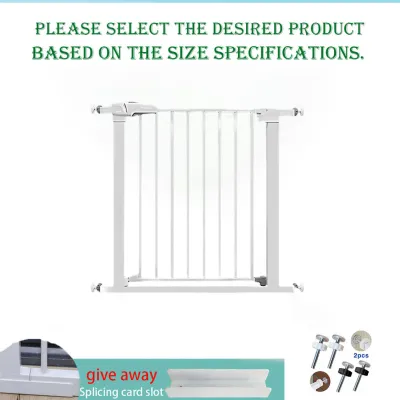
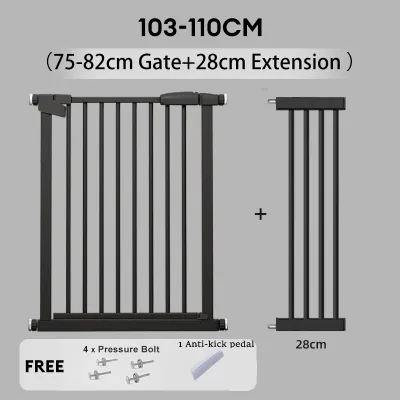
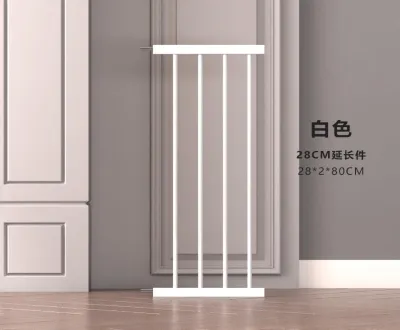
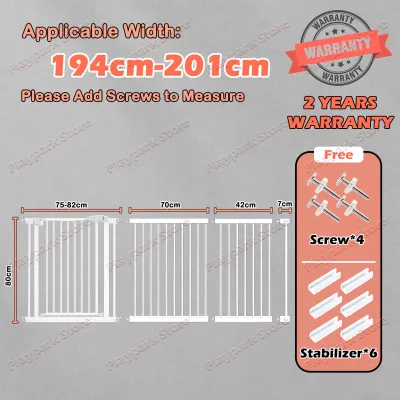
Prices are valid at publication and may change. Please refer to the product page for the latest price.
Pressure-mounted barriers rely on friction and tension to stay in place. They feature adjustable tension rods that press outward against the door frame or walls, requiring no drilling or permanent alterations. This makes them highly convenient for rental properties or temporary setups between rooms. However, because they rely solely on friction, they can be dislodged if subjected to a heavy impact or if a child climbs on them. For this reason, pressure-mounted barriers are only suitable for flat doorways or hallways on a single level where a fall hazard does not exist.
Hardware-mounted barriers are physically screwed into the wall studs or door frames. This creates a permanent, highly secure connection that cannot be easily pushed out of place. Hardware mounting is the only approved method for high-risk areas, such as the top of a flight of stairs. If a pressure-mounted barrier is placed at the top of the stairs, a child pushing against it could cause the entire unit to slip, leading to a dangerous fall.
Always check the manufacturer’s label and instructions to confirm the approved mounting type and location limits of your specific barrier. Some models are designed strictly for flat doorways, while others are certified for stairways. Never ignore these safety ratings, as using a barrier in an unapproved location compromises its ability to protect your child.
Tools and Preparation Before You Start
A successful installation begins with gathering the correct tools and preparing the installation site. Having everything ready beforehand prevents mid-installation adjustments that can lead to errors or loose fittings.

While you should always verify the specific tool requirements in your product manual, a standard installation typically requires:
- A measuring tape to determine doorway dimensions.
- A bubble level to ensure the barrier is perfectly vertical and horizontal.
- A pencil to mark drilling or placement points.
- A screwdriver or drill with appropriate bits (including masonry bits if drilling into concrete or brick walls).
- A stud finder to locate solid wood behind drywall.
Before unboxing the barrier, measure the width of your doorway or hallway at three distinct points: the top, the middle, and the bottom. Walls and door frames are rarely perfectly straight, and baseboards can create a narrower gap at the floor level. Measuring all three areas helps you determine if you need to use the included extension panels or adjust the tension screws unevenly to accommodate a slight slope in the wall.
Next, thoroughly clean and dry the contact surfaces where the barrier will meet the wall or door frame. In warm, humid climates, walls and wooden frames can accumulate a thin layer of dust, oil, or condensation. Wipe the area with a mild detergent or rubbing alcohol to remove any residue, and let it dry completely. Clean surfaces ensure that rubber pressure cups grip firmly and adhesive templates stick securely without sliding.
Step-by-Step Installation Process
While the general steps below apply to most standard barriers, always prioritize the specific step-by-step instructions provided in your manufacturer’s manual. Different brands use unique locking mechanisms, tension indicators, and mounting brackets that require specific handling.
Installing a Pressure-Mounted Barrier
To install a pressure-mounted barrier, begin by placing the gate assembly flat on the floor inside the doorway to determine if you need to add any extension panels. Once the width is roughly adjusted, lift the barrier into position, keeping it resting flat on the floor.
Hold the barrier in place and insert the tension screws into the four corners of the frame. Slide the rubber pressure cups onto the ends of the tension screws so they rest flat against the wall or door frame. Use your bubble level to check that the barrier is perfectly vertical from front to back and side to side. An unaligned barrier will not distribute pressure evenly, making it easier to push over.
Begin tightening the tension wheels or screws. It is crucial to tighten them gradually and alternately—turn the bottom-left screw a few times, then the bottom-right, followed by the top-left and top-right. This balanced approach keeps the barrier centered and prevents the frame from twisting. Continue tightening until you feel significant resistance and the gate frame aligns correctly. Many modern barriers feature a visual tension indicator line near the locking handle; ensure this indicator shows that the correct tension has been reached before stopping.
Installing a Hardware-Mounted Barrier
For a hardware-mounted barrier, start by locating the solid wood studs behind your drywall using a stud finder. If you are mounting the barrier directly to a wooden door frame, you can skip this step. If you must mount the barrier to concrete or hollow masonry walls—which are common in many homes—you must use plastic wall plugs and a masonry drill bit to ensure the screws hold firmly.
Hold the mounting templates or the mounting cups themselves against the wall at the height specified by the manufacturer. Use your bubble level to make sure the templates are perfectly aligned on both sides of the doorway. Mark the screw hole locations clearly with a pencil.
Pre-drill the holes at your marked points. If you are screwing into wood studs, use a drill bit slightly smaller than the screws to prevent the wood from splitting. If you are mounting to concrete, insert the plastic wall plugs into the drilled holes until they sit flush with the wall surface. Align the mounting cups over the holes and secure them tightly using the provided screws. Once the cups are anchored, attach the barrier frame to the hinges or brackets, and adjust the swing and locking mechanism according to the manual’s specifications so that it opens and closes smoothly.
How to Test and Verify the Barrier is Secure
Once the installation is complete, you must rigorously test the barrier to ensure it can withstand the daily physical challenges of an active, crawling baby. Do not assume the barrier is safe just because it looks straight.
Begin by performing a physical shake test. Grasp the top rail of the barrier firmly and shake it back and forth, then push against the center of the gate with moderate force. The barrier should not slide, shift, or slip along the wall. If you notice any movement or if the pressure cups slide even slightly, immediately stop and retighten the tension screws or inspect the wall anchors for looseness.
Next, test the locking and latching mechanism repeatedly. Open and close the gate several times to verify that the latch engages automatically and locks securely. Try pushing the gate open without releasing the safety lock; it should remain firmly shut. If your barrier has a double-action lock (requiring you to slide a button and lift the gate simultaneously), ensure that both actions are functioning smoothly and cannot be bypassed by simple pushing.
Finally, measure the gap between the bottom of the barrier frame and the floor. This gap must be small enough to prevent a crawling baby from attempting to squeeze their head or body underneath. Generally, this gap should not exceed 5 to 7 centimeters. If the gap is too wide, lower the barrier closer to the floor, ensuring it still clears any rugs or floor transitions when swinging open.
Common Installation Mistakes and When to Stop
Avoiding common installation errors is just as important as following the correct steps. Recognizing when a setup is unsafe can prevent accidents before they occur.
One of the most dangerous mistakes is installing a pressure-mounted barrier at the top of a staircase. Even if the barrier feels tight initially, the constant pressure of daily use, combined with humidity-induced wall expansion, can cause the tension to drop over time. A child leaning their full weight against a weakened pressure gate at the top of the stairs can cause the entire unit to give way. Always use a hardware-mounted gate in this location.
Another common error is mounting hardware directly into drywall or plaster without using studs or heavy-duty anchors. Drywall alone cannot support the leverage exerted on a gate hinge when a child pulls on it. Over time, the screws will pull out of the drywall, causing the gate to sag or collapse. Additionally, avoid installing pressure cups on highly slippery or fragile surfaces like glass panels, polished tiles, or loose wallpaper, as these materials do not provide the necessary friction and can crack under pressure.
You must stop the installation and consult the manufacturer or a professional carpenter if you encounter any of the following conditions:
- The wall material crumbles, cracks, or fails to hold the wall plugs securely during drilling.
- The door frame is so warped or uneven that the barrier cannot sit flush or level.
- The locking mechanism fails to align or latch properly even after adjusting the tension screws.
- The barrier frame bends or warps significantly when you attempt to tighten it to the required tension.
Frequently Asked Questions (FAQ)
Can I install a baby door barrier on a banister or railing?
Yes, but you should never attach the barrier directly to a round banister or wooden spindle using improvised materials like zip ties, ropes, or tape. These materials can stretch, slip, or degrade quickly, creating a severe safety hazard. Instead, use a specialized banister installation kit or Y-spindles designed specifically for baby barriers. These kits provide flat, padded mounting surfaces that clamp securely around the posts without damaging the wood or metal, allowing you to install either pressure or hardware-mounted gates safely.
How often should I check the tension of a pressure-mounted barrier?
You should check the tension of a pressure-mounted barrier at least once a week, and immediately after any hard impacts, such as someone accidentally bumping into it. In tropical climates, seasonal shifts in humidity and temperature can cause wooden door frames and walls to expand and contract. This subtle movement can gradually loosen the tension of the barrier over time. A quick physical shake test every few days ensures the barrier remains safe and secure.

Community discussion
Share your experience or ask a question. Comments are reviewed before publication.