
Installing a car seat 360 (a rotating car seat) properly is the single most important step you can take to protect your child on the road. These innovative seats offer unparalleled convenience by swiveling toward the door, making it much easier to secure your child without straining your back. However, a rotating seat only provides protection if it is anchored correctly to your vehicle. Whether you use the rigid ISOFIX system or a standard three-point seatbelt, understanding the precise steps of installation ensures your child remains secure during every journey.
While high-quality rotating car seats represent a significant investment—often ranging from ₱10,000 to over ₱30,000 in the Philippines—their safety benefits are only realized when installed correctly. A minor error in routing a belt or clicking an anchor can compromise the seat’s performance in a collision. By dedicating time to prepare your vehicle and double-check your work, you can travel with peace of mind knowing your little one is safe.
Before You Start: Preparation and Safety Checks
Before attempting to install your car seat, you must consult both your car seat instruction manual and your vehicle owner’s manual. These documents are the ultimate authorities on how your specific products interact. If you find any conflicting information between the two guides, stop the installation immediately and contact the manufacturers or a certified child passenger safety technician for clarification.
Products mentioned in this guide
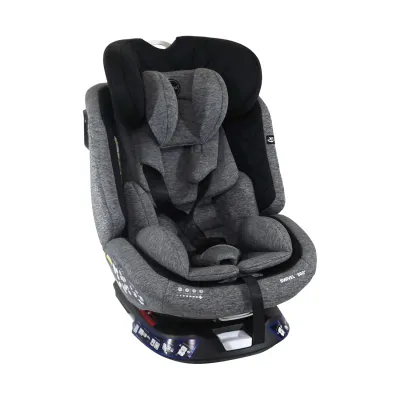
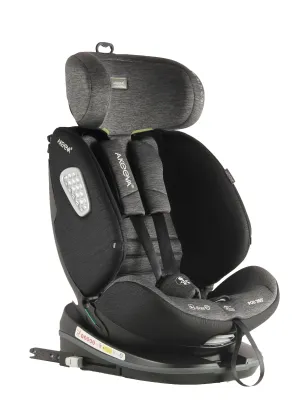
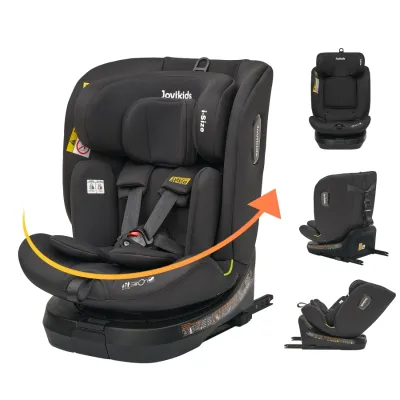
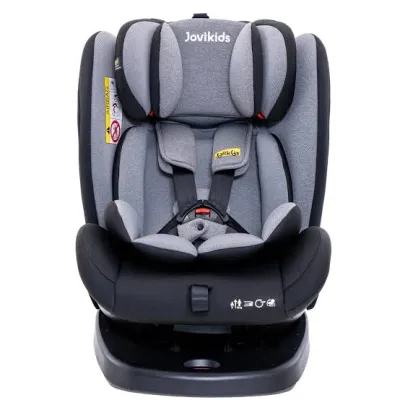
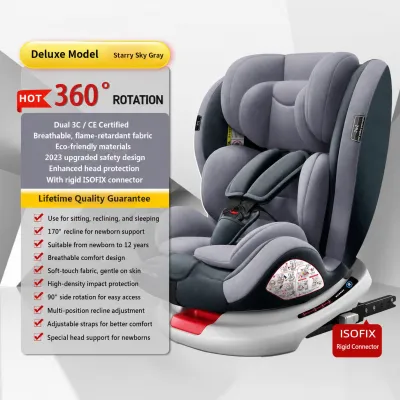
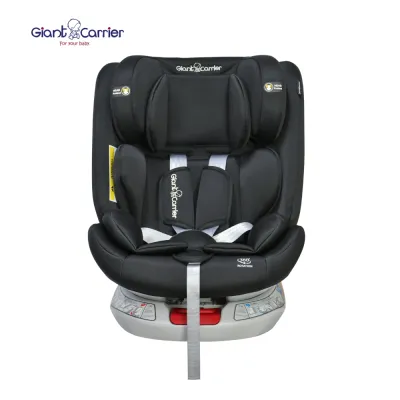

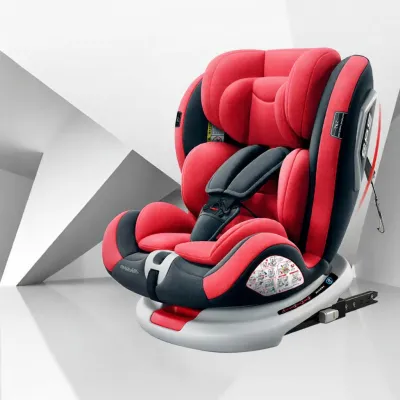
Prices are valid at publication and may change. Please refer to the product page for the latest price.
Next, you need to locate the approved seating positions in your vehicle. Not all passenger seats are compatible with car seats or equipped with ISOFIX anchor points. In many family SUVs and sedans, the outer rear seats are the primary locations for ISOFIX anchors, while the center rear seat may only support seatbelt installation. Refer to your vehicle’s manual to find the exact location of these anchors, which are often marked with small plastic buttons or fabric tags at the crease of the seat cushion.
There is one critical, non-negotiable safety rule: never install a rear-facing car seat in a front passenger seat that has an active airbag. If the airbag deploys during a collision, it will strike the back of the car seat with immense force, which can cause severe or fatal injuries to your child. The rear seat is always the safest place for children under 13 years old.
Take a few minutes to inspect the car seat itself before putting it in your vehicle. Look for any visible damage, missing components, or signs of wear on the harness straps. Additionally, check the expiration date printed on the manufacturer’s label, usually located on the underside or back of the seat shell. The intense heat and high humidity inside a parked car in tropical climates can accelerate the degradation of plastic components over time, making it vital to never use an expired or damaged seat.
Finally, prepare your vehicle’s interior by clearing the back seat of any debris, loose toys, or thick aftermarket mats. While it might be tempting to place a thick towel or protective cover under the car seat to protect your vehicle’s leather, these bulky items can prevent a tight, secure installation. Use only thin, manufacturer-approved seat protectors, or install the car seat directly onto the vehicle’s upholstery to ensure there is no unwanted movement.
Method 1: Step-by-Step ISOFIX Installation for Your Car Seat 360
The ISOFIX system is designed to make installation straightforward by eliminating the need to thread a seatbelt. To begin, locate the ISOFIX release mechanism on your car seat 360 base and extend the two rigid connector arms fully outward. This gives you enough clearance to align the connectors with the vehicle’s lower anchor bars without scraping your car’s upholstery.

Align the extended connector arms with the lower anchor bars in your vehicle seat crease. Push the car seat base firmly backward into the vehicle seat until you hear a loud, metallic click from both sides. These clicks indicate that the connectors have successfully clamped onto the vehicle’s steel anchor bars.
Once you hear the clicks, verify the connection using the built-in visual indicators on the car seat base. Most modern seats feature small window indicators near the release buttons that transition from red to green when securely locked. Do not rely solely on the visual cue; grasp the base firmly and pull it forward to ensure both sides are physically locked onto the anchors.
After securing the lower anchors, you must deploy the seat’s anti-rotation device. For most rotating car seats, this device is a support leg (also known as a load leg) that extends down to the vehicle floor. Press the adjustment button on the leg and extend it until the foot rests flat and firm against the floor of your car. Ensure the leg is extended enough to take up the slack, but not so much that it lifts the car seat base off the vehicle seat cushion. Look for the green indicator at the foot of the support leg to confirm it is applying the correct amount of downward force.
If your vehicle has under-floor storage compartments—common in some multi-purpose vehicles (MPVs) and family vans—you must check your vehicle manual before deploying a support leg. A hollow storage compartment lid may collapse under the extreme force of a crash. If your vehicle manual prohibits support legs over storage compartments, you must either use a different seating position or secure the car seat using a top tether strap if your car seat model supports it. If using a top tether, route the strap over the vehicle seat back and clip it to the designated anchor point, tensioning it until the indicator turns green.
Never force the ISOFIX connectors if they do not seem to align. Forcing them can damage the locking mechanisms on the car seat or bend the anchor bars in your vehicle. If you experience resistance, remove the seat, check for any fabric or seatbelt webbing blocking the path, and try aligning the connectors again.
Method 2: Step-by-Step Seatbelt Installation
If your vehicle does not have ISOFIX anchors, or if you need to install the seat in a position without them, you can secure the car seat 360 using the vehicle’s three-point seatbelt. The first step is to identify the correct belt path on your specific car seat. Manufacturers color-code these paths to prevent confusion: blue guides are typically used for rear-facing mode, while red guides are used for forward-facing mode. Always defer to your car seat’s manual to verify these colors and paths.
Thread the vehicle’s lap-and-shoulder belt through the designated path on the car seat base. It is absolutely critical to ensure that the seatbelt webbing lies completely flat and is free of twists. Twisted webbing reduces the surface area of the belt, which can concentrate crash forces on a single point and potentially damage the car seat shell or fail to hold the seat securely in place.
Once the belt is threaded through the path, buckle it into the vehicle’s seatbelt receiver. To ensure the seat cannot move, you must lock the vehicle’s seatbelt retractor. Pull the shoulder portion of the seatbelt slowly and steadily all the way out to its limit. When you let it go back in, you should hear a clicking sound, which indicates the retractor has switched from Emergency Locking mode to Automatic Locking Retractor (ALR) mode. In this mode, the belt will only retract and cannot be pulled out further. If your vehicle is older and does not have an ALR system, you must use the built-in lock-off clip on your car seat to clamp the seatbelt firmly in place.
With the belt locked, you must now remove all remaining slack from the system. Place your hand or knee firmly into the center of the car seat base to compress the vehicle’s seat cushion. While applying your body weight, pull the shoulder portion of the seatbelt upward with force, feeding the excess webbing back into the retractor. This compression ensures that the car seat is pressed deeply into the vehicle seat, creating a tight and stable connection.
Using the 360 Rotation Feature Safely
The primary appeal of a car seat 360 is its ability to spin toward the vehicle door, allowing you to buckle your child in without awkward twisting. However, this rotation feature is strictly for loading and unloading your child when the vehicle is completely stationary and parked. Never attempt to rotate the seat while the car is moving, even if your child is crying or needs attention.
Before you start driving, you must rotate the seat back into an approved travel position—either fully rear-facing or fully forward-facing. Gently turn the seat until you hear a distinct, heavy click, which indicates the rotation mechanism has locked into place. Give the seat a firm tug to verify it is locked and cannot spin freely. Check that the rotation handle or release button has fully popped back out to its disengaged, locked state.
Do not use the rotation feature to transition your child to forward-facing travel too early. The physical convenience of having a forward-facing seat does not outweigh the safety benefits of rear-facing travel. Keep your child in the rear-facing position for as long as possible, up to the maximum height and weight limits specified by the car seat manufacturer. Rear-facing travel protects your child’s fragile head, neck, and spine by absorbing and distributing crash forces across the shell of the seat.
Always ensure that the harness straps are properly adjusted after rotating the seat to the travel position. The shoulder straps should be at or just below your child’s shoulders when rear-facing, and at or above their shoulders when forward-facing. A quick check of the harness tension before every trip ensures the rotation convenience does not lead to a lapse in daily safety habits.
Final Verification: Is Your Car Seat Secure?
Before every single trip, you must perform a quick physical check to ensure the car seat remains securely installed. The most reliable method is the “Inch Test.” Grasp the car seat firmly at the belt path—the exact area where the ISOFIX connectors or the vehicle seatbelt secures the base to the car. Pull the seat firmly from side-to-side and front-to-back.
The car seat should not move more than one inch (2.5 cm) in any direction. If the seat slides easily or shifts more than an inch, your installation is too loose. You will need to uninstall the seat and repeat the tensioning steps, ensuring you apply more body weight to compress the vehicle cushion while tightening the belt or adjusting the ISOFIX arms.
Next, perform a quick visual sweep of all safety indicators. Check that the ISOFIX connector windows are showing green, that the support leg is firmly on the floor with its indicator green, and that the rotation lock indicator confirms the seat is secured in its driving position. If any indicator shows red, do not drive until you have adjusted the component and resolved the issue.
Finally, remember that vehicle seat cushions naturally compress over time, and the vibrations from driving can cause seatbelts or ISOFIX connections to settle. This is especially true in warm, humid climates where seat foam can expand and contract. Make it a habit to re-check the tension of your car seat every few weeks to ensure it remains as tight and secure as the day you installed it.
Frequently Asked Questions (FAQ)
Can I use both ISOFIX and the seatbelt at the same time?
No, you should not use both ISOFIX and the vehicle seatbelt to install your car seat simultaneously, unless the car seat manufacturer explicitly states in the manual that this is allowed. Most manufacturers strictly prohibit using both methods at once. During a collision, the two systems can distribute forces differently, creating conflicting stress points on the car seat’s plastic shell. This conflict can cause the seat to fail or crack under pressure. Stick to one approved installation method—either ISOFIX or the seatbelt—and ensure it is executed perfectly.
Is it safe to install a 360 car seat in the front passenger seat?
The rear seat is always the safest location for any child car seat. If you must install the car seat 360 in the front passenger seat due to space constraints or vehicle design, you must ensure that both your vehicle manual and the car seat manual permit front-seat installation. If allowed, you must deactivate the front passenger airbag completely. Additionally, slide the vehicle’s physical front seat as far back as possible on its tracks to maximize the distance between your child and the dashboard. Never place a rear-facing car seat in front of an active airbag under any circumstances.

Community discussion
Share your experience or ask a question. Comments are reviewed before publication.