
Cleaning baby bottles thoroughly is one of the most frequent and important tasks for parents and caregivers. Using a specialized cleaning agent like Bebeta bottle cleaner helps remove stubborn milk residue, fats, and proteins that regular dishwashing liquids might leave behind. However, baby bottles are made from different materials—primarily glass, plastic, and silicone—and each material requires a specific approach to prevent damage, cloudiness, or premature wear. By adjusting your washing technique to match the unique properties of each material, you can maintain the structural integrity of your baby’s feeding gear while ensuring a high standard of hygiene.
In tropical environments like the Philippines, high humidity and warm temperatures create an ideal environment for mold and bacterial growth on damp surfaces. This makes proper cleaning, thorough rinsing, and complete drying even more critical for infant health. Whether you are preparing a glass bottle that requires gentle handling, a plastic bottle prone to micro-scratches, or a flexible silicone bottle that easily absorbs odors, following a systematic cleaning routine ensures your equipment remains safe and functional.
Preparing Your Bottles and Cleaning Station
Before you begin washing, proper preparation of both the bottles and your workspace is essential to prevent cross-contamination. Start by thoroughly washing your own hands with soap and clean water. Next, completely disassemble every single baby bottle. This means separating the bottle body, collar rings, nipples, travel caps, and any specialized parts such as anti-colic valves, vents, or straw attachments. Milk residue frequently traps itself in the tight threads of screw caps and the small crevices of valves, so washing a partially assembled bottle will leave hidden pockets of bacteria.
Products mentioned in this guide
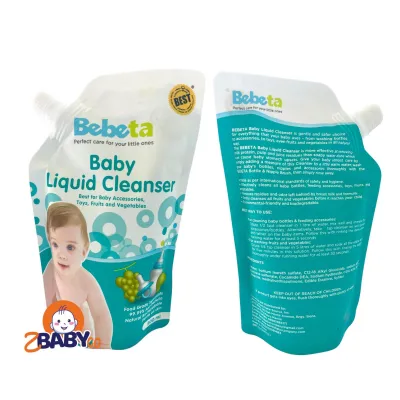
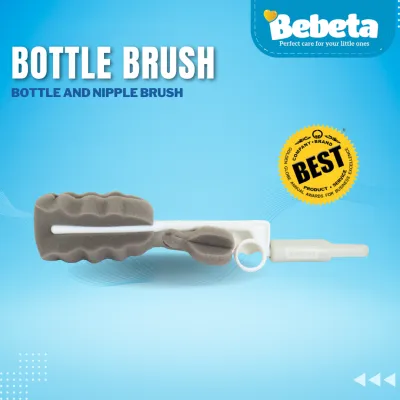
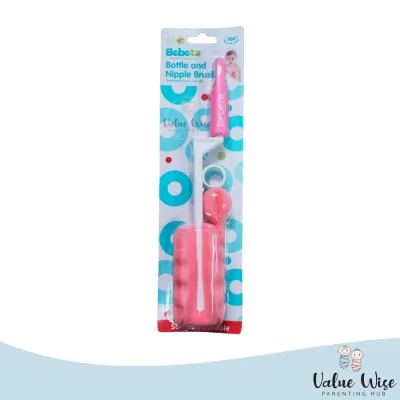
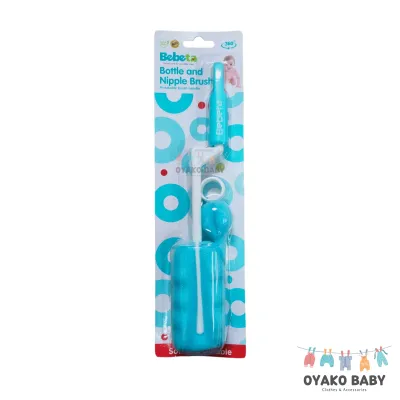
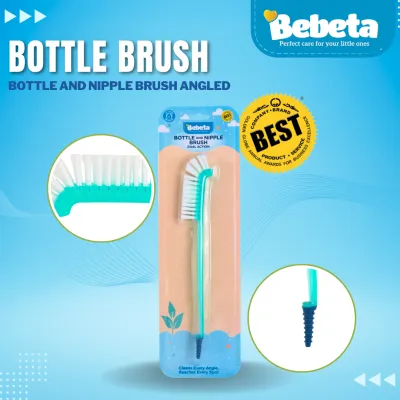
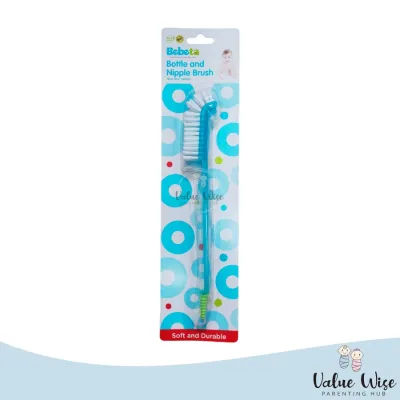
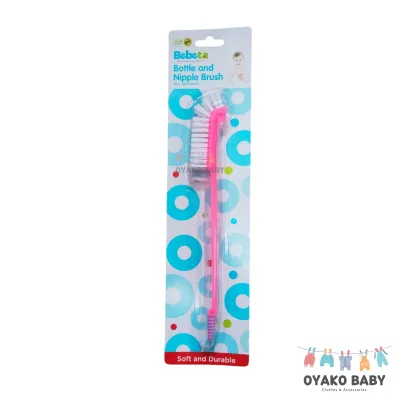
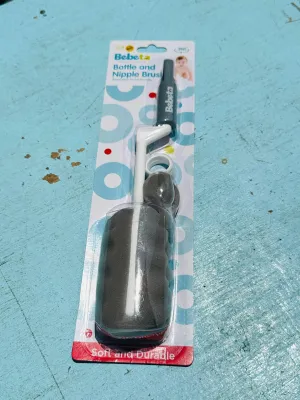
Prices are valid at publication and may change. Please refer to the product page for the latest price.
Once everything is disassembled, check the manufacturer labels on both your baby bottles and your bottle of Bebeta cleaner. Different bottle brands specify distinct temperature limits for washing and sterilization, and some materials may degrade if exposed to extreme heat. Similarly, read the instructions on the Bebeta bottle cleaner packaging to verify the recommended dilution ratio, water temperature, and any specific material warnings.
To maintain a hygienic workflow, set up a dedicated cleaning station. Avoid washing baby bottles directly in the kitchen sink, as the sink basin often harbors food particles, grease, and household bacteria from daily dishwashing. Instead, use a clean, dedicated plastic basin reserved solely for baby feeding items. Place this basin on a clean countertop or inside a thoroughly scrubbed sink, and ensure you have dedicated cleaning brushes that are never used for family dishes or general household cleaning.
Step-by-Step Cleaning Guide by Bottle Material
Different bottle materials react uniquely to physical scrubbing, heat, and cleaning agents. To preserve the lifespan of your feeding equipment and prevent structural degradation, you must tailor your cleaning method to the specific material of each bottle.

Cleaning Glass Baby Bottles
Glass baby bottles are highly durable, resistant to scratches, and do not retain odors or stains as easily as plastic or silicone. However, they are fragile and susceptible to thermal shock or physical breakage if handled incorrectly during the washing process. Before you begin scrubbing, carefully inspect each glass bottle for any signs of damage, such as hairline cracks, chips around the rim, or deep scratches. If you detect even a minor chip or crack, discard the bottle immediately, as it can shatter during washing or feeding, posing a severe safety hazard.
When washing glass bottles, select the right cleaning tools. Avoid using stiff wire brushes or abrasive scouring pads, which can create micro-scratches on the glass surface over time, weakening the material and making it more prone to breaking. Instead, opt for a soft sponge brush or a dedicated silicone bottle brush. These gentle materials effectively sweep away milk film without putting undue stress on the glass.
To wash, fill your dedicated basin with warm water and add the recommended amount of Bebeta bottle cleaner as indicated on the product label. Submerge the glass bottle and use your soft brush to scrub the interior thoroughly, paying close attention to the bottom and the curved shoulders where milk fat tends to settle. Use a gentle but firm rotating motion to ensure the cleaning solution contacts every internal surface.
Cleaning Plastic Baby Bottles
Plastic baby bottles, typically made from polypropylene or other food-grade plastics, are lightweight and shatterproof, making them a popular choice for active families. However, plastic is a relatively soft material that easily scratches, clouds, and degrades over time when exposed to harsh scrubbing or improper cleaning agents. When cleaning plastic bottles, never use abrasive sponges, steel wool, or stiff-bristled brushes. Any abrasive contact can create microscopic grooves in the plastic. These tiny scratches are highly problematic because they serve as breeding grounds for bacteria and make the bottle much harder to clean in future washes.
Always use a soft sponge brush or a flexible silicone brush when cleaning plastic. Dilute the Bebeta bottle cleaner in warm water according to the label instructions, and submerge the plastic components. If the bottles have dried milk residue, allow them to soak in the soapy water for the duration recommended on the cleaner’s label. Avoid leaving plastic bottles submerged in cleaning solutions for excessively long periods beyond the manufacturer’s recommendation, as prolonged exposure to wet environments can sometimes accelerate the clouding of certain plastic types.
While washing, inspect the plastic bottles under good lighting. Look closely for deep scratches, persistent cloudiness, or a sticky texture on the plastic surface. These are clear indicators that the plastic polymer has begun to degrade. When plastic reaches this state, it becomes difficult to sanitize effectively, and the bottle should be retired from use.
Cleaning Silicone Baby Bottles and Parts
Silicone baby bottles and components, such as nipples and anti-colic valves, are favored for their flexibility and breast-like feel. However, silicone is highly porous compared to glass, meaning it easily absorbs milk fats, strong odors, and soap scents if not cleaned correctly. Additionally, delicate silicone parts like nipples and valves can easily tear or stretch out of shape if subjected to rough handling.
When cleaning silicone bottles and nipples, use extremely gentle washing motions. Never force a large bottle brush through the small opening of a nipple, as this can easily tear the silicone or enlarge the feeding hole, which alters the milk flow rate and can cause choking hazards for your baby. Instead, use a small, specialized nipple brush with soft bristles, or gently massage the nipple between your fingers using a diluted solution of Bebeta bottle cleaner.
Silicone’s porous nature means it requires meticulous rinsing to prevent soap residue from clinging to the surface. If soap residue remains, your baby may reject the bottle due to an unpleasant taste, and the material may develop a cloudy film. Always check the silicone parts for signs of wear, such as stickiness, discoloration, a stretched-out feeding hole, or a loss of original elasticity. If a silicone nipple feels sticky or shows any signs of tearing, replace it immediately to ensure safe feeding.
Rinsing, Drying, and Post-Cleaning Verification
Once all components have been thoroughly scrubbed with the Bebeta bottle cleaner, the rinsing phase is critical to ensure no chemical residue remains. Rinse every part under clean, running water. Do not simply dip the parts back into the wash basin. Hold each bottle, nipple, and collar under the tap, allowing the water to flow through the openings and valves to flush out all traces of the cleaning agent.
After rinsing, perform a quick visual and tactile check. Run your clean fingers over the surfaces of the bottles and nipples; they should feel squeaky clean, not slippery or greasy. If you detect a slippery film or smell a lingering scent of soap or stale milk, rinse the components again.
Proper drying is just as important as washing, especially in warm, humid climates where moisture-loving mold and bacteria can rapidly colonize damp surfaces. Place all rinsed components on a dedicated, clean bottle drying rack. Position the rack in a well-ventilated area away from direct sunlight, which can degrade plastic and silicone over time. Ensure the drying area is also kept away from household dust, cooking grease, and pet hair.
Position the bottle bodies upside down on the rack so that water drains out completely rather than pooling at the bottom. Disassembled parts like nipples, rings, and valves should be spaced out individually to allow air to circulate freely around them. Before reassembling or storing the bottles, verify that every single part is completely dry. Assembling bottles while they are still damp traps moisture inside, creating a perfect breeding ground for mold and mildew.
When to Stop and Replace Damaged Bottles
No baby bottle is designed to last forever, and regular cleaning routines must be paired with routine safety inspections. Over time, physical wear, heat exposure, and daily scrubbing will take a toll on even the highest-quality materials. Knowing when to stop using a bottle and replace it is vital for your baby’s safety.
Inspect your bottles during every wash cycle. For plastic bottles, look for deep scratches, severe discoloration, or persistent cloudiness that does not wash away. For glass bottles, check for any chips, cracks, or rough edges along the rim where the nipple attaches. For silicone bottles and nipples, watch out for tears, a sticky or tacky texture, discoloration, or a stretched feeding hole that allows milk to flow too quickly. If you observe any of these conditions, discard the damaged parts immediately.
Do not attempt to aggressively clean, boil, or sterilize damaged items in an effort to salvage them. Cracks in glass can fail catastrophically under pressure or heat, while damaged plastic and silicone can harbor deep-seated bacteria that standard cleaning cannot reach. Always consult the bottle manufacturer’s guidelines for recommended replacement schedules. As a general rule of thumb, silicone nipples are typically replaced every two to three months due to wear from sucking and cleaning, while plastic bottles are often replaced every six months, depending on the frequency of use and the visible condition of the material.
Frequently Asked Questions (FAQ)
Can I use Bebeta bottle cleaner in a dishwasher?
You should always check the specific product label on your Bebeta bottle cleaner to verify its compatibility with dishwashers. Most liquid bottle cleaners of this type are formulated specifically for manual hand-washing and produce a high volume of suds. Using a hand-wash formula inside an automated dishwasher can cause excessive foaming, which may overflow the machine, damage its internal components, or leave a heavy soap residue on your baby’s bottles. Automated dishwashers require specialized, low-sudsing detergents designed for high-temperature machine cycles. If the label indicates the cleaner is solely for manual use, do not add it to your dishwasher.
How do I remove milk stains or odors from silicone nipples?
To address stubborn milk stains or lingering odors on silicone nipples, start by soaking the parts in a warm water solution mixed with Bebeta bottle cleaner, following the dilution and soaking times specified on the product label. Gentle, prolonged soaking helps break down stubborn milk fats without damaging the silicone. Avoid using harsh household chemicals, bleach, or abrasive scrubbing powders, as these can degrade the silicone polymer and pose safety risks for your infant. Additionally, do not boil the silicone parts for extended periods unless explicitly approved by the bottle manufacturer’s instructions, as excessive heat can warp or weaken the material. If a nipple retains a strong, persistent odor or severe discoloration even after a proper soak and wash, it is best to replace it with a new one.

Community discussion
Share your experience or ask a question. Comments are reviewed before publication.