
Choosing the right baby food container with cover requires matching the container’s capacity and design features to your baby’s specific developmental stage. For early weaning, tiny airtight containers of 1 to 2 ounces (30 to 60 ml) prevent food waste and preserve small batches of smooth purees. As your baby transitions to thicker, mashed textures, medium-sized containers of 4 to 6 ounces (120 to 180 ml) with wide openings make scooping and cleaning much easier. For the final stage of weaning, larger or divided bento-style containers are ideal for keeping diverse finger foods fresh and separated.
In tropical climates like the Philippines, high humidity and warm temperatures accelerate food spoilage and attract household pests. A secure, airtight cover is not just a convenience; it is a necessity to keep homemade baby food safe, hygienic, and free from contamination. By understanding how your baby’s portion needs and physical abilities change over time, you can select a versatile set of containers that simplifies meal prep and supports your child’s growth.
Understanding Your Baby's Weaning Stages and Portion Needs
The transition from milk to solid foods is a gradual journey that unfolds in distinct phases, each requiring a different approach to food preparation and storage. In the initial weeks of weaning, which typically begins around six months of age, your baby is simply learning how to swallow and tolerate new textures. Their meals consist of very small amounts of smooth, single-ingredient purees made from local vegetables like chayote, squash, or sweet potato. At this stage, their actual intake is minimal, often limited to just one or two teaspoons per feeding.
Products mentioned in this guide
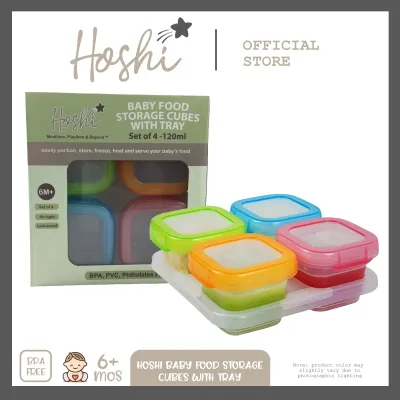
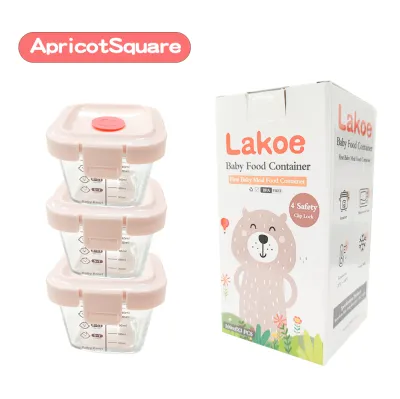
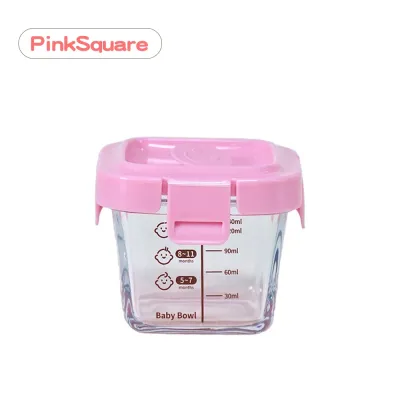
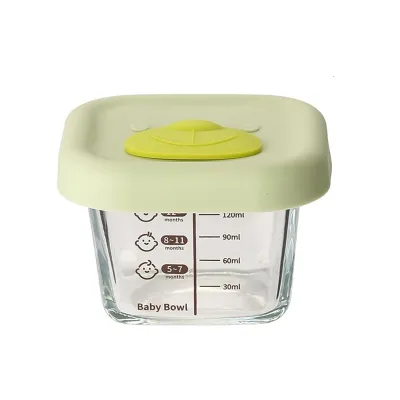
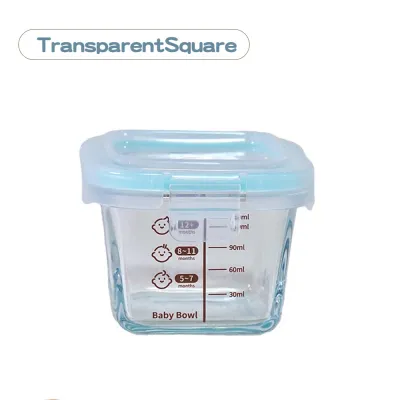
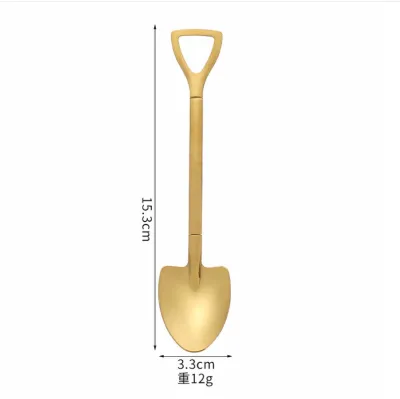
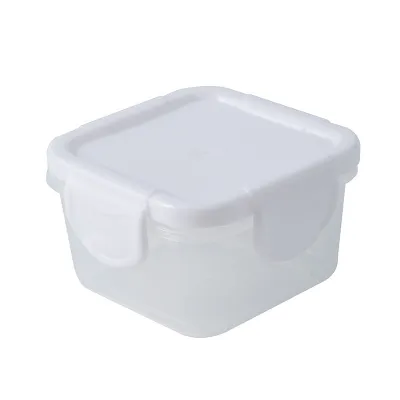
Prices are valid at publication and may change. Please refer to the product page for the latest price.
As your baby grows and develops better oral motor skills, usually between six and eight months, their appetite naturally increases. They transition from runny purees to thicker, mashed foods with soft lumps, such as mashed bananas, avocados, or soft-cooked rice porridge. This mid-weaning stage introduces a wider variety of ingredients and larger portion sizes, requiring containers that can hold slightly larger volumes without spilling.
By the time your baby reaches eight to twelve months, they are ready for finger foods and family-style meals. They can grasp small pieces of soft fruits, vegetables, and proteins with their fingers. Meal times become more structured, and the variety of foods offered in a single sitting increases significantly. This late weaning stage requires storage solutions that can accommodate multiple food groups and larger portions to match their growing energy needs.
While general age-based charts provide a helpful starting point, every baby develops at their own pace. Factors such as active growth spurts, daily energy levels, and individual appetite variations mean that actual intake can change from day to day. Observing your baby’s cues during feeding is the most reliable way to determine the portion sizes you need to store.
Choosing containers based on these shifting needs helps minimize food waste and ensures you always have the right portion size ready. Preparing meals in batches and storing them in appropriately sized containers saves time, especially during busy tropical afternoons when cooking fresh meals for every single feeding is impractical.
Key Features to Evaluate in Baby Food Containers With Covers
Selecting the right container involves looking closely at how the lid secures to the base. A reliable cover is your primary defense against spills and food spoilage.

Lid and seal mechanisms vary widely, each offering distinct advantages for busy parents. Snap-lock lids with four-sided latches provide a highly secure, leak-proof seal that is excellent for travel. Silicone rings embedded in the lids help create an airtight barrier, though they require regular removal and cleaning to prevent mold in humid climates. Screw-top lids are highly convenient for quick opening and closing, making them ideal for home storage of liquid purees.
Material safety is paramount when storing food for your little one. Always inspect product packaging and labels to verify that the containers are made from food-grade, BPA-free materials. Look for specific manufacturer symbols indicating whether the container is safe for freezer storage, microwave reheating, or dishwasher cleaning.
Compartment designs offer excellent versatility as your baby’s diet expands. Divided containers allow you to pack a complete, balanced meal with different textures and flavors without them mixing together. This is particularly useful for keeping dry finger foods separate from moist purees or sauces.
Stackability and storage efficiency are crucial for keeping your kitchen organized. Look for containers with recessed lids that allow them to stack securely on top of one another in the refrigerator or freezer. Compact, modular shapes maximize limited shelf space and fit easily into insulated diaper bags when you need to feed your baby on the go.
Matching Container Sizes and Designs to Each Weaning Stage
To build a practical and efficient storage system, it helps to align your container choices with the specific demands of each weaning phase.
Stage 1: Starting Purees (Early Weaning)
During the initial stage of weaning, your baby will consume only one or two tablespoons of food per meal. Using large containers for these tiny portions leads to unnecessary washing and can cause the food to dry out quickly. Small-capacity containers, typically ranging from 1 to 2 ounces (30 to 60 ml), are perfect for these early tasting portions.
Because you will likely prepare purees in batches to save time, having a set of small, highly airtight containers is essential. A tight seal prevents the purees from absorbing odors from other foods in the refrigerator and protects them from freezer burn.
When freezing purees, always check the manufacturer’s guidelines regarding maximum fill lines. Liquids expand as they freeze, so leaving a small gap of empty space at the top of the container prevents the lid from popping off or the container from cracking under pressure.
Stage 2: Mashed Foods and Thicker Textures (Mid Weaning)
As your baby reaches the middle of their weaning journey, their appetite grows, and their food becomes thicker and more textured. You will need to transition to medium-capacity containers, generally between 4 to 6 ounces (120 to 180 ml). These sizes accommodate larger portions of mashed fruits, vegetables, and grains without taking up excessive space in your bag.
Wide-mouth container designs are highly beneficial during this stage. They make it much easier to scoop out thick, sticky mashed foods with a baby spoon, minimizing mess during meal times. Additionally, wide openings make hand-washing the containers much simpler, ensuring you can easily reach the bottom corners where food residue might stick.
Since babies at this stage often accompany parents on daily errands or family visits, meals frequently need to be packed for travel. Robust, leak-proof lids are non-negotiable to prevent messy spills inside your diaper bag. Look for covers with reinforced silicone gaskets that maintain a tight seal even when the container is jostled during transit.
Stage 3: Finger Foods and Family Meals (Late Weaning)
By the late weaning stage, your baby is eating a variety of solid finger foods, such as steamed broccoli florets, soft carrot sticks, and small pieces of fish or chicken. To keep these different items fresh and appealing, prioritize bento-style or divided containers. Separating the food groups prevents dry items from becoming soggy and helps maintain the distinct textures and flavors of each food.
Larger container capacities, ranging from 8 ounces (240 ml) or more, are necessary to match your baby’s growing appetite. These larger vessels allow you to pack complete, balanced meals that include a carbohydrate, a protein, and vegetables all in one convenient package.
Durability becomes even more important as these containers are used daily and transported frequently. Ensure the lids are highly secure and made from impact-resistant materials that can withstand being dropped on hard kitchen floors or packed tightly into school lunchboxes and diaper bags.
Safety, Cleaning, and Maintenance Checks
Maintaining the hygiene and safety of your baby’s food containers is just as important as choosing the right size. Always read and follow the manufacturer’s specific care instructions regarding temperature limits. Some materials may warp or degrade if exposed to extreme heat in a microwave or dishwasher, while others are specifically designed to handle these appliances safely.
In warm, humid environments, mold can quickly develop in hidden crevices. Make it a habit to regularly inspect the silicone seals inside the lids, as well as the lid hinges and plastic rims. Remove the silicone rings during washing to clean out any trapped moisture or food particles, and allow all parts to dry completely before reassembling and storing them.
Inspect your containers regularly for signs of wear and tear. Over time, plastic can develop micro-scratches from utensils or abrasive cleaning sponges, creating tiny crevices where bacteria can thrive. If you notice deep scratches on the interior surface, cracked rims, or if the airtight seal no longer keeps food fresh, it is time to stop using the container and replace it to ensure your baby’s food remains safe and uncontaminated.
Frequently Asked Questions (FAQ)
Can I freeze and microwave food in the same baby food container?
Yes, you can often freeze and microwave food in the same container, but you must verify that the product is specifically rated for both temperature extremes. Check the base of the container or the packaging for the manufacturer’s temperature limits and safety symbols, such as a snowflake for freezer safety and wavy lines for microwave safety.
When freezing purees or liquids, always leave adequate headspace at the top of the container. Food expands as it freezes, and failing to leave room can cause the container to crack or the lid to pop off.
Before placing the container in the microwave, always remove or loosen the cover completely. Keeping the lid tightly sealed during heating causes steam and pressure to build up inside, which can lead to dangerous hot spots in the food, warping of the container, or sudden lid failure.
How do I remove stubborn food stains or odors from the lids?
To remove stubborn stains from foods like carrots or sweet potatoes, or lingering odors from savory purees, start by checking the manufacturer’s care label for any restricted cleaning methods.
A gentle, food-safe approach is to create a paste using baking soda and water, apply it to the stained areas, and let it sit for a few hours before rinsing. For persistent odors, soaking the lids in a mixture of warm water and diluted white vinegar can help neutralize the smell without damaging the material.
Avoid using abrasive scrubbers, steel wool, or harsh chemical cleaners on your baby food containers. These rough materials can create micro-scratches on the plastic or silicone surfaces, which not only ruin the appearance but also provide a breeding ground for bacteria and make future stains even harder to remove.

Community discussion
Share your experience or ask a question. Comments are reviewed before publication.