
Selecting the right lagayan ng milk for baby is one of the most practical decisions you will make as a breastfeeding parent. The ideal container must preserve the nutritional integrity of your expressed breast milk while fitting seamlessly into your daily household routine. In a tropical climate like the Philippines, where high humidity and ambient temperatures can accelerate bacterial growth, your choice of storage container directly impacts how safely and efficiently you can preserve your liquid gold.
Your storage strategy will depend on whether you are building a long-term freezer stash, preparing daily bottles for a caregiver, or managing a hybrid routine. The best container is one that matches your specific pump, fits your available refrigerator or freezer space, and aligns with your cleaning habits. By understanding the strengths and limitations of glass, plastic, silicone, and single-use bags, you can establish a safe, stress-free feeding system at home.
Key Factors When Selecting a Breast Milk Container
Safety begins with the chemical composition of the container. Any lagayan ng milk for baby must be constructed from food-grade materials that are certified free from Bisphenol A (BPA) and Bisphenol S (BPS). These chemicals can leach into milk, especially during heating or after repeated sterilization cycles. When shopping on online marketplaces or in local baby boutiques, always inspect the packaging for clear, third-party food safety certifications and explicit BPA-free labels.
Products mentioned in this guide
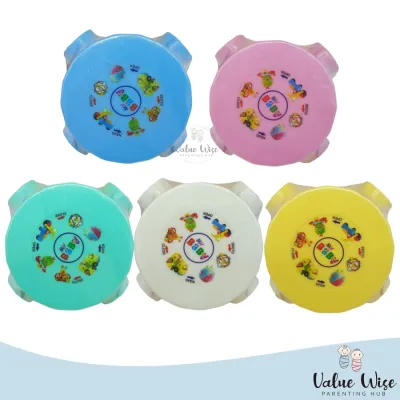
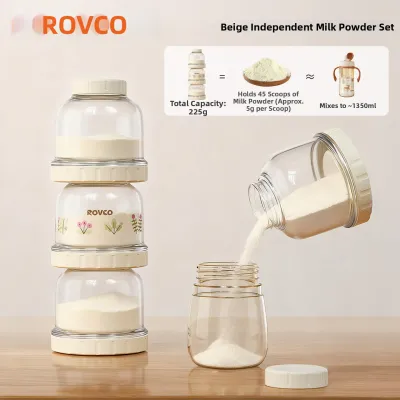
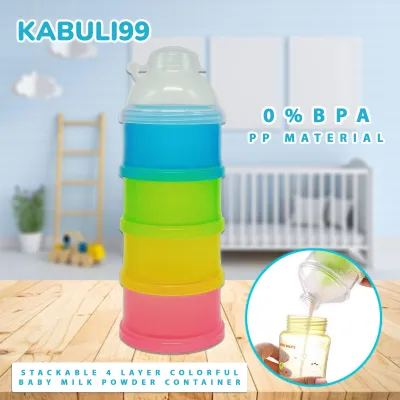
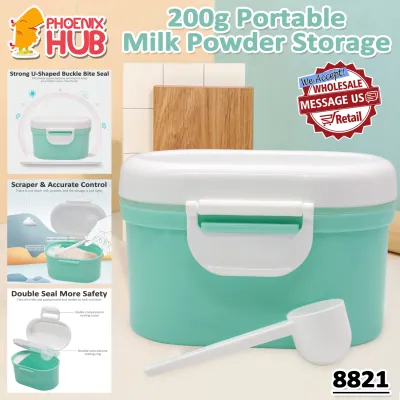
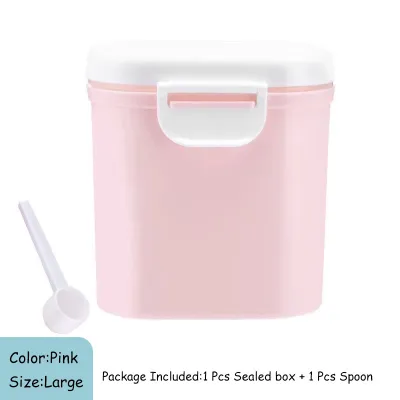
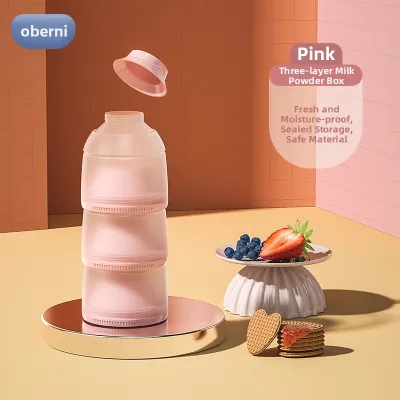
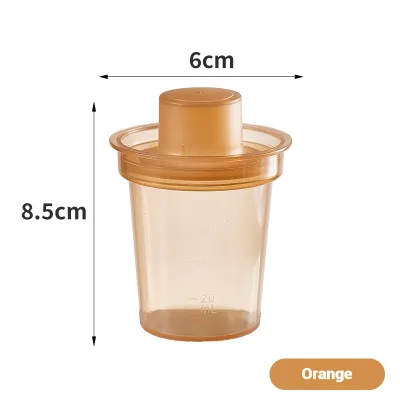
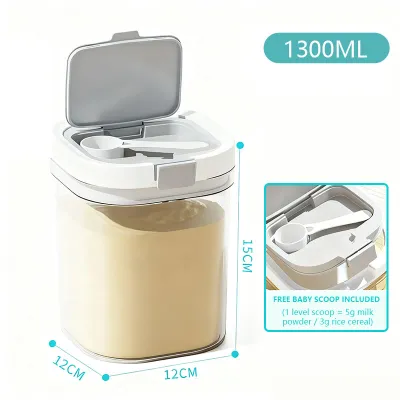
Prices are valid at publication and may change. Please refer to the product page for the latest price.
Compatibility with your existing feeding gear is another major factor that reduces daily stress. Many parents prefer containers that screw directly onto their breast pump flanges. This direct-pump setup minimizes milk transfer, which in turn reduces the risk of accidental spills and contamination. If your preferred storage bottle does not match your pump, look for secure, food-grade adapters that bridge the gap between different brands without leaking.
Structural integrity is vital when transitioning milk from room temperature to the refrigerator, and eventually to the deep freezer. Liquid expands as it freezes. A high-quality container must withstand this physical expansion without cracking, warping, or bursting at the seams. This is particularly crucial for materials stored in the freezer for several weeks or months, where temperature fluctuations can cause cheaper plastics or non-tempered glass to fail.
Finally, consider how easy the container is to clean and how accurately it measures volume. Wide-neck designs are generally easier to scrub with a bottle brush, leaving fewer hidden corners where milk residue can build up. Accurate, easy-to-read volume markings—molded directly into the material rather than printed on—ensure you can track your baby’s exact intake. Over time, printed ink markings can fade from frequent washing and sterilization, making molded measurements a more reliable long-term choice.
Comparing Common Breast Milk Storage Materials
Different materials interact uniquely with temperature changes, affecting how quickly milk freezes, thaws, and retains its quality. Choosing the right material involves balancing durability, safety, and convenience for your specific home setup.

Glass Bottles and Jars
Glass is widely regarded as the gold standard for chemical stability and longevity. Unlike plastic, high-quality glass does not scratch easily, meaning there are no microscopic crevices where bacteria or milk fat can cling after washing. Glass is also highly resistant to heat, allowing you to sterilize it repeatedly at high temperatures without worrying about material degradation or chemical leaching.
However, glass carries a distinct risk of breakage, especially when exposed to rapid temperature changes. To freeze breast milk safely in glass, you must use specialized, tempered freezer-safe glass jars and leave at least an inch of empty space at the top to accommodate expansion. Standard glass bottles can easily crack if filled to the brim and placed directly into a sub-zero freezer.
Additionally, glass is heavy and less portable than other materials. While excellent for organized home refrigeration, glass bottles may not be the most practical choice if you need to transport milk to a daycare or carry multiple containers in a diaper bag. The added weight and risk of shattering during transit make many parents reserve glass primarily for stationary home storage.
Plastic Bottles and Hard Cups
Plastic bottles and hard storage cups are popular for their lightweight design, shatterproof nature, and affordability. They are highly practical for building a large daily rotation of bottles, as they can survive accidental drops on hard kitchen tiles. Most plastic storage cups also come with secure, leak-proof screw caps that make them easy to stack in the refrigerator.
Despite their convenience, plastic containers require regular inspection. Over time, frequent scrubbing with bottle brushes can create micro-scratches on the inner walls of the plastic. These tiny scratches can harbor bacteria and milk fat residues that are difficult to sterilize completely. If you notice any cloudiness, deep scratches, or persistent odors in your plastic bottles, it is time to replace them.
Plastic is also prone to absorbing odors and can degrade after repeated exposure to high-heat sterilization. While convenient for daily feeding and short-term refrigeration, plastic containers generally have a shorter lifespan than glass or high-quality silicone, requiring parents to monitor their condition closely over months of continuous use.
Silicone Containers and Cups
Food-grade silicone has emerged as a highly flexible and durable alternative for modern breast milk storage. Silicone is naturally resistant to extreme temperatures, making it safe to transition directly from the freezer to a warm water bath. Its flexible nature allows parents to easily pop out frozen milk “pucks” or blocks, which can then be transferred to larger freezer bags to save space.
When choosing silicone containers, it is essential to verify that they are made from 100% food-grade silicone. Some cheaper options on online marketplaces may contain plastic fillers that compromise the material’s safety and flexibility. You can perform a simple twist test: if white lines appear when you twist the silicone, it likely contains fillers; pure food-grade silicone retains its solid color throughout the twist.
One minor drawback of silicone is its tendency to attract dust and lint due to static electricity. They must be stored in a clean, closed cabinet after drying. Additionally, silicone can sometimes retain a soapy smell or a slight milk odor if not washed promptly with a mild, fragrance-free dish soap designed specifically for baby items.
Pre-Sterilized Breast Milk Storage Bags
Single-use, pre-sterilized breast milk storage bags are the ultimate space-saving solution for building a large freezer stash. Because they are designed to lay completely flat while freezing, they occupy minimal space compared to bulky bottles. Most bags feature built-in write-on tabs, allowing you to clearly record the date, time, and volume of the expression for easy inventory management.
The primary risk associated with storage bags is physical damage. Thin plastic can suffer punctures from ice crystals or sharp edges in the freezer, leading to frustrating leaks during the thawing process. To minimize this risk, many parents place their filled bags inside a larger, hard-plastic container while freezing to protect the delicate seams from rubbing against other frozen items.
While highly convenient, single-use bags carry an ongoing recurring cost and a larger environmental footprint. To use them safely, always thaw the bag slowly in a warm water bath rather than using boiling water, which can weaken the plastic seams and cause the bag to burst, wasting your hard-earned milk.
Matching the Container to Your Pumping and Feeding Routine
Your daily routine and pumping frequency should dictate your container selection. If you are an exclusive pumper, you will likely need a high-volume, durable system. A combination of glass or high-quality plastic bottles for daily feeding, paired with reusable silicone cups or a structured rotation of storage bags, can keep your kitchen organized without overwhelming your dish rack.
For occasional pumpers who only need to store a few bottles a week, a small set of compatible plastic or glass bottles is often sufficient. You do not need to invest in bulk boxes of storage bags if your milk is consumed within a few days of expression. Instead, focus on containers that transition directly from your pump to the refrigerator, and then to your baby’s bottle nipple, to minimize clean-up.
Transitioning milk from storage to feeding requires careful handling to preserve its nutritional value. Breast milk naturally separates into a watery layer and a thick, fat-rich cream layer while standing. When transferring milk between containers, gently swirl—never shake—the bottle to reintegrate the fat layer. Shaking can break down the delicate protective proteins and immunoglobulins present in the milk.
Budget is another practical factor to weigh. Reusable glass, plastic, and silicone containers require a higher upfront investment but can be used for years, often transitioning into baby food storage cups later on. Single-use bags are inexpensive initially but represent a continuous recurring expense. Calculate your expected pumping duration to decide whether investing in a durable, reusable system is more cost-effective than buying boxes of disposable bags over several months.
Essential Safety, Cleaning, and Storage Practices
Maintaining strict hygiene when handling any lagayan ng milk for baby is crucial for protecting your infant’s developing immune system. Before cleaning your containers, always wash your hands thoroughly with soap and clean water. Disassemble all container parts, including collars, valves, and silicone seals, to ensure no milk residue remains trapped in the crevices.
Wash the containers in hot, soapy water using a dedicated basin and bottle brush reserved solely for baby feeding items. Avoid washing baby bottles directly in the kitchen sink, as the sink basin can harbor harmful household bacteria. After washing, rinse the parts thoroughly under running water and allow them to air dry completely on a clean, elevated drying rack in a well-ventilated area of your kitchen.
Labeling is a non-negotiable step for safe milk management. Every container placed in the refrigerator or freezer must be clearly marked with the date and time of expression, along with the volume. Always practice the “first in, first out” (FIFO) method, using the oldest stored milk first to ensure nothing expires. In a busy household, a simple dry-erase marker on glass or a piece of painter’s tape on plastic bottles works wonders for keeping track of dates.
When it comes to thawing and warming, safety and nutrient preservation are paramount. Never use a microwave to warm breast milk; microwaves heat unevenly, creating dangerous “hot spots” that can burn your baby’s mouth, and the intense heat can destroy beneficial antibodies. Instead, thaw frozen milk overnight in the refrigerator or place the container in a bowl of warm water. Once thawed, breast milk must be used within 24 hours if kept in the fridge, and any milk left over from a feeding session must be discarded after two hours to prevent bacterial growth.
Frequently Asked Questions (FAQ)
Can I mix freshly pumped milk with already refrigerated or frozen milk?
Yes, but you must follow strict temperature-matching rules to prevent bacterial growth. Never pour warm, freshly expressed breast milk directly into a container of already chilled or frozen milk. The warmth of the fresh milk can raise the temperature of the existing batch, creating an environment where bacteria can multiply rapidly or causing the frozen milk to partially thaw.
To combine batches safely, cool the freshly pumped milk in the refrigerator first until it reaches the same temperature as the previously chilled milk. Once both containers are equally cold, you can pour them into a single container. If you are adding chilled milk to a frozen batch, ensure the volume of chilled milk is small enough that it does not melt the frozen layer.
How long can breast milk safely stay in a standard home freezer?
In a standard home refrigerator-freezer compartment (where the freezer door is opened frequently), breast milk is best used within three to six months for optimal quality. If you are using a dedicated deep freezer that maintains a constant sub-zero temperature and is opened less frequently, the milk can be stored safely for up to twelve months.
Always consult your appliance manual to understand its temperature stability, and store your milk containers toward the back of the freezer rather than on the door shelves. The door is subject to constant temperature fluctuations every time the freezer is opened, which can compromise the safety and shelf life of your stored milk.
Do I need to sterilize breast milk storage containers every time?
For healthy, full-term infants who are older than two months, daily sterilization is generally not required. Thoroughly washing the containers with hot, soapy water or running them through a high-heat dishwasher cycle is sufficient for routine daily cleaning.
However, daily sterilization remains highly recommended if your baby was born prematurely, is under two months old, or has a weakened immune system. In these cases, sterilize all storage parts once a day using a steam sterilizer, boiling water for five minutes, or a microwave sterilizing bag, following the manufacturer’s instructions for your specific container material.

Community discussion
Share your experience or ask a question. Comments are reviewed before publication.