
Choosing the right adjustable push walker for your baby comes down to matching the handlebar height with your child’s natural standing posture. A well-fitted push walker allows your little one to stand tall with their feet flat on the floor, keeping their elbows slightly bent as they push forward. If the handlebar is too high, your baby will stretch or tiptoe, which can strain their shoulders and throw off their balance. If it is too low, they will hunch over, putting unnecessary pressure on their developing spine. By measuring your baby’s standing height and checking the manufacturer’s adjustment specifications, you can select a versatile gear option that supports healthy physical development and adapts to rapid growth spurts.
Why Proper Push Walker Height Matters for Posture and Safety
A baby’s physical development during their first year is incredibly rapid, and their bones and muscles are highly malleable. When introducing a push walker, the height of the handlebar directly dictates how your baby distributes their weight and aligns their body. If the handlebar is set too high, your baby is forced to reach upward, often causing them to walk on their tiptoes. This tiptoeing posture can tighten the calf muscles and limit the natural heel-to-toe walking pattern that is crucial for long-term gait development.
Conversely, a handlebar that is too low forces the baby to hunch forward, shifting their center of gravity too far front. This forward lean increases the risk of face-forward falls, especially if the walker rolls faster than the baby can step. A hunched posture also compresses the chest and restricts natural breathing patterns during active play.
Products mentioned in this guide
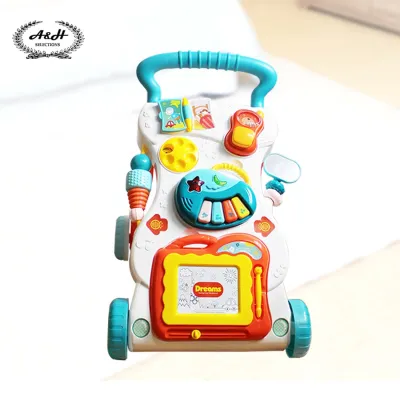

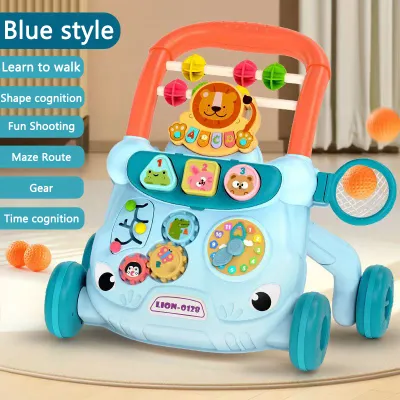
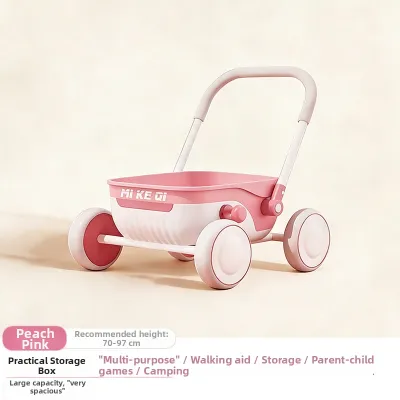
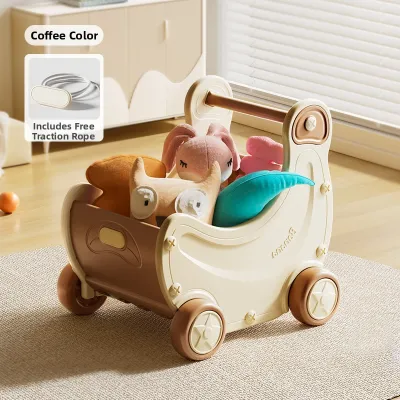
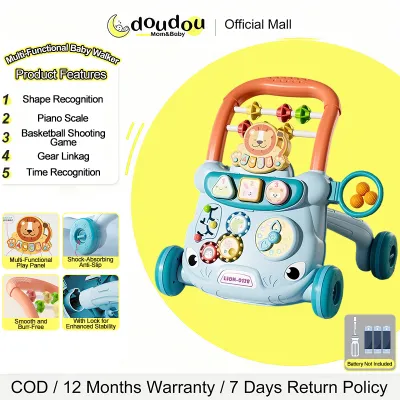
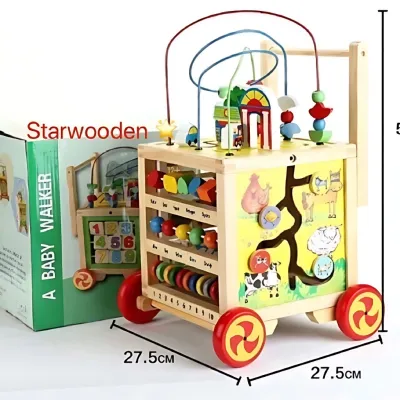
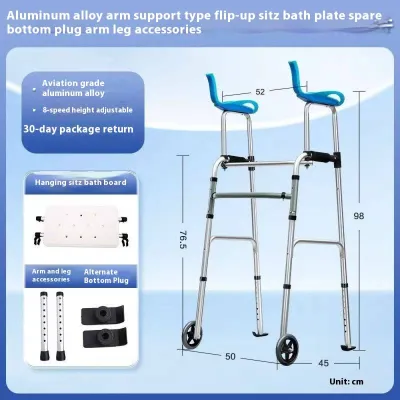
Prices are valid at publication and may change. Please refer to the product page for the latest price.
Proper physical alignment ensures that your baby’s weight is evenly distributed through their feet, promoting a natural gait and helping them build balance. When the walker is adjusted to the correct height, your baby can maintain an upright posture, engage their core muscles, and practice the natural mechanics of walking. This alignment also allows them to push the toy with controlled force rather than relying on their body weight to shove it forward, which can lead to runaway wheels and sudden slips.
In homes with smooth, polished flooring like ceramic tiles or varnished wood, maintaining a proper center of gravity is even more critical. A baby who is balanced correctly is less likely to slip when transitioning between different floor surfaces. When the walker fits perfectly, the baby feels secure, which builds their confidence and encourages them to take more independent steps.
Because babies experience sudden growth spurts, a fixed-height walker can quickly become unsuitable or even uncomfortable. Adjustable features on a push walker allow you to raise the handlebar incrementally as your baby grows, ensuring that the toy remains a safe and supportive developmental tool over several months. This adaptability means you do not have to constantly replace the gear, providing a consistent and familiar support system as your child refines their motor skills.
How to Measure Your Baby for the Ideal Walker Height
To find the perfect fit, you need to measure your baby’s physical dimensions rather than relying solely on age recommendations. Start by measuring your baby’s standing height while they are supported. Have another caregiver gently hold your baby in a standing position on a flat, even surface, ensuring their feet are flat on the ground. Use a soft measuring tape to measure from the floor up to their elbows when their arms are bent at a comfortable, natural angle of about fifteen to thirty degrees.

This elbow-to-floor measurement represents the ideal handlebar height for your baby’s current developmental stage. Measuring a wiggly baby can be challenging, so it helps to have a second person distract them with a favorite toy or song while you take the measurement. You can also make a light pencil mark on a wall or door frame aligned with their elbow and measure that distance afterward.
Once you have this measurement, compare it against the minimum and maximum height ranges listed on the product label, packaging, or manufacturer’s manual. Many adjustable push walkers specify the handlebar height range in their product descriptions. Ensuring your baby’s elbow-to-floor measurement falls comfortably within the middle of the walker’s adjustable range gives you room to adjust the height both downward for immediate use and upward as your baby grows.
Do not forget to account for everyday variables that can affect your baby’s effective standing height. In tropical climates, babies often play indoors barefoot or in light socks, but they might wear shoes when practicing outdoors or visiting family. Thick-soled baby shoes or even bulky cloth diapers can slightly alter their standing height and posture.
Take measurements while your baby is dressed in the typical clothing and footwear they will wear while using the walker to ensure the most accurate real-world fit. If your baby usually plays barefoot on indoor mats, measure them barefoot. If they wear soft-soled booties for outdoor play, keep those on during the measurement process to avoid an incorrect setup.
What to Look for in an Adjustable Push Walker's Design
When shopping for an adjustable push walker, pay close attention to the mechanical design of the adjustment features. Look for walkers that utilize secure, reliable mechanisms such as push-button locking pins, telescopic legs, or modular add-on blocks. Push-button pins should click firmly into pre-drilled holes on the frame, ensuring that the handlebar cannot suddenly slide down when your baby leans their weight on it.
Telescopic legs should have robust locking collars that resist slipping even under pressure. If you are considering a wooden push walker, look for models that use sturdy wooden pegs or modular panels that screw tightly into the frame. Avoid designs that rely solely on friction-based clamps, as these can loosen over time with repeated use and high humidity.
It is also helpful to check for clear, easy-to-read height markers or alignment indicators printed directly on the walker’s frame. These markings help you ensure that both sides of the walker are adjusted to the exact same level. Uneven adjustments can cause the walker to tilt or veer to one side, which compromises stability and can lead to uneven weight distribution for your baby. Symmetrical adjustments are essential for keeping the walker moving in a straight, predictable path.
Beyond the height adjustment mechanism, evaluate the overall stability and safety features of the walker’s design. A wide, weighted base prevents the walker from tipping backward when your baby pulls themselves up using the handlebar. Look for anti-slip handle grips that provide a secure hold, especially in warm, humid conditions where little hands can get sweaty.
Additionally, adjustable wheel resistance controls or friction strips on the wheels are highly beneficial. These mechanisms allow you to slow down the walker’s movement to match your baby’s walking pace, preventing the toy from rolling away from them on smooth indoor floors. Some models feature rubber-rimmed wheels that provide excellent traction on tiles and wooden floors, reducing the risk of sudden slips.
How to Adjust and Test the Walker for a Perfect Fit
Before letting your baby use the push walker, set it up and perform a manual adjustment based on your measurements. Refer to the manufacturer’s instruction manual to locate the adjustment points. Slide or click the handlebar to the setting that matches your baby’s measured elbow-to-floor height. Ensure that the locking mechanisms on both sides are fully engaged and that there is no wobbling or play in the frame.
Once adjusted, conduct a supervised test push with your baby in a spacious, clutter-free area. Place your baby’s hands on the handlebar and observe their posture closely. Their feet should be completely flat on the floor, not resting on their toes or flexing awkwardly. Their back should be straight, and their shoulders should be relaxed, not hunched up toward their ears.
Their elbows should have a slight, comfortable bend, allowing them to push forward using their leg and core muscles rather than straining their upper body. If you notice your baby leaning too far forward or struggling to keep up with the walker, the handlebar may be too low, or the wheel resistance may need to be increased. If they are reaching upward and walking on their toes, lower the handlebar by one setting.
Finally, double-check the security of the adjustment mechanism before every play session. Press down firmly on the handlebar with your own hands to verify that the locks hold secure under weight. In homes with tiled or smooth wooden floors, ensure the wheels have adequate traction and that any resistance settings are properly dialed in.
If the walker slides too easily on smooth surfaces, consider placing it on a play mat or carpeted area to provide more grip and stability during the initial learning phase. Regularly testing the walker’s fit ensures that it continues to support your baby’s development safely as they grow taller and stronger.
Safety Boundaries and When to Transition Away from the Walker
While an adjustable push walker is a fantastic tool for encouraging mobility, it has clear safety boundaries. Always check the manufacturer’s documentation for the specific maximum height and weight limits of your model. Once your baby reaches these limits, stop using the walker immediately. Using a walker beyond its engineered capacity can compromise its structural integrity, making it prone to tipping, cracking, or mechanical failure.
Keep a close eye on your baby’s behavior as they grow more confident and active. Some babies may begin to use the walker in unintended ways, such as trying to climb onto the toy tray, pushing it at high speeds, or using the frame to pull themselves up onto higher furniture. If your baby starts lifting the front wheels off the ground or shows a tendency to run and crash into walls, it is a clear sign that they have outgrown the developmental purpose of the walker.
At this stage, they require more open, unassisted space to practice their balance and coordination. Continuing to use the walker when they no longer need it can actually hinder their balance development, as they may rely on the frame for support rather than using their own core muscles to stay upright.
Regularly inspect the walker’s frame, wheels, and adjustment locks for any signs of wear, loose screws, or plastic fatigue. If you notice that the locking pins do not click securely, the handlebar slips during use, or any part of the frame is cracked, discontinue use immediately. Do not attempt temporary home repairs on critical structural parts; instead, consult the manufacturer’s customer service or refer to their official guidelines for replacement parts or repair instructions to ensure your baby’s safety is never compromised.
Frequently Asked Questions (FAQ)
At what developmental stage should my baby start using a push walker?
Your baby is generally ready to use a push walker when they can sit up independently without support and are beginning to pull themselves up to a standing position using furniture. These milestones indicate that your baby has developed the core strength, back muscle control, and leg stability necessary to bear their own weight and guide a moving toy. Introducing a push walker before your baby can stand or support their own weight can lead to poor posture, frustration, and an increased risk of falls. Always cross-reference your baby’s physical readiness with the manufacturer’s recommended age and weight guidelines printed on the packaging to ensure a safe and positive experience.
Is a push walker the same as a traditional sit-in baby walker?
No, push walkers and traditional sit-in baby walkers are structurally and developmentally very different. A traditional sit-in walker features a suspended fabric seat inside a wheeled frame, allowing a baby to sit and scoot around using their toes before they are physically ready to stand. Pediatric guidelines and health organizations generally discourage the use of sit-in walkers due to significant safety hazards, such as tipping over stairs, and because they can encourage abnormal walking patterns like tiptoeing. In contrast, a push walker requires the baby to actively stand, bear their own weight, engage their core, and balance themselves as they push the toy forward, which supports natural motor development and healthy walking mechanics.

Community discussion
Share your experience or ask a question. Comments are reviewed before publication.