
Selecting the right storage for your baby’s first solid foods is a crucial step in your weaning journey. In the Philippines, where tropical heat and high humidity can accelerate food spoilage and mold growth, finding a safe, durable, and hygienic storage solution is essential. Glass containers have emerged as a premier choice for parents who prepare homemade purees, mashed vegetables, and baby rice broths (lugaw).
When transitioning your baby to solids around the six-month mark, you want to ensure that the nutrient-rich meals you prepare remain fresh and free from chemical contamination. Glass containers provide an excellent barrier against environmental factors, keeping homemade baby food safe from the moment it is prepared to the moment it is served. By understanding the unique benefits of glass and knowing what features to look for, you can make an informed decision that fits your daily routine and budget.
Why Glass is a Preferred Choice for Baby Food Storage
Glass is naturally non-porous, which means it does not absorb food colors, oils, or stubborn odors. When preparing local Filipino staples like pureed squash (kalabasa), carrots, or sweet potatoes (kamote), plastic containers often end up permanently stained and retaining a distinct vegetable smell. Glass remains perfectly clear and odor-free regardless of how many times you store vibrant, highly pigmented foods in it.
Products mentioned in this guide
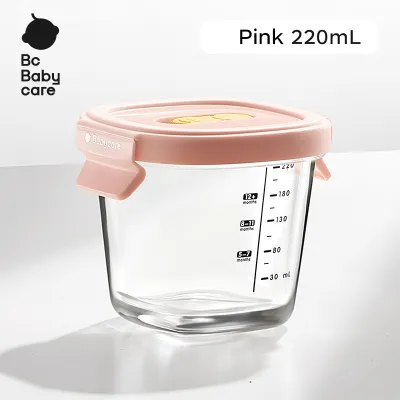
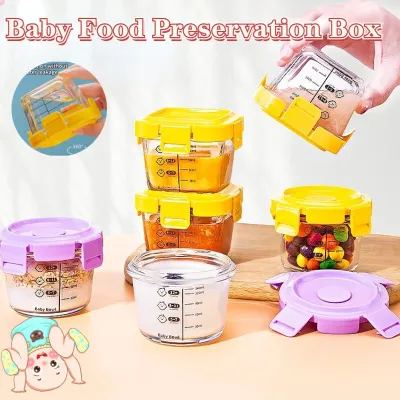
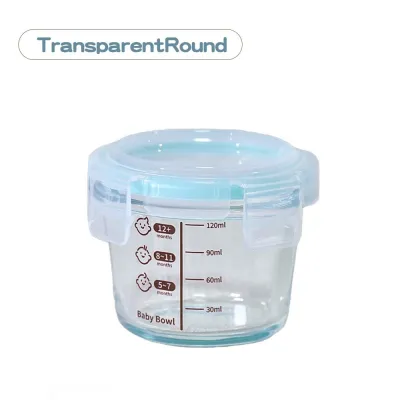
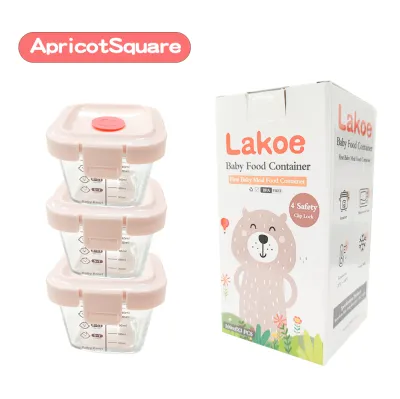
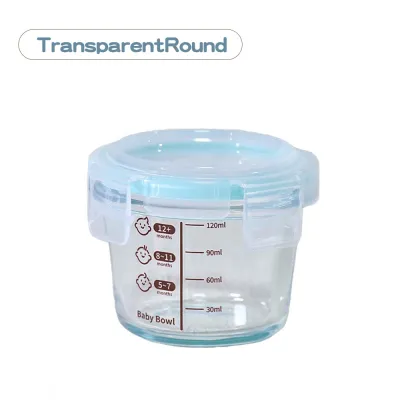
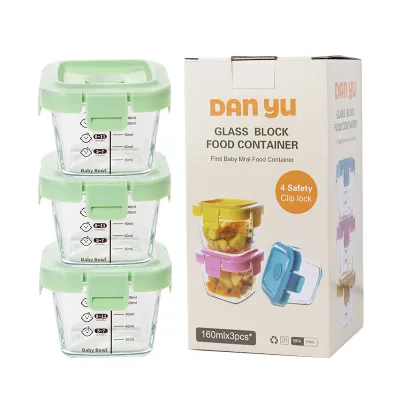
Prices are valid at publication and may change. Please refer to the product page for the latest price.
Another significant advantage of glass is the complete absence of chemical leaching risks. High-quality glass containers do not contain bisphenol A (BPA), phthalates, lead, or PVC. Unlike plastic, which can degrade over time and potentially shed microplastics when subjected to high heat, glass maintains its structural integrity. This chemical stability gives parents peace of mind when heating purees for their little ones.
Furthermore, glass offers exceptional temperature tolerance, allowing you to transition meals seamlessly from the freezer to reheating appliances. It can withstand the cold environment of a freezer and the heat of a bottle warmer, microwave, or steamer without warping or releasing harmful substances. This durability makes glass a highly sustainable, long-term investment for your growing family.
Key Features to Evaluate When Buying Glass Baby Food Containers
When shopping for baby food glass containers, the lid design and seal quality should be your top priorities. In a tropical climate, an airtight seal is vital to prevent ants, moisture, and freezer odors from compromising the food. Look for lids equipped with food-grade silicone gaskets that create a hermetic seal, keeping the contents fresh and preventing accidental leaks during travel.

Portion sizes change rapidly during your baby’s first year, making container capacity a key decision factor. For early weaning stages, containers ranging from 60ml to 120ml (2 to 4 ounces) are ideal for single-serving purees. As your baby’s appetite grows, you will need larger sizes, such as 150ml to 240ml, to accommodate textured meals, grains, and proteins.
Always verify the manufacturer’s safety labels to ensure the glass is rated for your intended use. Look for explicit symbols indicating freezer, microwave, dishwasher, and sterilizer safety. Some glass containers are designed strictly for refrigeration and may crack if subjected to freezing temperatures or intense heat sterilization.
Finally, consider the storage footprint and stackability of the containers. Space in standard Philippine household freezers can be limited, so choosing square or rectangular containers with recessed lids will help you maximize vertical space. Securely stackable designs prevent the jars from slipping and breaking when you open the freezer door.
Matching Container Types to Your Feeding Routine
Different stages of the solid food journey require different container styles to keep meal preparation efficient. Choosing the right shape and size depends on whether you prefer daily cooking, batch freezing, or feeding on the go.
Small Jars with Screw-On Lids
Small glass jars with screw-on lids are highly practical for the initial stages of weaning when your baby consumes only a few spoonfuls per meal. These compact jars, usually holding 60ml to 90ml, allow you to portion out exact daily servings without wasting food. Their small size makes them incredibly easy to pack into a diaper bag for trips to the grandparents’ house or daycare.
However, these small jars have a limited lifespan for direct feeding as your baby’s appetite expands. Once your child transitions to larger portions, these jars can be repurposed for storing small snacks, spices, or homemade sauces. Their screw-on lids are generally easy to open and close, though you must ensure the threads are kept clean to maintain a tight seal.
Compartmentalized Glass Bento Boxes
As your baby reaches 9 to 12 months and begins exploring finger foods and varied textures, compartmentalized glass bento boxes become incredibly useful. These containers feature divided sections that allow you to serve a balanced meal—such as a starch, a protein, and a soft vegetable—without the components mixing together. This separation helps babies learn to distinguish different flavors and textures individually.
Divided glass containers are also excellent for preventing cross-contamination of flavors, which is helpful for picky eaters. They are highly durable and suitable for older infants who are transitioning to self-feeding. Because they are larger and heavier, these containers are best kept on the high chair tray or dining table under close caregiver supervision.
Wide-Mouth Jars for Batch Freezing
For busy parents who prefer to prepare a week’s worth of baby food over the weekend, wide-mouth glass jars are the ultimate tool. The wide opening makes it incredibly easy to spoon freshly blended purees into the jars without creating a mess. It also allows for effortless cleaning, as a standard bottle brush or sponge can easily reach the bottom corners.
When using wide-mouth jars for freezing, it is crucial to pay attention to the fill line. Liquids and purees expand as they freeze, so leaving sufficient headspace is necessary to prevent the glass from cracking. These jars are highly versatile and can transition to storing toddler snacks like yogurt, fruit slices, or oatmeal as your child grows.
Safety Checks and Manufacturer Labels to Verify Before Use
Before purchasing any glass baby food container, read the packaging carefully to identify the specific type of glass used. Borosilicate glass is highly recommended for baby food because of its superior resistance to thermal shock, meaning it can handle rapid temperature changes without shattering. Tempered soda-lime glass is another durable option that is highly resistant to physical impacts and drops.
Inspect the lid materials to ensure they are certified food-grade and free from harmful chemicals. If the lids feature removable silicone rings, verify that they can be easily detached for thorough cleaning. In humid environments, moisture can easily get trapped under the silicone seal, leading to mold growth if not washed and dried regularly.
Check for explicit thermal shock warnings provided by the manufacturer. Even high-quality borosilicate glass has limits, so look for instructions regarding the maximum temperature differential the container can withstand. Knowing these limits prevents dangerous accidents when heating frozen meals.
Lastly, check for any age-appropriate usage guidelines and choking hazard warnings. Some containers feature small detachable parts, such as air vents or decorative lid clips, which must be kept away from infants. Always supervise your child during mealtime and keep glass containers out of their direct reach to prevent accidental drops and breakage.
Best Practices for Freezing, Reheating, and Cleaning Glass Containers
To ensure the safety of your baby’s food and extend the lifespan of your glass containers, proper handling is essential. When freezing purees or broths, always leave at least 1.5 to 2 centimeters of empty space at the top of the container. This headspace accommodates the natural expansion of water-based foods as they freeze, preventing the glass from experiencing internal pressure and cracking.
When it is time to reheat the food, avoid exposing the cold glass to sudden, extreme heat. The safest method is to transfer the frozen container to the refrigerator the night before to let it thaw gradually. If you need to reheat it quickly, place the container in a bowl of lukewarm water first, or use a bottle warmer on a low, gentle heating setting.
Cleaning your glass containers thoroughly is vital to protect your baby’s developing immune system. Wash the containers and lids with a mild, baby-safe dishwashing liquid and a soft sponge. Avoid using abrasive steel wool or harsh scrubbing pads, as these can create microscopic scratches on the glass surface where bacteria can accumulate.
After washing, sanitize the glass containers using a steam sterilizer, boiling water, or a UV sterilizer, provided the manufacturer explicitly states the product is sterilizer-safe. Ensure all components, especially the silicone gaskets and lid crevices, are completely dry before assembling and storing them. Proper drying prevents the growth of mold and mildew, keeping your baby’s food storage system perfectly hygienic.
Frequently Asked Questions (FAQ)
Can I transfer glass baby food containers directly from the freezer to the microwave?
It is highly discouraged to transfer glass containers directly from the freezer to a hot microwave, even if they are made of borosilicate glass. Extreme and sudden temperature changes cause thermal shock, which can create micro-cracks or cause the glass to shatter instantly. To heat frozen baby food safely, always thaw the container in the refrigerator first, or place it in a bowl of lukewarm water to gradually raise its temperature before microwaving.
How do I remove lingering smells from glass container lids?
While glass itself does not retain odors, the silicone gaskets and plastic lids can sometimes hold onto strong food smells. To deodorize them, create a paste using baking soda and warm water, apply it to the lids, and let it sit for about 30 minutes before rinsing. Alternatively, you can soak the lids in a mixture of equal parts warm water and white vinegar for 15 minutes, followed by a thorough wash with baby-safe dishwashing soap and complete air-drying in a well-ventilated area.
Are silicone lids better than plastic lids for baby food jars?
Both materials have distinct advantages depending on your daily needs. Silicone lids are highly flexible, exceptionally durable, and can withstand high sterilization temperatures in boiling water or steam sterilizers without warping. They also provide an excellent, airtight grip on glass rims. Plastic lids, provided they are certified BPA-free, are rigid and often feature snap-locking mechanisms that are highly secure for travel, though they can become brittle over time with repeated freezing and heating.

Community discussion
Share your experience or ask a question. Comments are reviewed before publication.