
To protect your baby’s delicate skin from the discomfort of diaper rash, applying Sudocrem—often searched for as Sudo cream—requires a precise balance of cleanliness, dryness, and correct thickness. The core secret to using this zinc oxide-based barrier cream effectively is to apply a very thin, translucent layer for daily prevention, and a slightly thicker, opaque layer to soothe active redness. Most importantly, the skin must be completely clean and dry before application; trapping even a small amount of moisture beneath this heavy barrier can worsen irritation, especially in hot and humid tropical climates.
By mastering the proper application technique, you can create an optimal moisture barrier that shields your baby’s skin from urine, feces, and friction. This guide walks you through the essential steps to prepare the skin, apply the cream correctly, and avoid common diapering mistakes.
Understanding the Role of Barrier Creams in Diaper Care
Zinc oxide-based barrier creams are specifically formulated to act as a physical shield between your baby’s skin and the harsh environment inside a diaper. When urine and feces break down, they release ammonia and other enzymes that irritate the skin’s natural outer layer. A high-quality barrier cream sits on top of the skin, blocking these fluids from making direct contact with the epidermis and reducing the friction caused by the constant movement of the diaper.
Products mentioned in this guide
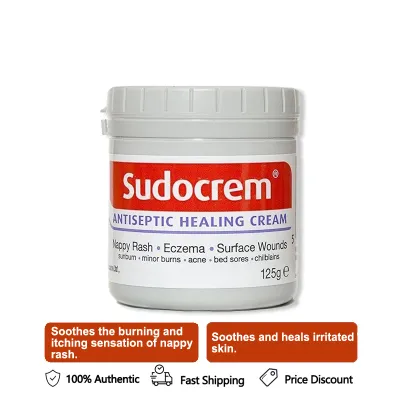
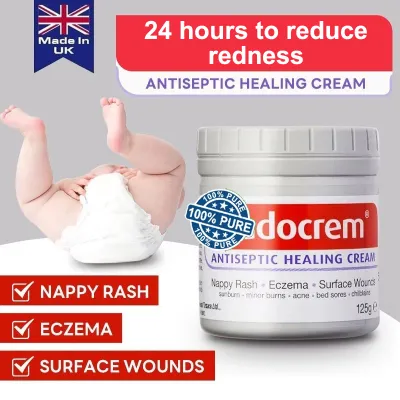
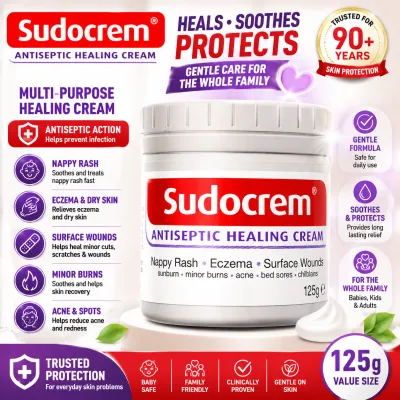
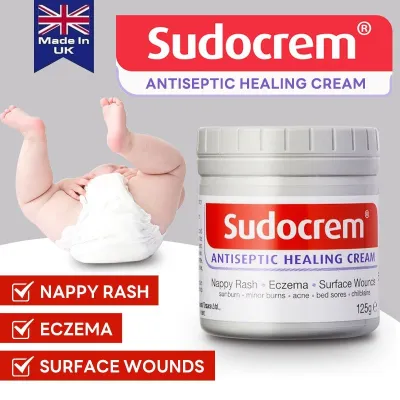

Prices are valid at publication and may change. Please refer to the product page for the latest price.
There is a distinct difference between using a barrier cream for daily prevention and using it to soothe existing redness. For daily prevention, the goal is to maintain a healthy skin barrier by applying a microscopic shield that keeps moisture out while allowing the skin to breathe. When treating active redness, the cream acts as a protective bandage, giving the inflamed skin a quiet, dry environment underneath to heal itself without further irritation from wetness.
While many parents search for “Sudo cream” when looking for solutions, it is vital to remember that not all barrier creams are identical. Always verify the official product label for specific age recommendations, weight limits, or ingredient warnings. Some formulations contain added fragrances, preservatives, or active ingredients like benzyl alcohol, which may require extra caution if your baby has extremely sensitive skin or pre-existing allergies.
In tropical environments, the challenges of diaper care are amplified by constant heat and high humidity. Sweat can accumulate quickly under a diaper, mixing with urine to create an even more alkaline environment that breaks down the skin barrier rapidly. Understanding how your chosen barrier cream interacts with these environmental factors is the first step toward keeping your baby comfortable and rash-free.
Preparation: Getting the Skin Ready
Before you even open your tub of barrier cream, preparing the skin is the most critical phase of the diaper change. Applying any heavy cream over skin that is not thoroughly clean will simply trap bacteria, sweat, and residual urine against your baby’s body. Start by gently cleaning the diaper area using lukewarm water and a soft washcloth, or opt for high-quality, fragrance-free baby wipes designed for sensitive skin.

In tropical climates like the Philippines, heat and humidity make the skin highly prone to sweat rash and fungal infections. Avoid harsh scrubbing, which can create micro-tears in the skin and exacerbate redness. Instead, use gentle wiping motions from front to back, ensuring that you clean all the tiny folds of skin around the thighs and groin where moisture tends to pool.
Once the skin is clean, it must be dried completely. Pat the area gently with a clean, dry, soft cotton cloth, or let your baby enjoy some diaper-free air time for a few minutes. Never apply barrier cream to damp skin, as the cream is designed to repel water; if water is already on the skin, the cream will trap that moisture directly against the cells, leading to maceration and worsening the rash.
Before proceeding to application, perform a quick visual check of the diaper area. Look closely for any signs of broken skin, bleeding, weeping blisters, or severe raw patches. If you notice these severe symptoms, stop immediately and consult a healthcare professional, as applying a standard barrier cream over open wounds can trap deep-seated infections or cause intense stinging.
Taking those extra few minutes to ensure the skin is bone-dry makes a massive difference in how well the barrier cream performs. In humid weather, air-drying is highly recommended because towel-drying can sometimes leave microscopic droplets of moisture behind in the deep skin folds. Allowing the skin to breathe naturally also helps cool down the diaper area, reducing the immediate production of sweat before the new diaper is put on.
Step-by-Step Application Technique
To apply the cream safely and hygienically, start by washing your own hands thoroughly with soap and warm water. Caregivers often overlook this step, but dirty hands can easily introduce new bacteria to an already compromised diaper area. Keep a clean towel nearby so your hands are completely dry before you touch the cream or your baby.
Open the container and scoop out a very small amount of cream using your fingertip. Because zinc oxide creams can be quite thick and firm, especially when stored in cool rooms, place the cream on your fingertips and gently rub them together for a few seconds. This simple step warms the product, softening its texture and making it significantly easier to spread smoothly over your baby’s delicate skin without needing to apply pressure.
Using gentle, sweeping motions, glide your finger over the areas prone to redness. Avoid rubbing, dabbing, or massaging the cream into the skin as if it were a standard moisturizing lotion. Barrier creams are meant to sit on top of the skin rather than absorb completely into it, so your motions should focus on laying down an even, protective coat.
Pay close attention to the high-friction zones where moisture and rubbing naturally accumulate. This includes the deep creases of the thighs, the folds of the groin, and the areas where the diaper’s elastic edges touch the skin. Ensure these crevices receive adequate coverage, but keep the application smooth and even to prevent the cream from clumping together in the folds.
If your baby is particularly active or squirmy during diaper changes, try to keep one hand gently securing their ankles while using your dominant hand to apply the cream. This prevents them from kicking their feet into the cream and spreading it onto their clothes or bedding. Keeping a small toy nearby to distract them can also make the process much smoother and faster for both of you.
Once you have finished applying the cream, secure the clean diaper, ensuring it is snug but not overly tight. Wash your hands thoroughly once more to remove the sticky zinc oxide residue from your fingers. This prevents you from accidentally transferring the white cream onto your baby’s clothes, toys, or other household surfaces.
Determining the Right Thickness: Prevention vs. Treatment
Gauging the correct amount of cream to use is one of the most common challenges for parents. For daily prevention when your baby’s skin is healthy and clear, you only need a tiny, pea-sized amount. Spread this thinly across the entire diaper area until it forms a translucent, barely visible glaze; you should still easily see the natural skin tone underneath.
If you are actively treating a rash or noticeable redness, you will need to adjust your approach to create a more robust shield. In this scenario, apply a thicker, more opaque layer of cream that completely covers the red areas, resembling a thin coat of frosting on a cake. This thicker layer ensures that urine and feces cannot penetrate through to the inflamed skin during the hours between diaper changes.
However, it is crucial to avoid the temptation to over-apply the cream. Slathering on a massive, thick white paste does not provide extra healing power; instead, it creates a heavy buildup that is incredibly difficult to clean off during the next diaper change. This excess buildup can also clog the pores of the skin, reduce the breathability of the diaper, and prevent air from circulating, which is essential for natural healing.
A good rule of thumb is that if you can still see the skin texture through the cream during a preventative application, you have used the right amount. For treatment, the red skin should be fully covered, but the layer should still feel smooth and uniform rather than clumpy or cakey. Finding this balance ensures the skin remains protected without becoming suffocated under an unnecessarily heavy layer of product.
Common Application Mistakes to Avoid
One of the most frequent mistakes caregivers make is applying barrier cream over skin that is still slightly damp from a bath or a wet wipe. Because zinc oxide is highly hydrophobic, it locks in whatever is underneath it; trapping moisture in a warm, dark diaper environment creates the perfect breeding ground for yeast and bacteria. Always double-check that the skin is bone-dry before application.
Another common error is scrubbing the skin too harshly when trying to remove leftover cream during a diaper change. If you see clean, white residue from the previous application that is not soiled with feces, there is no need to scrub it off. Aggressive rubbing strips away the skin’s natural protective barrier and can turn a mild redness into a painful, raw diaper rash.
Finally, never apply barrier creams to open wounds, deep skin fissures, or suspected fungal infections without explicit medical guidance. Fungal rashes, often caused by Candida, thrive under heavy, occlusive barriers and require specific antifungal treatments. Applying a standard barrier cream over a fungal infection can trap the yeast and make the infection spread rapidly across the groin and abdomen.
Additionally, avoid using expired products or storing your cream in direct sunlight or high-heat areas, such as inside a hot car or near a sunny window. Extreme heat can cause the ingredients in the cream to separate, reducing its effectiveness and making it difficult to apply evenly. Keep the container tightly closed and stored in a cool, dry place out of reach of children.
When to Stop and Seek Professional Advice
While proper application of barrier creams can resolve mild diaper redness within a few days, you must know when to stop home treatment and seek professional medical advice. If your baby’s diaper rash does not show noticeable improvement after two to three days of consistent, correct application, it is time to consult a pediatrician.
Keep a close eye out for signs of a secondary infection or a fungal rash. These signs include bright red, raised bumps, small “satellite” spots spreading outward from the main rash, pus-filled blisters, or skin that feels unusually hot to the touch. If your baby develops a fever, becomes unusually irritable, or cries in pain when the diaper area is touched, seek medical attention immediately.
Additionally, always consult your healthcare provider before combining a zinc oxide barrier cream with other medicated ointments, steroid creams, or baby powders. Mixing different products without professional guidance can cause adverse chemical reactions, reduce the effectiveness of prescription treatments, or pose inhalation risks to your baby in the case of loose powders.
Your pediatrician can help identify the exact cause of the persistent rash and prescribe targeted treatments, such as mild topical steroids or antifungal creams, if necessary. Remember that a barrier cream is a protective shield, not a cure-all for every type of skin irritation, and professional guidance is always the safest path when in doubt.
Frequently Asked Questions (FAQ)
Do I need to remove all the cream during every diaper change?
No, you do not need to scrub away every trace of clean, leftover barrier cream during a routine diaper change. If the remaining cream is clean and has not been soiled by feces, simply wipe away the top layer gently along with any urine or dirt. Leaving a clean, intact base layer of cream minimizes friction on your baby’s skin and prevents the irritation that comes from constant rubbing and washing.
Is it safe to use this cream with cloth diapers?
Thick, zinc oxide-based creams can pose challenges for cloth diapers because the water-repellent ingredients can coat the fabric fibers, clogging the pores and drastically reducing the diaper’s absorbency over time. If you prefer using cloth diapers, always check the manufacturer’s care guidelines and warranty conditions first. To protect your cloth diapers while still caring for your baby’s skin, consider using a flushable or washable diaper liner as a protective barrier between the cream and the fabric.

Community discussion
Share your experience or ask a question. Comments are reviewed before publication.