
Selecting the right milk storage container for outings requires balancing temperature control, leak prevention, and diaper bag space. Whether you are heading out for a quick stroll or preparing for a full-day family trip, your choice of container directly impacts how fresh your baby’s milk remains. The ideal setup depends on whether you are transporting expressed breast milk or pre-measured formula, as well as the environmental conditions of your journey.
By understanding the strengths and limitations of different storage designs, you can build a reliable travel feeding system. This guide outlines the essential features to evaluate, compares the most common container formats, and provides practical tips for maintaining milk quality while on the go.
Key Features to Look for in a Portable Milk Container
When evaluating options for travel, several design elements dictate how well a container performs inside a busy diaper bag. The foremost priority is a reliable leak-proof mechanism. To verify seal integrity before purchasing, look for containers with reinforced double-zipper tracks if choosing disposable bags, or deep-threaded lids with secure silicone gaskets if opting for rigid bottles. A quick physical inspection of the lid’s alignment can prevent unexpected spills that ruin other diaper bag essentials.
Products mentioned in this guide
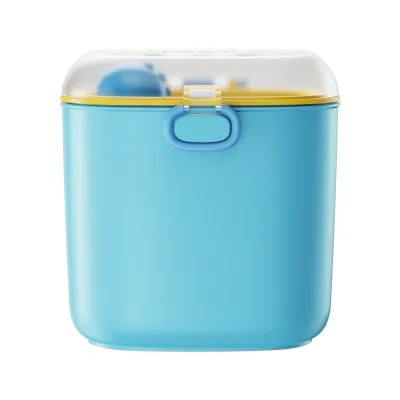
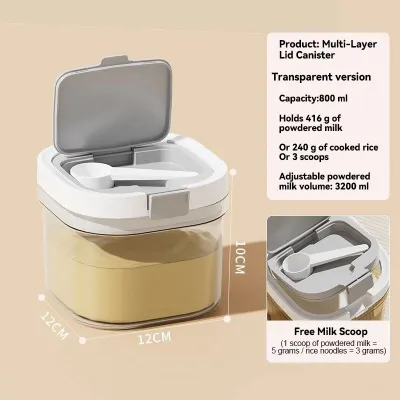
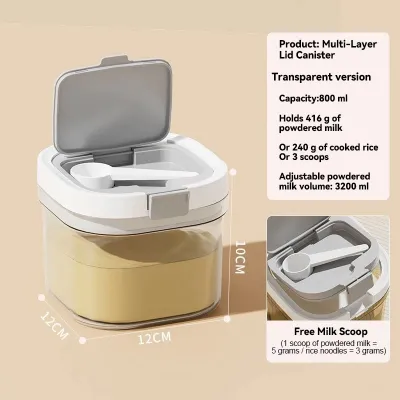
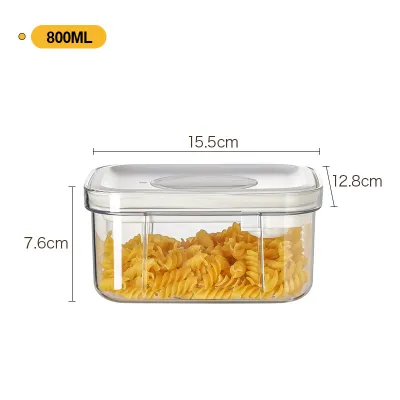
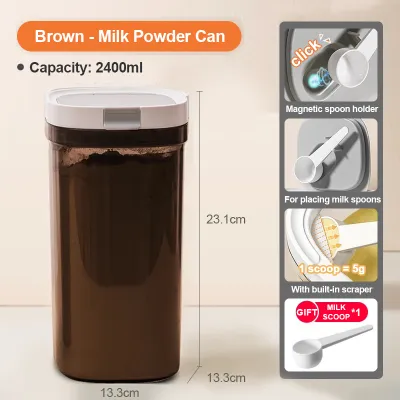
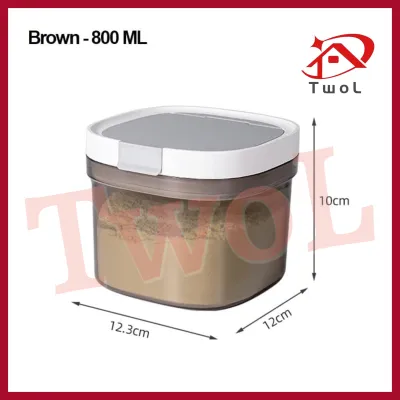
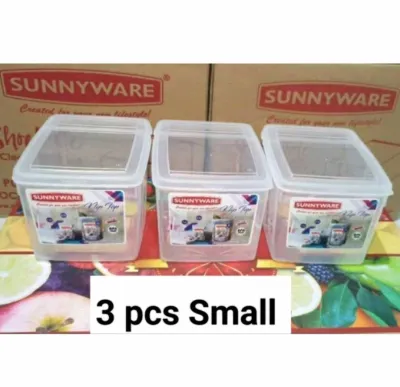
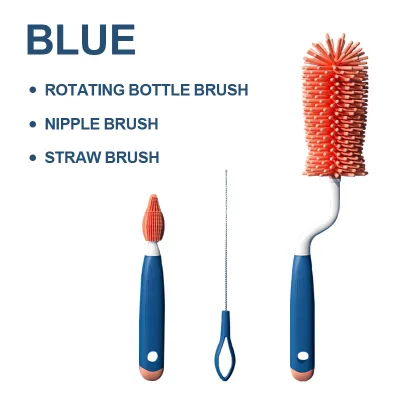
Prices are valid at publication and may change. Please refer to the product page for the latest price.
Insulation capability is another critical factor, especially when traveling through varying temperatures. While some containers feature double-walled vacuum insulation, others rely on external cooler bags to maintain a stable internal environment. It is important to check the manufacturer’s temperature retention claims, keeping in mind that these estimates are often based on controlled testing and may vary in real-world conditions.
Material safety and overall durability are vital for daily transport. Ensure any container you select is clearly labeled as food-grade and free from harmful chemicals like BPA. Rigid plastics, silicone, and stainless steel offer different levels of impact resistance; choosing a durable material ensures the container can withstand being jostled against keys, toys, and other heavy items in your bag.
Finally, consider the physical dimensions and shape of the container. A bulky container might take up too much space, leaving little room for diapers and change of clothes. Look for slim, stackable, or modular designs that fit neatly into standard diaper bag side pockets or dedicated insulated compartments.
Comparing Common Types of On-the-Go Milk Storage
Different outings call for different storage strategies. Matching your container format to the length of your trip helps minimize waste and reduces packing stress.

Insulated Bottle Systems vs. Standard Storage Bags
Rigid insulated bottle systems and standard single-use storage bags represent opposite ends of the portability spectrum. Insulated bottles, made of stainless steel or heavy-duty plastic, provide excellent structural protection. They shield milk from physical impact and help maintain a cool temperature. However, they are relatively heavy and take up a fixed amount of space in your diaper bag even when empty.
In contrast, standard storage bags are incredibly space-efficient and lightweight. They lay flat when frozen or empty, allowing you to pack multiple servings without adding bulk. The trade-off lies in their vulnerability; single-use bags can puncture if they scrape against sharp objects, and they offer no built-in thermal insulation, requiring a separate cooler bag and ice packs.
From a financial perspective, reusable insulated systems require a higher upfront investment in ₱ but offer long-term savings since they can be washed and reused. Single-use bags are highly convenient for quick disposal while out, but the recurring cost of purchasing new packs adds up over time. Additionally, feeding directly from an insulated bottle system is often much simpler than transferring milk from a flexible bag into a separate feeding bottle while on the move.
Pitcher-Style Containers vs. Single-Serve Pods
For longer day trips, parents must choose between bulk storage and pre-portioned formats. Pitcher-style containers allow you to carry a large volume of milk or water in a single vessel. This is highly efficient for full-day outings where you plan to prepare multiple feeds. However, pouring from a large pitcher while traveling can be challenging, and exposing the entire batch of milk to warm air every time you open the lid increases the risk of temperature fluctuations.
Single-serve pods or multi-compartment dispensers solve this issue by keeping each portion isolated. These compact containers allow you to measure out exact amounts of formula powder or breast milk beforehand, ensuring portion control accuracy and minimizing leftover waste. Because you only open one compartment at a time, the remaining portions stay sealed and protected from external contaminants.
While single-serve pods require more individual pieces to clean and assemble, they offer unmatched organization for short trips. You can easily grab just one or two pods for a quick afternoon errand, rather than carrying a bulky bulk container that takes up valuable diaper bag real estate.
How to Keep Milk Fresh and Safe During Outings
Maintaining temperature control is the most critical aspect of on-the-go feeding. When traveling in warm or tropical climates like the Philippines, high ambient temperatures and humidity accelerate the rate at which milk can spoil. To counter this, always pack your milk containers alongside high-quality, frozen gel ice packs inside an insulated cooler bag.
Regularly verify that your cooling setup is maintaining a cold environment. If you are using breast milk, remember that expressed milk should be kept cold until right before feeding. In hot weather, ice packs melt faster, so you may need to limit your travel time or seek out refrigeration options at your destination if you plan to be out for more than a few hours.
Preventing cross-contamination is equally important. Keep your milk storage containers physically separated from other diaper bag items like soiled clothes, toys, or used wipes. Placing your containers inside a clean, dedicated compartment or a separate wet bag helps shield them from external dirt and bacteria.
Before feeding your baby, always perform a quick sensory check. Look for visual signs of spoilage, such as milk that remains separated into layers even after gentle swirling, or an unusual clumping texture. A sour or off-putting smell is a clear indicator that the milk is no longer safe to consume and should be discarded immediately. If you are ever unsure about the safety or freshness of the milk, it is always best to err on the side of caution and discard it to protect your baby’s health.
Packing and Cleaning Tips for Diaper Bag Convenience
Organizing your diaper bag strategically can prevent leaks and make feeding times much smoother. Position your milk containers upright in the center of the bag or in dedicated insulated side pockets. This placement minimizes the risk of the containers tipping over and keeps them shielded from direct sunlight, which can rapidly raise the internal temperature of the milk.
For an extra layer of security, utilize secondary containment. Placing your bottles or storage bags inside a reusable silicone pouch or a waterproof wet bag ensures that even if a minor leak occurs, the liquid will be contained and won’t soak your diapers, spare clothes, or electronics.
When you return home, prompt and thorough cleaning is essential to prevent bacterial growth. Always check the manufacturer’s instructions to verify whether your containers are dishwasher-safe or if they require specific hand-washing. Some materials, particularly certain plastics and silicone seals, can degrade or warp if exposed to high dishwasher temperatures or harsh sterilizing cycles.
If you frequently go on long outings where immediate washing isn’t possible, carry a few essential portable cleaning tools. A travel-sized bottle brush and a small container of baby-safe dish soap allow you to perform a quick rinse in a sink, preventing milk residue from drying and hardening inside the crevices of the container before you can do a deep clean at home.
Frequently Asked Questions (FAQ)
Can I mix freshly pumped milk with already chilled milk in the same container while out?
It is generally not recommended to mix freshly expressed, warm breast milk directly with already chilled milk while you are out. Combining liquids of different temperatures can raise the temperature of the chilled milk, creating an environment that encourages rapid bacterial growth. To combine them safely, first cool the freshly pumped milk in a separate container using your cooler bag and ice packs. Once both portions have reached the same cold temperature, you can safely mix them together in a single container.
How do I test if my milk storage container is truly leak-proof before a trip?
To avoid diaper bag disasters, perform a simple water test at home before using a new container on a trip. Fill the container with room-temperature water, seal it completely according to the manufacturer’s instructions, and gently shake it in various directions. Turn the container upside down over a sink and apply light pressure to the sides. If any water seeps through the threads, seams, or valves, inspect the silicone rings and gaskets for misalignment, wear, or debris, and ensure the lid is threaded correctly.

Community discussion
Share your experience or ask a question. Comments are reviewed before publication.