
Choosing the right Avent sippy cup depends on matching your baby’s current motor skills, oral development, and weaning stage with the specific cup’s design features. Rather than relying solely on age guidelines, look at how your baby handles objects and swallows. In the warm, humid climate of the Philippines, keeping your little one hydrated during weaning is essential. Transitioning from a breast or bottle to a training cup is a major milestone. Avent offers several options—ranging from soft silicone spouts that mimic the familiar feel of a bottle nipple to hard spouts, straws, and 360-degree rim cups. To find the perfect match, you need to evaluate your baby’s physical readiness, understand the differences between spout materials, and follow a gradual transition plan.
Every baby develops at their own pace, meaning a cup that works for one infant might not suit another of the exact same age. By focusing on developmental readiness rather than rigid age brackets, you can introduce a training cup at a time when your baby is most likely to accept it. This approach reduces frustration for both you and your child, turning cup training into a positive learning experience.
Recognizing Developmental Signs for Sippy Cup Readiness
Before purchasing a training cup, observe your baby’s physical development during daily activities. One of the most critical motor skills to look for is the ability to sit upright unassisted. Good trunk and neck control are essential for safe swallowing, as they minimize the risk of choking when your baby tilts their head back to drink. If your baby still requires significant support to sit up, they may not yet have the physical stability needed to manage a cup safely.
Products mentioned in this guide
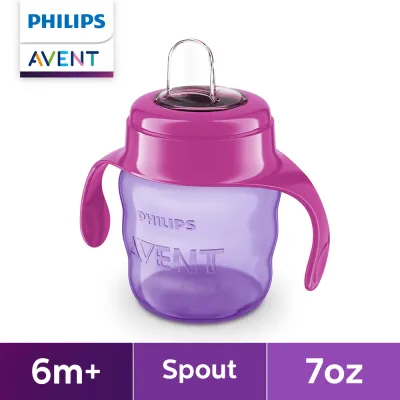
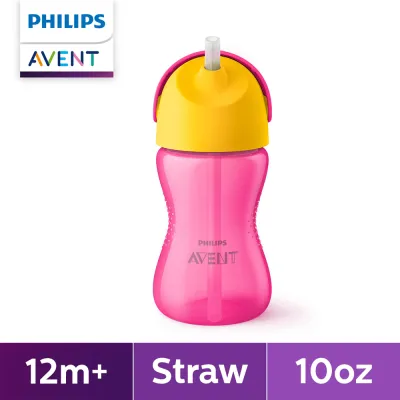
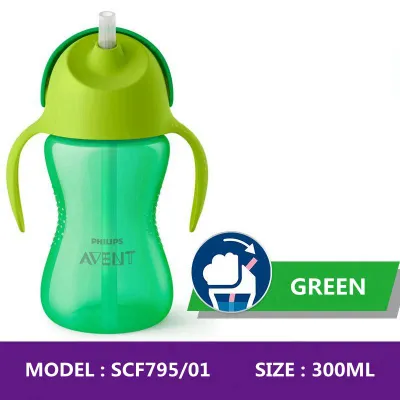
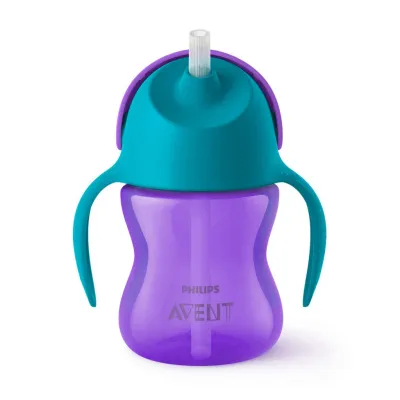
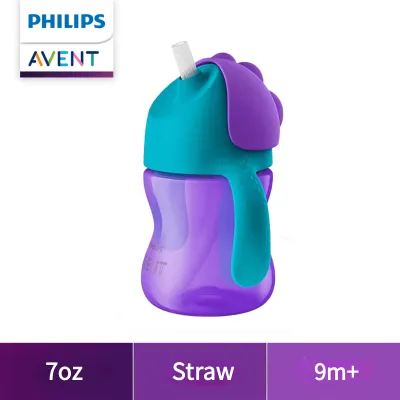
![[ BUY 1 TAKE 1 ] Philips AVENT Premium Spout Cup 12M+ Baby Bottle With Straw For Baby 9oz Feeding Bottle With Handles 6m+ 12m+ 18m+ Boy Training Cup With Straw Bottle Feeding For Baby With Straw Baby Straw Tumbler Straw Cup18m+ Hard Spout Cup 12oz](https://img.lazcdn.com/g/p/fd96ffd0551ca780250434be55e13fbd.png_400x400q80.png_.webp)
Prices are valid at publication and may change. Please refer to the product page for the latest price.
Another key indicator is hand-eye coordination. Watch how your baby interacts with toys and feeding utensils. If they can easily grasp objects with both hands, hold them steady, and bring them directly to their mouth without assistance, they likely possess the motor control required to lift and tilt a training cup. This physical milestone shows that their nervous system is ready to coordinate the complex movements involved in self-feeding.
Behavioral cues also play a major role in determining readiness. Babies are natural imitators and often show a keen interest in adult drinking habits. If your little one reaches for your water glass during family meals, watches intently when you take a sip, or tries to grab your cup, they are demonstrating cognitive readiness. This curiosity is an excellent motivator that you can leverage to introduce their very first training cup.
While these observable signs are highly reliable, always consult pediatric guidelines and verify the manufacturer’s age labels on the specific product packaging. These labels provide a helpful baseline for safety and size. However, because physical development varies, treat these age recommendations as general brackets rather than strict rules. If you have concerns about your baby’s oral development or swallowing abilities, consult a pediatrician or a pediatric dentist before introducing a new cup.
Comparing Spout Types and Design Features Across Avent Cups
Understanding the physical design variations in the Avent lineup allows you to select a cup that matches your baby’s oral mechanics. The spout material is one of the most important features to consider. Soft silicone spouts are highly flexible and gentle on sensitive, teething gums. Because they feel similar to a bottle nipple or breast, they provide a comforting transition for younger babies who are still accustomed to suckling. However, they may not withstand heavy chewing once teeth begin to emerge.

In contrast, hard plastic spouts are designed for older babies who have developed a stronger bite. These durable spouts resist damage from newly erupted teeth and help teach mature drinking mechanics. Drinking from a hard spout requires the baby to sip rather than suckle, which supports the natural transition toward using an open cup. Evaluating your baby’s teething stage will help you decide between these two material options.
Handle designs are another crucial feature that supports developing hand-eye coordination. Many training cups feature ergonomic, non-slip grips that are easy for tiny hands to hold. Some models come with removable handles, offering excellent versatility. You can attach the handles when your baby is first learning to grasp the cup, and then remove them as their grip strength and coordination improve, converting the cup into a more mature bottle-like shape.
Valve mechanisms significantly affect the suction effort required from your baby. Spill-free valves are highly popular because they prevent messy cleanups, especially when cups are dropped or thrown. These valves typically require the baby to apply active suction to release the liquid. On the other hand, free-flow designs allow liquid to flow easily without suction, teaching natural sipping but requiring closer caregiver supervision to prevent spills and choking. Always check the product packaging to see if the valve is removable or adjustable to suit your baby’s drinking strength.
Matching Cup Categories to Your Baby's Weaning Milestones
To simplify your decision, it helps to categorize training cups into distinct stages that align with your baby’s weaning milestones. During the early weaning stage, the primary goal is introducing the concept of a cup without causing confusion. For this phase, look for cups that feature soft silicone spouts and familiar, bottle-like shapes. These trainer cups often allow you to use familiar bottle nipples alongside the soft spout, helping your baby bridge the gap between bottle feeding and cup drinking with minimal resistance.
As your baby enters the active weaning stage, their grip strength and oral control will improve. This is the ideal time to transition to hard spouts or early straw designs. Hard spouts can withstand the constant chewing of a teething baby, while straw cups encourage excellent oral muscle development. Drinking through a straw requires your baby to pull their tongue back and seal their lips tightly, which strengthens the muscles used for speech and mature swallowing.
For the advanced drinking stage, explore 360-degree rim cups or open-cup transitions. These innovative cups allow your toddler to drink from any side of the rim, just like an adult glass. They feature a lip-activated valve that only releases liquid when pressure is applied, preventing major spills while teaching the exact lip placement needed for an open cup. This stage is perfect for older toddlers who are preparing to transition away from specialized baby cups entirely.
Regardless of which category you choose, always verify the specific product’s manufacturer age, weight, or developmental recommendations before making a purchase. Do not rely solely on the category name or visual appearance. Checking the official product documentation ensures that the cup’s flow rate, weight, and safety features are perfectly aligned with your child’s current abilities, ensuring a safe and successful transition.
Practical Steps for a Smooth Bottle-to-Cup Transition
Introducing a training cup requires patience and a gradual approach to minimize feeding frustration. Timing is incredibly important when offering the cup for the first time. Choose a moment when your baby is happy, alert, and only slightly thirsty. Avoid introducing a new cup when your baby is overly hungry, tired, or fussy, as they are more likely to reject the unfamiliar object and demand their usual bottle or breast.
A gradual replacement method is highly effective for easing the transition. Start by swapping just one feeding session a time, typically starting with a midday session. Midday feeds are ideal because babies are generally less tired and more open to trying new things compared to early morning or bedtime feeds. Once your baby comfortably accepts the cup during this midday session for several days, you can gradually replace other bottle feeds one by one.
Modeling drinking behavior is another powerful tool. Babies learn by watching their caregivers, so make a point of drinking water from your own cup in front of your baby. You can also let your baby play with an empty, clean training cup during their regular playtime. Allowing them to hold, drop, and explore the cup without the pressure of feeding helps build physical familiarity and reduces any anxiety they might associate with it.
Always maintain close caregiver supervision during cup use. Watch how your baby handles the flow of liquid and ensure they do not try to walk or run while holding the cup, which can pose a safety hazard. If your baby shows signs of distress or repeatedly rejects the cup, take a break for a few days before trying again. Forcing the issue can create negative associations, whereas a relaxed, patient approach encourages long-term success.
Cleaning, Maintenance, and Safety Checks for Training Cups
Proper hygiene and maintenance are essential for keeping your baby’s training cups safe and sanitary. In the warm and humid climate of the Philippines, moisture can easily trap bacteria and mold in small, hidden spaces. To prevent this, always completely disassemble all parts of the cup—including silicone spouts, straws, valves, lids, and handles—before washing. Leaving these parts assembled during washing can trap milk residue and moisture, leading to mold growth.
Wash all components thoroughly in warm, soapy water, using specialized small brushes to clean inside narrow straws and valve openings. Always check the manufacturer’s instructions for specific sterilization methods. While many Avent parts are dishwasher safe, some components may have temperature limits or require top-rack placement only to prevent warping. Ensure all parts are completely dry before reassembling and storing them in a cool, dry place.
Regular safety inspections are crucial for preventing choking hazards. Inspect silicone spouts and straws frequently for bite marks, tears, or signs of thinning. Teething babies can easily puncture or tear soft silicone with their sharp new teeth, which can cause small pieces to break off. If you notice any damage, wear, or structural weakness, replace the damaged parts immediately with official manufacturer replacement components.
Frequently Asked Questions (FAQ)
Can I put hot liquids in a sippy cup?
No, you should not put hot liquids in a training cup. Hot liquids can cause pressure to build up inside the sealed cup, which can lead to leaks, spills, or sudden spraying when the valve or spout is opened. Furthermore, hot liquids pose a severe burn risk to your baby’s sensitive mouth, throat, and skin. Always ensure that any liquids offered in a training cup are at a safe, cool, or lukewarm temperature.
How do I know when to move from a soft spout to a hard spout?
Consider transitioning to a hard spout when your baby begins to bite or chew heavily on the soft silicone spout, which typically happens when their first teeth begin to emerge. If you notice visible wear, bite marks, or tears on the soft spout during your regular safety checks, it is time to transition. Additionally, if your baby has developed strong hand-eye coordination and can control the cup easily, they are likely ready for a hard spout.
Are Avent sippy cups compatible with other Avent bottle parts?
Many Avent cup bodies, collars, and spouts are designed to be interchangeable within specific product lines, such as the Natural or Classic ranges. This compatibility allows you to mix and match parts to create a customized trainer cup. However, because compatibility varies depending on the specific model, design generation, and manufacturing year, you must always check the official product documentation or packaging compatibility charts to verify which parts can be safely used together.

Community discussion
Share your experience or ask a question. Comments are reviewed before publication.