
The Short Answer: Do You Need Both?
To keep your baby safe and healthy, it is easy to feel overwhelmed by the sheer volume of baby gear and cleaning protocols recommended to new parents. When it comes to managing feeding equipment, the central question often boils down to whether you truly need both a specialized bottle washing liquid and a dedicated sterilizer, or if one can do the job of both.
The short answer is that these two tools serve completely different, non-interchangeable functions in your baby’s hygiene routine. Bottle washing liquid is a non-negotiable daily necessity designed for physical cleaning, while a sterilizer is a conditional tool used for microbial disinfection. You cannot substitute one for the other because they target different types of contamination.
Washing liquid physically lifts and removes stubborn milk fats, proteins, and residues from the surfaces of the bottle, nipple, and collar. Without this step, a layer of organic material remains, which can harbor pathogens and neutralize any subsequent disinfection efforts.
Products mentioned in this guide
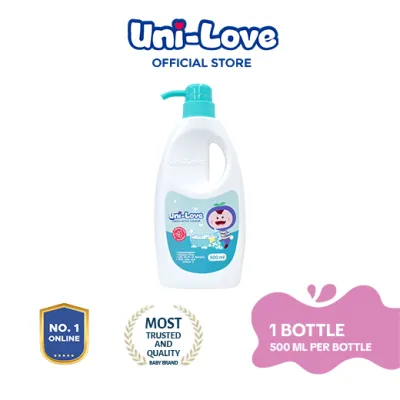
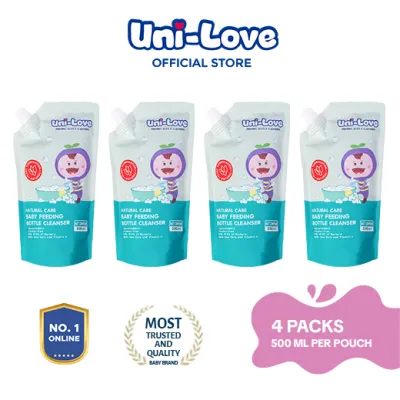
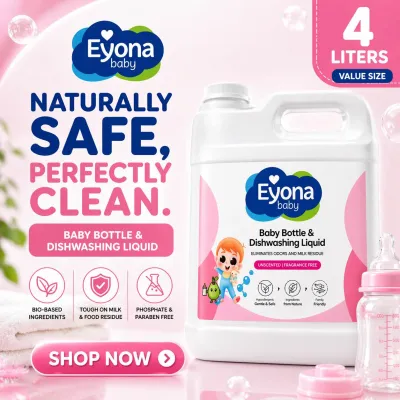
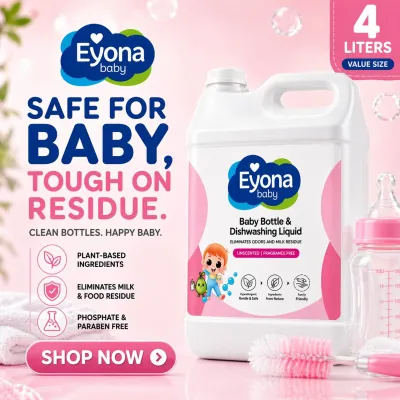
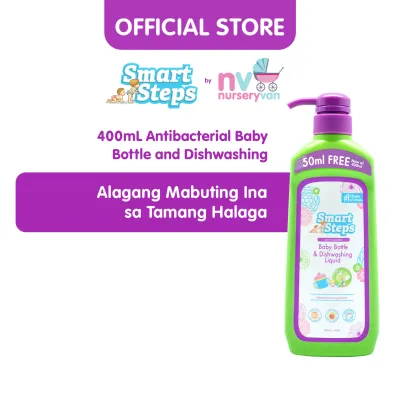
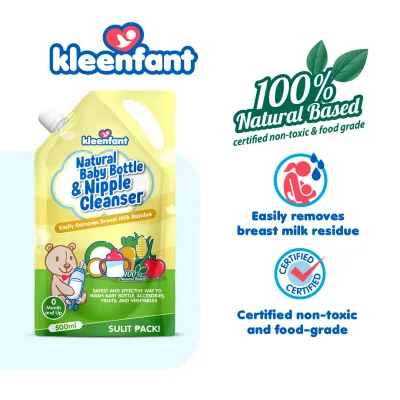
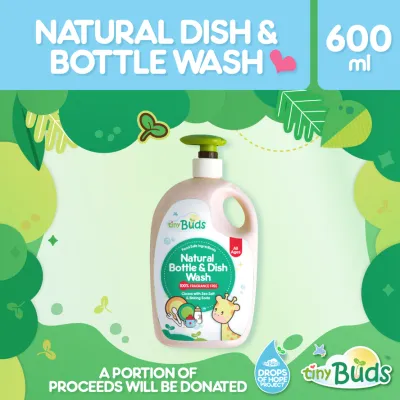
Prices are valid at publication and may change. Please refer to the product page for the latest price.
A sterilizer, on the other hand, uses heat, steam, or ultraviolet (UV) light to eliminate microscopic bacteria, viruses, and mold spores that survive the washing process. While washing liquid is mandatory for every single cleaning cycle, a sterilizer is highly recommended but its necessity depends on your baby’s age, health status, and environmental conditions, such as the ambient humidity of your home.
Cleaning vs. Sterilizing: How They Differ
Understanding the distinct mechanisms of cleaning and sterilizing helps clarify why both steps are often combined for optimal infant health. Physical cleaning with a specialized bottle washing liquid is always the first line of defense, targeting the organic matter left behind by breastmilk or infant formula.

Breastmilk and formula are highly complex fluids rich in lipids, proteins, and carbohydrates. When these liquids sit in a plastic or glass bottle, they form a stubborn, greasy film that does not dissolve with water alone. Baby bottle washing liquids are formulated with mild, typically plant-based surfactants that specifically target and break down these milk fats and proteins. Unlike standard household detergents, these specialized liquids are designed to rinse away completely, leaving no chemical residues, artificial dyes, or strong fragrances that could irritate your baby’s sensitive digestive system or cause them to reject their feed.
Sterilization operates on an entirely different level by addressing biological hazards rather than physical debris. Devices like electric steam sterilizers, UV sterilizers, or traditional boiling setups work by exposing pre-cleaned items to high temperatures or specific light wavelengths. This exposure disrupts the cellular structure and DNA of harmful pathogens, effectively neutralizing bacteria, viruses, and fungal spores that could otherwise cause infections.
The most critical rule of bottle hygiene is that you cannot sterilize a dirty surface. Physical cleaning must always precede sterilization. If you attempt to sterilize a bottle that still has visible or invisible milk residue on it, the organic matter acts as a physical shield, protecting the underlying bacteria from the heat or UV rays.
Furthermore, exposing an unwashed bottle to the high heat of a steam sterilizer or boiling water will essentially bake the remaining milk proteins and fats directly onto the plastic or silicone material. This creates a hardened, cloudy film that is incredibly difficult to remove and provides an ideal textured surface for future bacterial colonization. Therefore, washing liquid is the essential precursor that makes sterilization possible.
When Bottle Washing Liquid Alone Is Sufficient
While combining washing and sterilizing offers the highest level of safety, there are specific scenarios where thorough washing with a high-quality bottle washing liquid and proper air-drying is entirely sufficient for daily maintenance.
The age and overall health of your baby are the primary factors when deciding if you can skip the sterilizer. For healthy, full-term infants who are over three to six months old, their immune systems and gut microbiomes have developed significantly. At this stage, they are actively exploring their environment, putting toys, hands, and household objects into their mouths. Because they are already exposed to normal environmental microbes, the extreme level of cleanliness provided by a sterilizer becomes less critical, provided their feeding equipment is meticulously washed.
Relying solely on bottle washing liquid requires strict adherence to proper washing techniques. You must wash the bottles immediately after feeding to prevent milk from drying and hardening in the crevices. This process involves using a dedicated bottle brush that can reach the bottom corners of the bottle and a smaller nipple brush to clean the delicate silicone tip. Every component must be scrubbed thoroughly and rinsed under clean, potable running water to ensure all soap and organic residues are completely washed away.
The drying phase is just as important as the washing phase when you are not sterilizing. Bacteria and mold require moisture to survive and multiply. Placing freshly washed bottles on a clean, dedicated drying rack in a well-ventilated, dry area is crucial. A bottle that dries quickly and completely is inherently hostile to microbial growth, making thorough air-drying a highly effective safety measure on its own.
If you have access to a modern dishwasher, you may also find a convenient middle ground. If the bottle manufacturer explicitly states that the bottles are dishwasher-safe, running them on a hot wash cycle with a heated drying cycle can provide a level of sanitization that bridges the gap between manual washing and dedicated sterilization. The sustained high heat of a dishwasher’s drying cycle helps reduce microbial loads significantly, though you must still verify that your bottle washing detergent is safe and residue-free.
When Adding a Sterilizer Is Highly Recommended
Despite the effectiveness of thorough washing, there are several situations where introducing a dedicated sterilizer to your routine is highly recommended to protect your infant from serious health risks.
Vulnerable infants require the highest standard of hygiene because their immune systems are still highly immature. This group includes newborns under three months of age, premature babies, and infants with underlying health conditions or compromised immune systems. For these babies, exposure to common environmental pathogens that a healthy older baby would easily fight off can lead to severe gastrointestinal infections, diarrhea, or systemic illnesses. For this demographic, sterilizing after every single wash is a critical safety barrier.
Environmental factors, particularly in tropical climates like the Philippines, also play a major role in bottle safety. High ambient humidity levels can significantly slow down the air-drying process. When washed bottles remain damp on a drying rack for several hours, they become an ideal breeding ground for environmental mold and bacteria. In these humid conditions, a sterilizer equipped with a built-in drying function (such as a steam-and-dry machine or a UV sterilizer cabinet) is incredibly valuable, as it quickly eliminates moisture and seals the items in a clean environment.
If your baby has recently been sick, temporary sterilization is highly advised to prevent reinfection. Conditions like oral thrush (a fungal infection caused by Candida yeast) or viral stomach bugs can easily linger on bottle nipples and pacifiers. Sterilizing all feeding equipment during and immediately after the illness helps break the cycle of infection and supports your baby’s recovery.
Finally, sterilization is a necessary precaution when dealing with stored or second-hand items. If you are retrieving bottles that have been sitting in a closet or storage box for months, or if you have accepted pre-loved bottles and replacement parts from friends or family, a thorough wash followed by a sterilization cycle is essential to eliminate any accumulated dust, mold, or dormant pathogens before the items ever touch your baby’s mouth.
Decision Framework: Choosing Your Bottle Care Routine
To help you design a practical and safe daily routine, you can evaluate your household’s specific needs using a simple decision framework based on your baby’s profile and your living environment.
Choose Washing Liquid Only If:
- Your baby is over three to six months old, healthy, and has no underlying medical conditions.
- You have access to a clean, reliable, and safe municipal water supply for rinsing.
- You can guarantee that washed bottles will air-dry rapidly in a low-humidity, well-ventilated, or air-conditioned space.
- You wash all parts immediately after use and inspect them regularly for physical cleanliness.
Choose Both (Wash + Sterilize) If:
- Your baby is a newborn, was born prematurely, or has a compromised immune system.
- You live in a high-humidity tropical environment where bottles remain damp for extended periods on the drying rack.
- Your household water source is untested, or you rely on well water that may carry microbial risks.
- Your baby is currently recovering from an infectious illness like oral thrush or a stomach virus.
Verify First If:
- Your pediatrician has provided specific medical guidelines for your baby's feeding hygiene based on their personal health history.
- You are unsure of the heat or UV tolerance of your specific bottle materials, requiring a quick check of the manufacturer's packaging.
Remember that your bottle care routine does not have to remain static. Many families choose to sterilize daily during the first few months of their baby’s life when vulnerability is highest, and then transition to a washing-only routine as the baby grows, develops a stronger immune system, and begins crawling.
Step-by-Step Guide to a Safe Bottle Cleaning Routine
To maximize the benefits of both your bottle washing liquid and your sterilizer, it is important to follow a structured, hygienic sequence that prevents cross-contamination and protects your equipment.
Step 1: Disassemble Completely Before any water touches the bottle, completely disassemble all parts. Separate the bottle, nipple, collar ring, travel caps, and any internal venting valves or straws. Skipping this step allows milk to remain trapped in the threads and crevices, where bacteria can multiply rapidly.
Step 2: Immediate Rinse Rinse all disassembled parts under cool, running water immediately after a feeding. This simple step flushes out the bulk of the remaining liquid and prevents milk proteins from bonding to the plastic or silicone surfaces, making the subsequent scrub much easier.
Step 3: Wash Thoroughly Fill a clean basin (dedicated solely to baby items) with warm water and add a small amount of specialized bottle washing liquid. Use a dedicated silicone or sponge bottle brush to scrub the interior of the bottles. Use a smaller, soft nipple brush to gently clean the delicate silicone nipples, taking care not to puncture the feeding holes.
Step 4: Rinse and Air-Dry Rinse every component thoroughly under clean, running water to remove all traces of soap residue. If you are not sterilizing, place the parts on a clean, dedicated drying rack in a well-ventilated area. If you are sterilizing, ensure the parts are free of soap before transferring them to the sterilizing chamber.
Step 5: Sterilize and Store If your routine includes sterilization, place the clean, soap-free parts into your steam or UV sterilizer according to the manufacturer’s directions. Once the cycle is complete, let the parts cool. Store the dry, sterilized bottles in a clean, closed container or cabinet to protect them from household dust, pet hair, and crawling insects.
Safety Boundary Always consult the manufacturer’s instructions for your specific bottle brand and material before exposing them to high heat or UV light. Some plastics, such as those containing older formulations or lower-grade polymers, can degrade or release microplastics when subjected to repeated high temperatures. Similarly, certain silicone nipples can become brittle or discolored under intense UV exposure. If you notice any warping, cloudiness, or stickiness, discard the affected parts immediately and replace them.
Frequently Asked Questions (FAQ)
Can I use regular dish soap instead of baby bottle washing liquid?
Standard kitchen dish soaps are formulated to tackle heavy grease on adult cookware and often contain harsh chemical degreasers, strong artificial fragrances, and synthetic dyes. These ingredients can leave a thin, invisible chemical residue on plastic baby bottles that is difficult to rinse off completely. This residue can alter the taste of the milk, causing your baby to reject the bottle, and may irritate their sensitive digestive tract. Dedicated baby bottle washing liquids use mild, plant-based surfactants that break down milk fats effectively while rinsing away cleanly without leaving toxic or strong-smelling residues.
How often should I sterilize baby bottles?
For newborns, premature infants, or babies with weakened immune systems, daily sterilization—ideally after every single wash—is the safest practice. For older, healthy babies who have reached three to six months of age, you can scale back the frequency of sterilization. In a clean environment with a reliable water supply, sterilizing once a week or only after the baby has been sick is often sufficient, provided you maintain a rigorous daily routine of washing with dedicated bottle liquid and ensuring the parts dry completely. Always follow any specific advice provided by your pediatrician.
Does boiling water replace a dedicated sterilizer?
Boiling disassembled bottle parts in a pot of clean water for at least five minutes is a highly effective, time-tested method of sterilization that successfully kills harmful pathogens. However, it has notable practical drawbacks compared to modern electric steam or UV sterilizers. Boiling requires constant supervision to prevent the water from evaporating completely, which can melt your bottles. It also carries a higher risk of accidental burns from splashing water. Furthermore, the intense, direct heat of boiling water can degrade delicate silicone nipples and plastic bottle collars much faster than the controlled, gentle heating cycles of a dedicated electric steam sterilizer.

Community discussion
Share your experience or ask a question. Comments are reviewed before publication.