
Choosing the right milk storage containers during the weaning transition is a critical step in helping your baby move successfully from bottles to cups. The best containers for this stage are small-capacity, versatile options that bridge the gap between storage and serving—specifically small-capacity glass or silicone jars (2 to 4 oz), transition cups with interchangeable storage lids, and reusable silicone trays. These options allow you to store smaller portions of breast milk or formula, minimize waste, and easily transfer or serve milk as your child learns new drinking skills.
As your baby transitions to cups, their feeding patterns and oral motor skills undergo rapid changes. Traditional large-capacity baby bottles and standard storage bags often become less practical. By selecting containers designed specifically for this developmental phase, you can simplify meal preparation, maintain high hygiene standards, and make the transition smoother for both you and your little one.
Why Your Milk Storage Needs Change During Weaning
The weaning transition is a major developmental milestone that typically begins around six months of age. During this phase, your child gradually learns to sip and swallow from cups rather than relying on the continuous sucking motion required by bottles or breast feeding. This shift fundamentally alters how milk is prepared, stored, and served on a daily basis.
Products mentioned in this guide
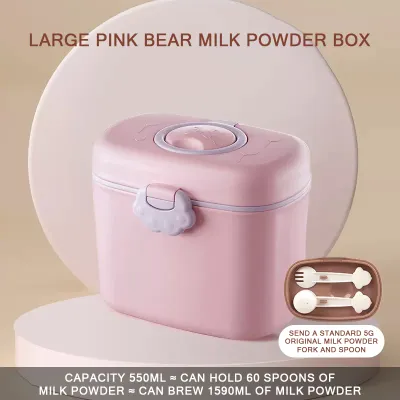
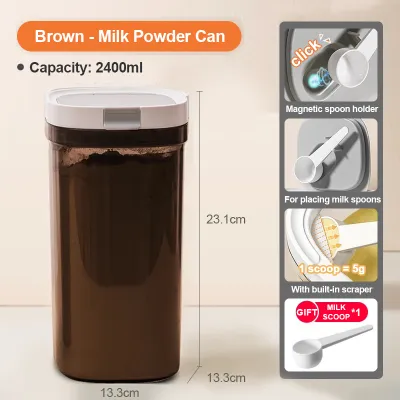
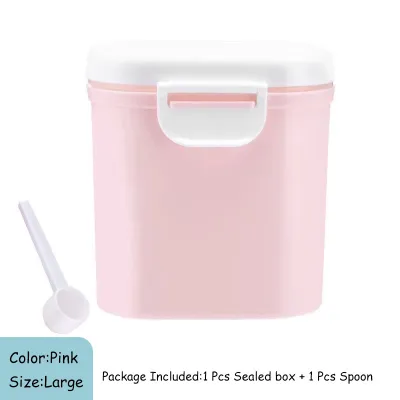
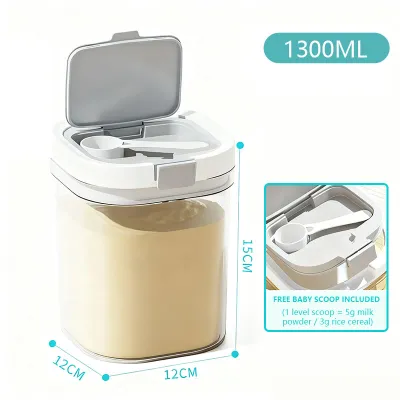
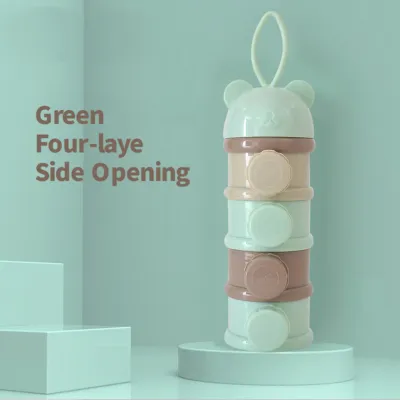
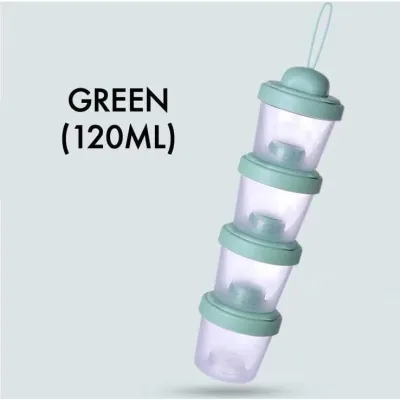
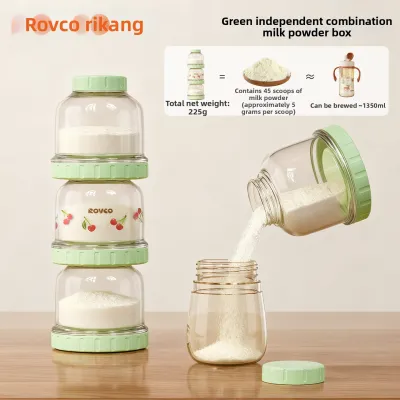
Prices are valid at publication and may change. Please refer to the product page for the latest price.
As your baby begins to consume solid foods, their overall liquid milk intake per feeding session naturally decreases. Instead of drinking large 6-ounce to 8-ounce bottles, they may only require 2 ounces to 4 ounces of milk to accompany a meal or serve as a quick snack. Storing milk in large-capacity infant bottles or large storage bags often leads to significant waste, as thawed or warmed milk that is left unfinished must be discarded within a short timeframe.
Additionally, your daily routine shifts from purely storing milk to needing containers that support both storage and active serving. During early infancy, milk is typically moved from a storage bag or bottle into a standard feeding bottle. During weaning, however, you need a system that allows you to easily pour small amounts of milk into open cups, or use containers that can convert directly into transition cups with the swap of a lid. This reduces the number of transfer steps and minimizes spills.
Using the right container also helps reduce parental stress. When you store milk in smaller, pre-portioned increments, you can easily adjust the amount you serve based on your child’s appetite. This flexibility is highly beneficial during the unpredictable early weeks of weaning, when a baby might eagerly drink a full cup one day and only take a few sips the next.
Key Features to Look for in Weaning-Stage Milk Containers
Selecting the right containers requires evaluating several practical features to ensure safety, durability, and ease of use. Because these containers will hold expressed breast milk or prepared formula, maintaining strict hygiene and material safety is paramount.

- Material Safety: Always prioritize safety by checking product labels to verify that containers are BPA-free, BPS-free, and made from food-grade materials. Common safe options include high-quality borosilicate glass, food-grade silicone, and polypropylene (PP) plastic. It is vital to check the manufacturer's documentation for specific temperature limits regarding freezing, warming, and sterilization to prevent material degradation or chemical leaching.
- Capacity and Portion Control: Look for containers with smaller capacities, ideally ranging from 2 ounces to 4 ounces (approximately 60 ml to 120 ml). Clear, embossed, or printed measurement markings on the side of the container are highly recommended. These markings allow you to measure precise portions, track daily milk intake accurately, and avoid overfilling when freezing, which can cause containers to crack or leak.
- Leak-Proof and Spill-Proof Seals: A reliable seal is essential for preventing leaks in your refrigerator, freezer, or diaper bag. Look for containers that feature secure screw-on lids, silicone gaskets, or multi-part sealing systems. A truly airtight seal not only prevents messy spills but also protects the stored milk from absorbing odors from other food items in your refrigerator or freezer.
- Ease of Cleaning: In tropical climates, high humidity levels can accelerate the growth of bacteria and mold in hard-to-reach crevices. Choose containers with wide-mouth designs and minimal parts, threads, or complex valve systems. Ensure the containers are easy to hand-wash with a bottle brush or are compatible with your dishwasher or steam sterilizer, depending on the manufacturer's care instructions.
Types of Containers for Storing and Serving Milk During Weaning
There is no single container that fits every family’s needs, but understanding the different categories available can help you choose the best combination for your lifestyle. Each type of container offers distinct advantages and trade-offs during the weaning process.
Small-Capacity Storage Bottles and Jars
Dedicated small-volume storage bottles and jars, typically made of tempered glass or food-grade plastic, are excellent for pre-portioning and storing milk in the refrigerator or freezer. These containers are designed specifically to hold small amounts of milk safely over extended periods.
- Pros: They offer exceptional sealing capabilities, high material stability, and very accurate measurement markings. Glass options are highly durable, resistant to scratching, and do not retain food odors or stains over time.
- Cons: These containers are designed strictly for storage, meaning you must pour the milk into a separate drinking cup when it is time to feed your child. This adds an extra step to your prep routine and increases the number of items you need to wash.
- Selection Tip: Before purchasing, check if the bottle neck or jar opening is compatible with your existing breast pump flanges for direct pumping. If not, ensure the container has a wide, drip-free rim that allows you to pour milk into a transition cup without spilling a drop.
Transition Cups with Sealed Lids
Transition cups—such as straw cups, spout cups, or 360-degree rim cups—that come with flat, leak-proof storage lids are highly versatile options for the weaning stage. These systems allow you to store milk and serve it from the very same vessel.
- Pros: They serve a dual purpose, allowing you to store milk securely in the fridge and then simply swap the storage lid for a straw or spout lid when your child is ready to drink. This minimizes milk transfer steps, reduces the risk of contamination, and helps your baby get used to the physical weight and shape of their transition cup.
- Cons: These systems often consist of multiple parts, including handles, weighted straws, and silicone valves, which require meticulous cleaning and assembly to prevent mold growth.
- Selection Tip: Always inspect the manufacturer's guidelines regarding how often to replace silicone valves or straws. Because these parts wear out over time, keeping a supply of compatible replacement parts is essential for maintaining hygiene.
Reusable Silicone Storage Pods or Trays
Reusable silicone storage trays feature individual, small-capacity compartments (usually 1 to 2 ounces each) and are equipped with a secure, clip-on lid. Originally designed for freezing purees, they are highly effective for freezing small portions of breast milk.
- Pros: The flexible nature of food-grade silicone makes it incredibly easy to pop out individual frozen milk "cubes." This allows you to thaw the exact amount of milk your baby needs for a single cup feeding, virtually eliminating waste.
- Cons: These trays are strictly for freezing and cannot be used for direct serving. Additionally, because they are open-style trays with a single cover, they must be kept completely flat in the freezer until fully frozen to prevent spills.
- Selection Tip: Not all silicone storage pods are designed for direct heating. Always verify the manufacturer's heating and sterilization instructions; never microwave silicone trays unless the packaging explicitly states they are microwave-safe, as uneven heating can create dangerous hot spots in the milk.
Safe Milk Storage and Handling in a Tropical Climate
Storing and handling milk safely requires extra care in warm, humid environments like the Philippines. High ambient temperatures can accelerate bacterial growth in milk, making strict adherence to hygiene protocols essential during the weaning transition.
Temperature and Time Limits
In warm tropical conditions where indoor temperatures often exceed 30°C, milk should never be left sitting out on the counter. Always consult current pediatric or health authority guidelines, such as those from the World Health Organization (WHO) or local pediatric societies, for exact safe time limits.
As a general safety check, if your kitchen is warm, feed the milk to your baby immediately after expressing or preparing it, or place it in the back of the refrigerator where the temperature is coldest and most consistent. If you are traveling or running errands, always transport stored milk in an insulated cooler bag with frozen gel packs to maintain a safe temperature.
Thawing and Warming
Safe thawing methods help preserve the vital nutrients and immunological properties of breast milk. The safest approach is to transfer frozen milk containers to the refrigerator to thaw slowly overnight. For quicker thawing, place the sealed container under cool running water, gradually increasing the temperature to warm, or submerge the container in a bowl of warm water.
Never boil sealed milk containers, and avoid using microwaves to heat milk. Microwaving heats liquids unevenly, creating localized “hot spots” that can easily burn your baby’s mouth, and the intense heat can destroy beneficial proteins and nutrients in breast milk.
Hygiene and Sterilization
Thorough washing and complete drying are critical to preventing mold and bacterial contamination in humid climates. Wash all container parts in warm, soapy water using dedicated cleaning brushes, rinsing thoroughly with clean water.
After washing, place all parts on a clean, elevated drying rack in a well-ventilated area. Ensure every component is completely dry before reassembling or storing them in a closed cabinet, as trapped moisture in a humid environment quickly encourages mold growth. Always check the container’s maximum heat tolerance before attempting boiling water, steam, or UV sterilization, as excessive heat can warp plastics or damage silicone seals.
Practical Tips for Moving from Stored Milk to Cup Drinking
Using your storage containers effectively can make the physical transition from bottles to cups much easier for your child. By introducing cups gradually and keeping the experience positive, you can help your baby build confidence in their new skills.
First, introduce the transition cup during a low-pressure time of day when your child is alert, content, and not overly hungry or tired. Trying to teach a baby how to use a new cup when they are starving or exhausted often leads to frustration, crying, and a strong rejection of the cup. Offer small sips during solid food meals, allowing them to explore the cup at their own pace under close caregiver supervision.
Second, fill the transition cup with your child’s familiar breast milk or formula rather than introducing a new beverage like cow’s milk or water at the same time. Storing and serving their usual milk in the new cup leverages familiar tastes, helping them understand that the cup is a source of nourishment and reducing their resistance to the change.
Third, expect and accept spills as a natural, necessary part of the learning process. Learning to tilt a cup, control the flow of liquid, and swallow without sucking requires complex motor coordination. Use waterproof bibs, dress your baby in easy-to-wash clothing, and place a silicone mat under their high chair to make cleanup easier. Maintaining a calm, encouraging demeanor helps prevent your child from associating cup drinking with stress.
Finally, monitor your child’s overall hydration and health closely throughout the transition. While some resistance is normal, your baby’s safety is the top priority. If your child consistently refuses to drink from both bottles and transition cups, shows signs of dehydration (such as fewer than six wet diapers a day, lethargy, sunken eyes, or a dry mouth), or experiences weight loss, pause the transition immediately. Revert to their preferred feeding method to ensure they stay hydrated, and consult a pediatrician or a certified lactation consultant for professional guidance.
Frequently Asked Questions (FAQ)
Can I use regular food storage containers for weaning milk?
While standard household food containers are highly convenient, they are generally not recommended for storing infant milk. Baby-specific milk storage containers undergo rigorous safety testing and feature specialized, liquid-tight seals designed to prevent leaks and protect against bacterial contamination.
If you must use regular kitchen containers, you must strictly verify that they are labeled food-grade, BPA-free, and feature a completely airtight, leak-proof seal. Avoid using containers that have previously held strong-smelling foods, as plastics can retain odors that may cause your baby to reject the milk.
How do I know if a transition cup is leaking or just flowing too fast?
To troubleshoot this issue, observe exactly where the milk is escaping. If milk is dripping from the screw threads, the air vent, or the edge of the lid, the cup has a compromised seal. This can usually be resolved by reassembling the parts, ensuring the silicone gasket is seated correctly, or replacing a worn-out valve.
If milk is pouring rapidly out of your baby’s mouth or the spout when tilted, the flow rate is likely too fast for their current swallowing skills. Check the manufacturer’s age and flow-stage recommendations to ensure the cup matches your child’s development, and inspect the spout or straw valve to ensure it is not torn or damaged.

Community discussion
Share your experience or ask a question. Comments are reviewed before publication.