
Transitioning your toddler from a bottle or breast to a drinking cup is a major milestone in their weaning journey. Choosing the right cup is not just about age; it requires matching the cup’s design to your child’s physical development, motor skills, and oral coordination. By understanding how your child’s needs change at each stage of weaning, you can select cups that support natural swallowing patterns, protect developing teeth, and minimize daily frustration for both you and your little one.
Using the right cup at the right time helps your child build confidence and independence during meals. Rather than rushing the transition, observing your child’s readiness cues will guide you toward the most suitable style. This stage-by-stage guide breaks down how to identify your toddler’s weaning stage, choose the appropriate cup types, and maintain them safely.
How to Identify Your Toddler's Current Weaning Stage
Before purchasing a new cup, observe your child’s physical milestones. A baby who can sit upright independently in a high chair, hold their head steady, and reach for objects with a purposeful grasp is generally ready to begin cup training. These motor skills indicate that their core stability and hand-eye coordination are developed enough to bring a cup to their mouth.
Products mentioned in this guide
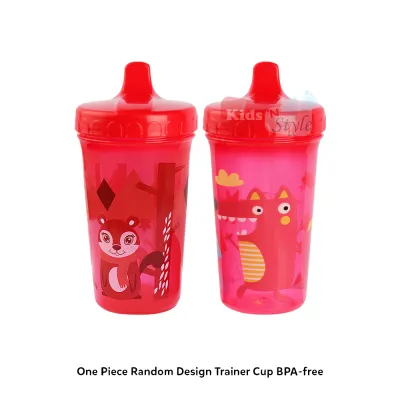
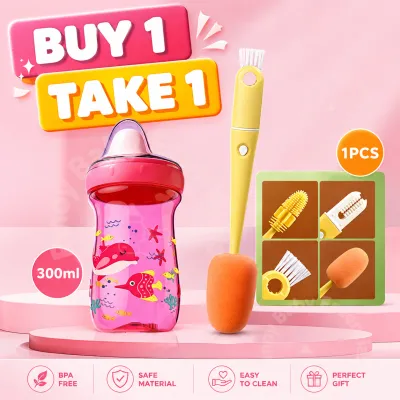
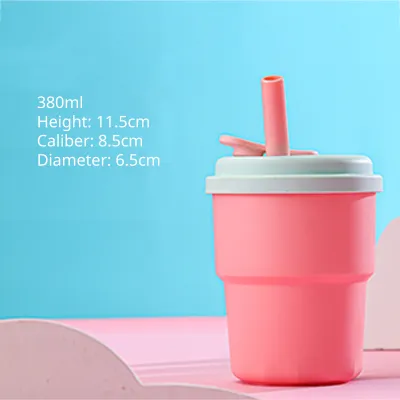
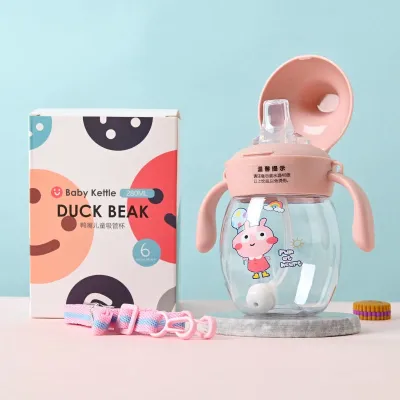
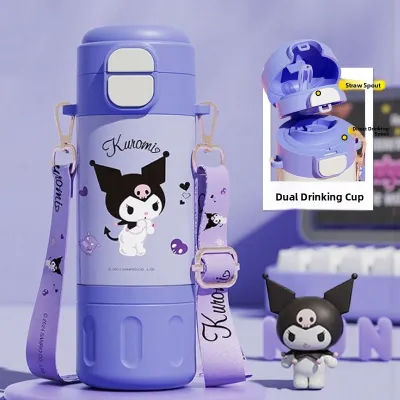
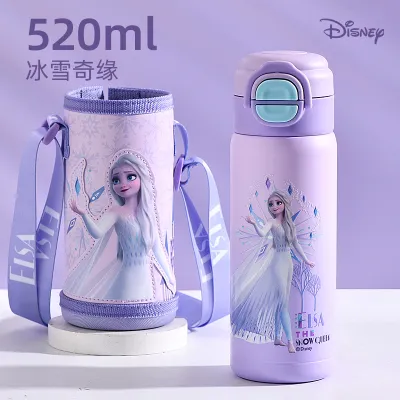
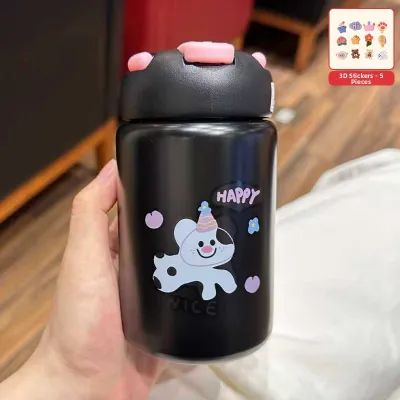
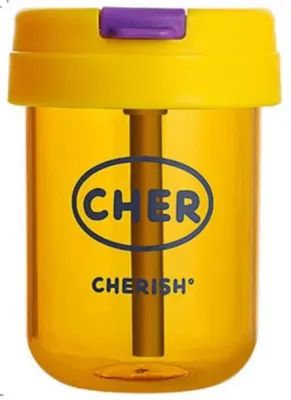
Prices are valid at publication and may change. Please refer to the product page for the latest price.
Pay close attention to how your child swallows. Infants use a suckling reflex, where the tongue moves forward and backward to draw liquid. As they transition to solid foods and cups, they must learn a mature swallowing pattern, which involves raising the tip of the tongue to the roof of the mouth. If your child still pushes their tongue forward when presented with a cup, they may need more time to transition.
While age ranges serve as helpful reference points, they should remain flexible. Most babies are ready to explore introductory cups around six months of age, transition to more active cup styles between nine and twelve months, and begin mastering open cups by twelve to eighteen months. Every child develops at their own pace, so prioritize physical readiness over strict calendar milestones.
Look for behavioral cues that signal readiness to move away from the breast or bottle. Your child might reach for your glass during family meals, show curiosity about how you drink, or successfully hold their own baby bottle. These actions demonstrate an active interest in mimicking adult behaviors, making it an ideal time to introduce a training cup.
If your child consistently coughs, sputters, chokes, or shows extreme distress when using a new cup, it is best to pause the transition. Forcing the process can lead to negative associations with drinking. If these difficulties persist after a brief break, or if you have concerns about your child’s oral motor development, consult a pediatrician, pediatric dentist, or a lactation consultant for personalized guidance.
Stage 1: Introduction Cups for Early Weaning (Around 6 Months)
At around six months, your baby is just beginning to understand that liquids can come from sources other than a nipple. Introduction cups with soft, flexible spouts made of food-grade silicone are excellent for this phase. The soft texture feels familiar to their gums, easing the transition and preventing discomfort during teething periods.

Managing the flow rate is critical during early weaning to prevent choking and swallowing air. Look for cups that feature a slow-flow design or a gentle pressure-activated valve. This ensures that liquid only flows when the baby actively sucks or bites down, giving them control over the pace and preventing them from being overwhelmed by a sudden rush of water or milk.
An introductory cup must be lightweight and easy for tiny hands to manage. Opt for designs with large, ergonomic, non-slip handles that curve outward, allowing your baby to use a full-palm grasp. A lightweight cup, even when filled with a small amount of liquid, helps build confidence as your baby practices lifting and tilting the cup independently.
Before purchasing, always check the manufacturer’s age recommendations and safety labels on the packaging. Ensure the cup is rated for babies aged six months or older. Additionally, inspect the spout regularly for signs of wear, tears, or thinning material, especially if your baby has started cutting teeth, to ensure no small pieces detach during use.
Stage 2: Transitional Cups for Active Learners (9 to 12 Months)
As your child reaches nine to twelve months, their coordination improves, and they become more active. This is the perfect time to introduce transitional cups, such as straw cups or 360-degree rim cups. Straw cups help develop the muscles in the lips, cheeks, and tongue, which are essential for speech development. On the other hand, 360-degree cups allow toddlers to drink from any side of the rim, mimicking an open cup while preventing spills.
Teething toddlers often chew on everything, including their cup components. When selecting a straw cup, look for bite-resistant, durable silicone straws that can withstand sharp primary teeth without tearing. For 360-degree cups, ensure the top sealing membrane is securely anchored and made of thick, resilient material that won’t easily dislodge when chewed.
Spill-proof valves are a lifesaver for busy parents, but they require careful evaluation. A high-quality valve should prevent leaks when the cup is dropped or tipped upside down, yet still allow liquid to flow smoothly when the child sips. If a valve requires excessive suction to release liquid, it can frustrate your toddler and potentially impact their oral development over time.
In warm, humid climates like the Philippines, mold and bacteria can rapidly accumulate in the hidden crevices of transitional cups. Straws, weighted balls, and multi-part valves are notorious for trapping moisture and milk residue. Before buying, examine how easily the cup can be disassembled. Choose models with simple, transparent valve designs and minimal hard-to-reach areas to make daily cleaning manageable.
Finding the right balance between spill prevention and adequate flow is key. While a completely leak-proof cup keeps your floors clean, it may hinder your child’s learning if they have to struggle to get a drink. Consider using highly spill-proof cups for travel or active play, and transition to free-flowing straw cups or open cups during supervised meal times at the table.
Stage 3: Open Cups for Independent Toddlers (12 to 18+ Months)
By twelve to eighteen months, toddlers are ready to begin practicing with open cups. Pediatric dentists and speech therapists highly recommend open cups because they promote optimal oral motor development. Drinking from an open cup requires your child to actively control their lips, jaw, and tongue to seal the rim and swallow, which strengthens the muscles used for clear speech.
To minimize the inevitable spills that come with learning, look for toddler-sized open cups with non-slip, weighted bases. Cups with a silicone bottom or a flared base provide extra stability, making them harder to tip over when placed on a high chair tray or dining table. Textured outer surfaces or silicone sleeves also help small hands maintain a secure grip.
The size of the cup matters significantly. A standard adult glass is too heavy and holds too much liquid, leading to muscle fatigue and massive spills. Choose a toddler-specific open cup with a capacity of 50ml to 120ml. Keeping the cup small and lightweight allows your child to lift, tilt, and set it down with greater control and precision.
Transitioning to an open cup requires patience and close caregiver supervision. Start by offering only a few sips of water at a time to keep messes manageable. You can also practice open-cup drinking during bath time, where spills do not matter. Using waterproof bibs with wide food-catching pockets and keeping a damp cloth nearby will help you manage the learning phase calmly.
Essential Safety and Material Checks Before Buying
When shopping for toddler drinking cups, safety should always come first. Carefully read product labels to verify that all components are free from harmful chemicals such as Bisphenol A (BPA), Polyvinyl Chloride (PVC), and phthalates. Look for clear labeling indicating food-grade silicone or high-quality, impact-resistant plastics like polypropylene.
In tropical environments, maintaining strict hygiene is crucial to protect your child’s developing immune system. However, not all cup materials can withstand high temperatures. Always check the manufacturer’s instructions regarding dishwasher safety, boiling, or steam sterilization limits. Some plastics can warp, degrade, or release microplastics if subjected to temperatures beyond their rated limit.
Regularly inspect your toddler’s cups for small, detachable parts that could pose a choking hazard. Ensure that valves, straw tips, and decorative elements are securely integrated into the cup’s design. If a part becomes loose, torn, or easily removable by a child’s hands or teeth, discontinue use immediately and replace the component.
Mold thrives in dark, damp spaces, making the internal pathways of toddler cups a prime target. To prevent mold growth, select cups designed with mold-resistant features, such as wide-diameter straws, fully detachable sealing rings, and transparent materials that allow you to visually inspect the interior. Avoid cups with permanently sealed double walls or non-removable valves where moisture can become permanently trapped.
Frequently Asked Questions (FAQ)
When should I stop using a sippy cup with a valve?
Most pediatric dentists recommend transitioning away from valve-restricted sippy cups by twelve to eighteen months of age. Prolonged use of cups that require strong, unnatural suction can alter swallowing patterns and potentially affect the alignment of developing teeth and jaw structure. If your child can successfully sip from a straw or control an open cup, it is time to phase out valved cups.
Look for observable signs of readiness, such as your child’s ability to swallow without spilling liquid from the corners of their mouth, or their interest in drinking from adult cups. Transitioning to free-flow cups—which do not have a spill-proof valve—allows liquid to flow naturally, helping your child learn to regulate their sipping pace without relying on hard suction.
How do I clean and maintain straw and valve cups to prevent mold?
To prevent mold accumulation, completely disassemble every part of the cup after each use. This includes removing silicone valves, pulling straws out of their housings, and taking off rubber sealing rings. Wash all parts in warm, soapy water, using specialized, narrow cleaning brushes to scrub the inside of straws and small valve openings where residue easily hides.
If the manufacturer’s instructions permit, sterilize the disassembled parts using steam, boiling water, or a UV sterilizer, taking care not to exceed the recommended temperature limits. After washing or sterilizing, lay all components flat on a clean, dry towel in a well-ventilated area. Ensure every part is completely dry before reassembling the cup, as trapping even a small amount of moisture can lead to rapid mold growth in humid climates.
What should I do if my toddler refuses the new cup?
If your toddler rejects a new cup, try adjusting the temperature of the liquid or offering a familiar beverage, such as breast milk or formula, to make the cup more appealing. Sometimes, simply seeing a familiar drink inside can encourage them to take a sip. You can also model the behavior by drinking from a similar cup yourself, as toddlers love to imitate their parents and caregivers.
Check if the flow rate of the cup is causing frustration. If the flow is too slow, your child may get tired of sucking; if it is too fast, they may choke and become fearful. If your child remains highly resistant, do not force the issue. Take a break for a few days, return to their familiar bottle or cup, and try introducing the new cup style again in a relaxed, pressure-free environment.

Community discussion
Share your experience or ask a question. Comments are reviewed before publication.