
Keeping your baby’s feeding equipment clean is one of the most frequent tasks you will undertake as a parent. While it might seem straightforward, finding the right balance between daily washing and sterilization is essential for protecting your infant’s developing immune system. At the same time, understanding when a bottle or nipple has reached the end of its usable life is crucial for preventing physical hazards and bacterial contamination.
Proper bottle care involves a combination of daily meticulous cleaning, targeted sterilization, and regular physical inspections. Because milk is highly nutritious, any residue left behind can quickly become a breeding ground for bacteria. By establishing a consistent routine, you can ensure your baby’s health is protected while maximizing the lifespan of your feeding gear.
Determining Sterilization Frequency by Age and Health
During the first three months of life, a baby’s immune system is still developing. During this newborn stage, pediatricians generally recommend sterilizing bottles, nipples, and feeding accessories at least once a day to provide an extra layer of defense against harmful pathogens.
Products mentioned in this guide
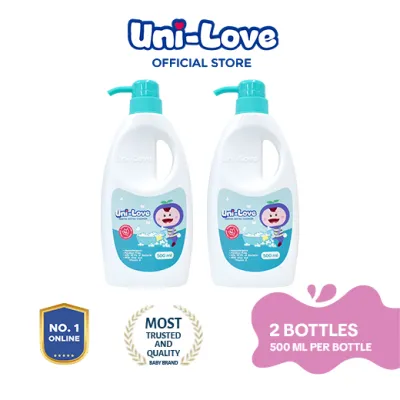
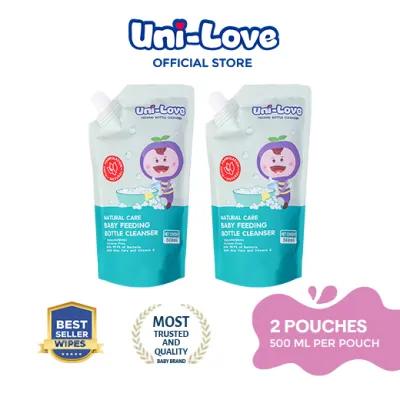
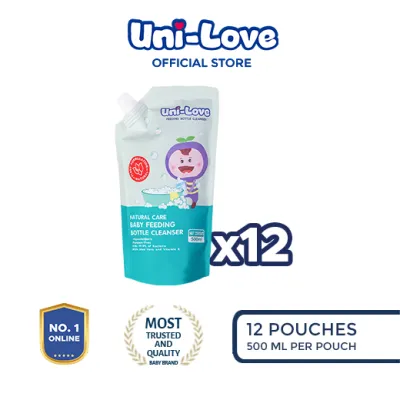
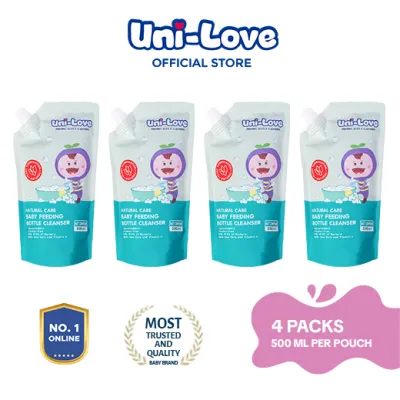
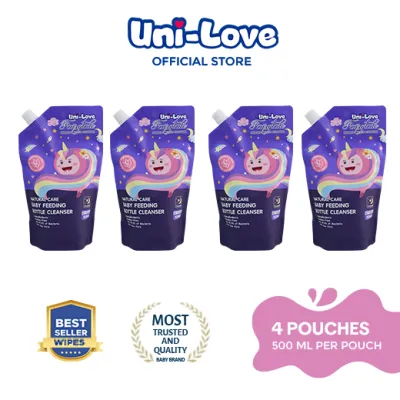
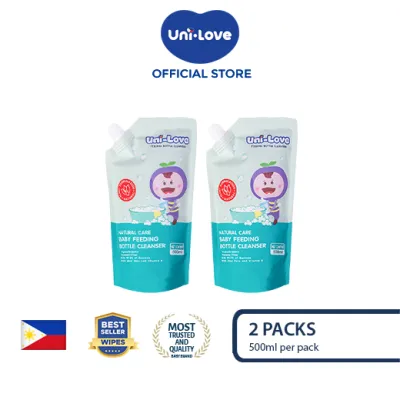
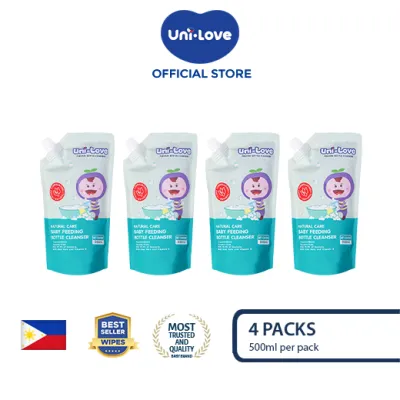
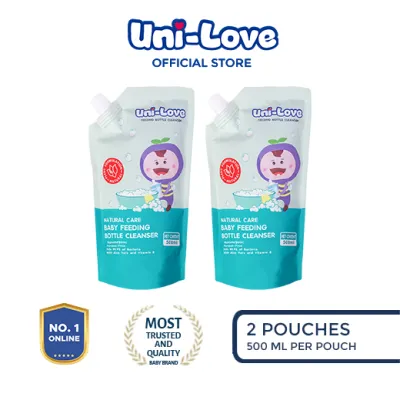
Prices are valid at publication and may change. Please refer to the product page for the latest price.
As infants reach the four-to-six-month mark, they begin to explore their environment by putting toys, hands, and other household objects into their mouths. At this stage, their immune systems have grown stronger, and the strict necessity for daily sterilization typically decreases for healthy babies. If you have access to safe, treated municipal tap water, transitioning to thorough washing with warm, soapy water after every feed is often sufficient, with sterilization reserved for once or twice a week.
However, certain health conditions demand a much more cautious approach. For babies born prematurely, those with low birth weight, or infants with compromised immune systems, daily sterilization remains a critical requirement for a much longer period. In these cases, even minor exposure to common environmental bacteria can lead to serious health complications.
Environmental factors also dictate your cleaning schedule. In tropical regions like the Philippines, high humidity and warm ambient temperatures create an ideal environment for rapid bacterial and mold growth on damp surfaces. If your household relies on well water, or if there are any concerns regarding the safety and filtration of your local water supply, continuous daily sterilization is highly recommended regardless of your baby’s age.
Ultimately, your pediatrician is your best resource for determining the right hygiene threshold for your family. They can evaluate your baby’s specific health profile, growth milestones, and local environmental conditions to give you a tailored recommendation. Never hesitate to ask for their guidance during routine checkups to ensure your cleaning habits align with your baby’s developmental needs.
Step-by-Step Guide to Washing and Sterilizing Bottles
Effective bottle hygiene begins immediately after a feeding session ends. Disassemble every part of the bottle completely, including the collar, nipple, cap, and any internal venting valves. Leaving the nipple inside the collar is a common mistake that traps milk residue in the crevices, leading to rapid bacterial growth. Rinse each component under cool, running water immediately to flush out remaining milk before it has a chance to dry and harden.

When you are ready to wash, avoid using the standard kitchen sink directly. Kitchen sinks are hubs for household bacteria from raw foods and dirty dishes, which can easily transfer to your baby’s bottles. Instead, invest a small amount of pesos (₱) in a dedicated plastic washbasin reserved solely for your baby’s feeding gear. Fill this basin with warm water and a mild, fragrance-free, baby-safe dishwashing liquid.
Use a dedicated bottle brush to scrub the inside of the bottles, ensuring you reach the very bottom and the curved shoulders. A smaller, specialized nipple brush is essential for cleaning the delicate silicone or latex tips without tearing them. Pay close attention to the screw threads of the bottle neck and the inside of the collar, as these areas are notorious for trapping dried milk. Once scrubbed, rinse each part thoroughly under clean running water to remove all soap residue.
After washing, you must decide on a sterilization method that aligns with the manufacturer’s guidelines for your specific bottle materials. Boiling is the most traditional and accessible method. Submerge the disassembled parts in a pot of boiling water for the duration specified by the manufacturer, which is typically five to ten minutes. Ensure that plastic parts do not touch the hot sides of the pot, as this can cause warping or melting.
Steam sterilization, whether using an electric countertop unit or a microwave steam bag, offers a highly convenient alternative. These devices use high-temperature vapor to eliminate microorganisms quickly. When loading a steam sterilizer, always arrange the bottles upside down so the steam can circulate freely inside the cavities.
UV sterilizers offer a waterless alternative, but they require careful handling. UV light only sterilizes surfaces it directly strikes; any shadow, curve, or water droplet can block the sanitizing rays. Additionally, prolonged UV exposure can accelerate the degradation of certain plastics and silicone nipples, causing them to become brittle or discolored. Always check your bottle manual to confirm UV compatibility before using this method.
Drying is the final, critical step in the sterilization process. In warm, humid tropical environments, leaving bottles wet on a counter invites mold and bacterial spores to settle on them. Place all sterilized components on a clean, dedicated drying rack in a well-ventilated area away from cooking fumes and household pests. Avoid using cloth towels to dry the bottles, as towels can easily transfer lint and bacteria back onto the clean surfaces. Let them air-dry completely before assembly.
How to Tell When Bottles and Nipples Need Replacing
No matter how carefully you wash and sterilize your baby’s feeding gear, every component has a limited lifespan. Regular visual and tactile inspections are necessary to identify when it is time to retire feeding gear. Plastic bottles, glass bottles, and silicone components degrade at different rates and present distinct warning signs.
Plastic bottles are highly popular due to their lightweight and shatterproof nature, but they are prone to wear. Inspect plastic bottles regularly for cloudiness, deep scratches, or persistent discoloration. Over time, repeated washing and heating can cause plastic to break down. Scratches on the interior surface are particularly problematic because they create microscopic crevices where milk proteins and bacteria can hide, resisting even thorough cleaning and sterilization. If a plastic bottle remains cloudy or retains a sour odor after washing, it should be replaced.
Glass bottles offer excellent durability and do not scratch easily, but they pose physical safety risks. Inspect glass bottles daily for any chips, hairline cracks, or sharp edges. Even a tiny chip near the rim can compromise the seal or shed glass particles. If you detect any structural damage, discard the glass bottle immediately. If your glass bottles use protective silicone sleeves, remove them periodically to inspect the glass underneath.
Nipples require the most frequent monitoring because they undergo constant suction, biting, and exposure to heat. Check the silicone or latex for stretching, stickiness, or thinning. A simple stretch test can reveal hidden wear: pull the tip of the nipple firmly; if it fails to snap back to its original shape or feels sticky to the touch, the material is breaking down and must be replaced.
A damaged nipple is not just a hygiene concern; it is a direct physical hazard. Look closely for tears, cracks, or punctures. A damaged nipple can tear further during a feed, creating a serious choking hazard if a piece breaks off in the baby’s mouth. Additionally, monitor the flow rate. If milk pours out in a steady stream rather than dripping steadily, the opening has stretched, which can cause your baby to gag, choke, or swallow excess air.
Rather than relying solely on calendar-based timelines, base your replacement decisions on these physical checks and the manufacturer’s recommended lifespan guidelines. Generally, manufacturers suggest replacing nipples every two to three months and plastic bottles every four to six months. However, if you observe any signs of physical degradation, replace the item immediately regardless of how long you have owned it.
Building a Practical and Safe Daily Care Routine
Integrating bottle care into your daily schedule does not have to be a source of constant stress. Consider batch cleaning your bottles once or twice a day rather than washing a single bottle after every feed. This saves water, detergent, and energy, especially when running a sterilizer. Having a set of six to eight bottles allows you to manage a full day of feeding without feeling rushed to clean.
Once your bottles are completely dry, store them in a clean, covered container or a closed cabinet to protect them from dust, insects, and airborne contaminants. Always wash your hands thoroughly with soap and water before handling sterilized equipment or assembling bottles for storage. Assemble the bottles completely (with the nipples inverted or covered by the cap) to keep the interior surfaces sterile until the next feed.
Maintaining this routine when away from home requires forward planning. When traveling or preparing for daycare, carry pre-measured water and formula in separate, clean containers, and assemble the bottle only when it is time to feed. If you will not have access to a dedicated washbasin or sterilizer on the go, pack enough clean, pre-sterilized bottles to last the entire outing, and bring a clean wet-bag to store used bottles until you return home.
Always prioritize safety over convenience. If a bottle crack appears or a nipple shows signs of tearing while you are away from home, stop using that component immediately. Keeping a spare, brand-new bottle and nipple set in your diaper bag ensures you always have a safe backup ready, preventing the temptation to use damaged gear in an emergency.
Frequently Asked Questions (FAQ)
Do I need to sterilize bottles after every single use?
For healthy, older infants living in areas with safe tap water, a thorough wash with warm, soapy water after every use is generally sufficient, with sterilization performed periodically. However, for newborns under three months, premature infants, or babies with weakened immune systems, pediatricians strongly recommend sterilizing bottles after every single use to protect their developing bodies from harmful pathogens.
Can I put baby bottles and nipples in the dishwasher?
You can put baby bottles and nipples in the dishwasher only if the manufacturer’s instructions explicitly state they are dishwasher-safe. Always place small parts, collars, and nipples in a secure top-rack basket to prevent them from falling onto the heating element, which can melt or warp them. Use a hot wash cycle and a heated drying cycle to aid sanitization, but be aware that frequent dishwasher use can accelerate the wear and tear of plastic and silicone components.

Community discussion
Share your experience or ask a question. Comments are reviewed before publication.