
Starting your cloth diaper journey is an empowering and practical choice that begins with selecting the right diaper style, mastering a secure fit, and establishing a consistent washing routine. By understanding how modern reusable diapers function, you can significantly reduce household waste, protect your baby’s delicate skin from synthetic chemicals, and save thousands of pesos over your child’s diapering years.
Setting Expectations for Cloth Diapering
Transitioning from single-use disposables to a reusable cloth diaper system is a rewarding journey, though it does come with a brief learning curve. Many new mothers in the Philippines find that the initial adjustment is less about the complexity of the diapers themselves and more about establishing a manageable laundry rhythm. In our warm, tropical climate, factors like high humidity and seasonal rains play a major role in how you manage your daily diaper rotation, making breathability and fabric selection particularly important.
The long-term benefits of making this switch are substantial. From a financial perspective, investing in reusable diapers can save your family tens of thousands of pesos compared to purchasing thousands of disposable diapers from infancy to potty training. Environmentally, you prevent a massive volume of non-biodegradable waste from ending up in local landfills. Additionally, many parents choose cloth to minimize their baby’s exposure to the synthetic fragrances, superabsorbent polymers, and plastics found in standard single-use options.
Products mentioned in this guide
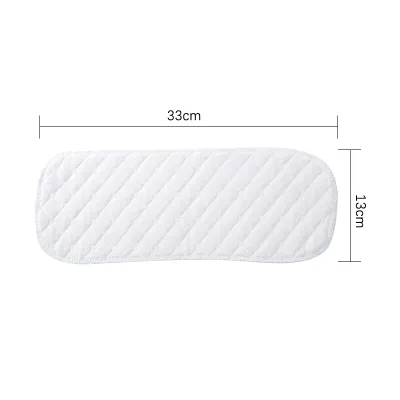
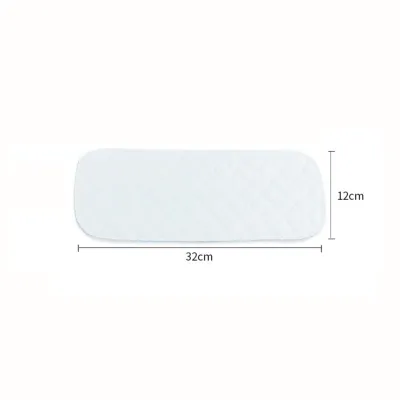

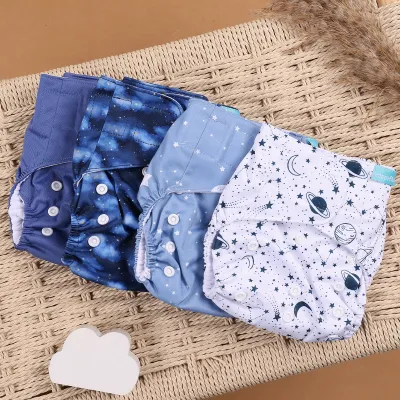
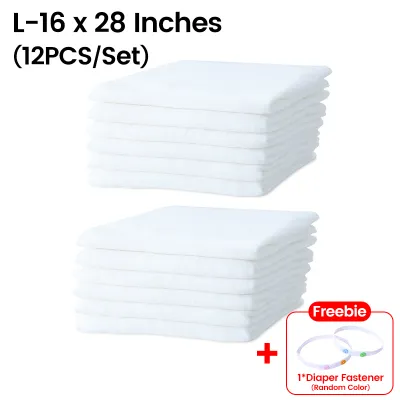
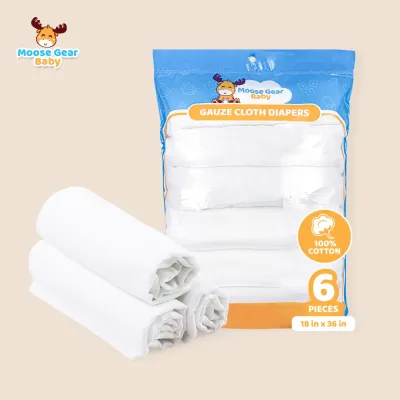
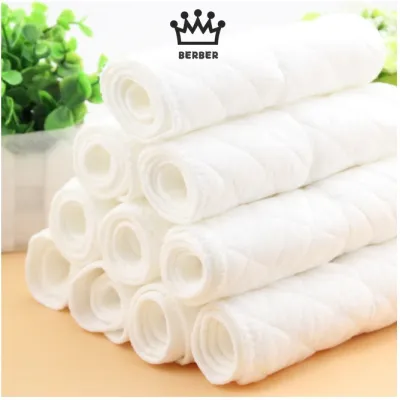
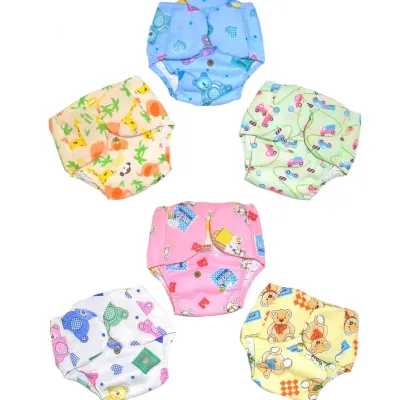
Prices are valid at publication and may change. Please refer to the product page for the latest price.
However, it is crucial to set realistic expectations before you begin. Preparing for this transition means acknowledging both the upfront financial investment and the ongoing commitment to laundry. A complete set of reusable diapers requires a higher initial cash outlay than a few packs of disposables, and you will need to factor in the water and electricity costs of running regular wash cycles.
Ultimately, success with cloth diapering does not require a one-size-fits-all approach or achieving absolute perfection. Many families find their rhythm by using cloth at home and disposables when traveling, or by mixing different styles. The key is to find a flexible system that seamlessly fits your household’s daily routine, accommodates your washing facilities, and respects your baby’s unique skin sensitivity.
Understanding the Main Types of Cloth Diapers
Navigating the world of reusable diapers can feel overwhelming at first due to the variety of styles, materials, and closure systems available. Choosing the right style depends heavily on your lifestyle, budget, and how much time you can dedicate to washing and drying. To help you make an informed decision, modern cloth diaper options are generally divided into two main categories: user-friendly modern systems and highly customizable traditional systems.

Pocket and All-in-One (AIO) Diapers
Pocket diapers and All-in-One (AIO) diapers are designed to mimic the shape and ease of use of disposable diapers, making them incredibly popular among beginners. A pocket diaper consists of a waterproof outer shell with a soft stay-dry inner lining that features an opening, or “pocket,” at the back. You customize the absorbency by stuffing reusable inserts made of microfiber, bamboo, or hemp into this pocket before putting the diaper on your baby.
All-in-One diapers take convenience a step further by having the absorbent layers sewn directly into the waterproof cover. This design eliminates the need for stuffing or assembly, making AIOs the most intuitive option for busy caregivers, grandparents, or daycare providers who may be unfamiliar with cloth systems. The primary trade-off for this convenience is drying time; because the thick absorbent layers are permanently attached to the waterproof shell, AIOs generally take significantly longer to air-dry, especially during the humid rainy season in the Philippines.
Prefolds, Flats, and Covers
For parents seeking a highly budget-friendly and versatile option, traditional systems utilizing prefolds or flats paired with a separate waterproof cover are excellent choices. A “flat” is a large, single-layer square of woven cotton or bamboo, while a “prefold” is a rectangular piece of fabric divided into three panels, with the middle panel containing extra layers of absorbency. Both styles require you to fold the fabric around your baby and secure it with diaper pins or a modern fastener before placing a separate waterproof cover over the top.
While mastering the various folding techniques presents a steeper learning curve, this traditional system offers unmatched flexibility and practical advantages. Because flats and prefolds unfold into single or thin layers of fabric, they wash thoroughly and dry exceptionally fast on a clothesline, even in humid weather. Additionally, because you can reuse the waterproof cover multiple times by simply wiping it clean between changes (provided it is not soiled with solid waste), this system requires fewer total covers, making it the most cost-effective way to cloth diaper your baby.
Building Your Starter Stash and Gathering Supplies
Before you transition your baby into cloth, you will need to assemble a reliable collection of diapers and essential accessories. Building a starter stash does not require buying everything at once; instead, aim for a modest inventory that allows you to test different styles while maintaining a manageable washing schedule.
For a newborn baby, who may require 10 to 12 diaper changes per day, a starter stash of 20 to 30 diapers is recommended if you plan to wash every two days. If you are starting with an older baby or toddler who needs fewer changes, you can comfortably begin with a smaller stash of 15 to 20 diapers. Having this quantity ensures you always have clean, dry diapers ready to use while a soiled batch is in the laundry or hanging on the line.
Alongside the diapers themselves, several practical accessories will make your daily routine much smoother:
- Waterproof Wet Bags: Large, zippered bags made of polyurethane laminate (PUL) are essential for storing soiled diapers at home or in your diaper bag without leaking moisture or odors.
- Diaper Liners: Reusable fleece liners or disposable, flushable bamboo liners can be placed inside the diaper to catch solid waste, making cleanup significantly easier.
- Cloth-Diaper-Safe Detergent: You will need a reliable laundry detergent that cleans thoroughly without leaving behind residues that can irritate your baby’s skin or clog the diaper fabric.
When caring for your cloth diapering supplies, always prioritize the manufacturer’s care labels and material instructions. It is critical to strictly avoid fabric softeners, dryer sheets, and harsh chlorine bleach, as these products coat the fabric fibers, destroy absorbency, and can degrade the waterproof laminate over time.
Step-by-Step Guide to Fitting a Cloth Diaper
A proper fit is the absolute key to preventing leaks, ensuring your baby’s comfort, and protecting their delicate skin from friction. Unlike disposable diapers, which stretch easily, cloth diapers require a specific fitting technique to create a reliable, comfortable seal around your baby’s body.
Step 1: Prep the Diaper Before putting the diaper on your baby, prepare the absorbent layers. If you are using pocket diapers, stuff the inserts flat and evenly inside the pocket, ensuring there are no bunches or folds. If you are using flats or prefolds, complete your chosen fold and place it securely inside the waterproof cover, adjusting the thickness to concentrate absorbency where your baby wets most (typically toward the front for boys and the center for girls).
Step 2: Position the Diaper Lay your baby down and slide the prepared diaper underneath their hips. Position the back of the diaper high enough so that the top edge sits just above the hips, which helps prevent leaks and messy blowouts along the back.
Step 3: Secure the Closures Bring the front of the diaper up over your baby’s tummy, keeping the fabric flat. Fasten the snaps or Velcro tabs snugly but comfortably. To verify that the waist is not too tight, apply the “Two-Finger Rule”: you should be able to slide two fingers easily between the diaper’s waistband and your baby’s tummy without forcing them.
Step 4: Perform the Leg Check This is the most critical step in preventing leaks. Run your finger along the leg elastic on both sides, ensuring that the inner fabric is tucked completely into the groin crease, much like a pair of underwear. The elastic must sit snugly against the skin without leaving any visible gaps, as gaps around the thighs are the primary cause of leaks.
Step 5: Ensure Newborn Safety If you are diapering a newborn, ensure that the front of the diaper sits well below the umbilical cord stump to prevent irritation and allow it to dry safely. Finally, always monitor your baby’s skin after removing a diaper; if you notice deep, persistent red marks that do not fade within a few minutes, stop using that setting, adjust the fit, or size up to prevent discomfort and skin chafing.
Establishing a Safe and Effective Washing Routine
Developing a consistent and hygienic laundry routine is vital to maintain the absorbency of your cloth diapers, prevent unpleasant odors, and protect your baby’s skin. Because diapers hold organic waste, they require a more thorough washing process than standard household clothing.
The Pre-Wash Cycle Begin your routine with a short, cold pre-wash or rinse cycle using a small amount of detergent. This initial step is designed to flush away urine and loose solid waste, preventing organic matter from baking into the fabric fibers during the main wash. Never skip this step, as washing heavily soiled diapers directly in a hot cycle can set stains and trap odors permanently.
The Main Wash Cycle Once the pre-wash is complete, run a heavy-duty, long wash cycle using warm or hot water, making sure to stay within the temperature limits specified by your diaper manufacturer. Add the full recommended dosage of a cloth-safe detergent. For optimal cleaning, proper machine agitation is crucial; the washing machine drum should be roughly two-thirds full to allow the diapers to rub against each other, which mechanically scrubs the fibers clean. Avoid overloading the machine, which prevents proper rinsing, or underloading it, which reduces cleaning friction.
The Rinsing Phase After the main wash, ensure the diapers undergo a thorough rinse cycle to remove all traces of detergent. Residual soap left in the fabric can lead to detergent buildup, which causes the fabric to repel liquids instead of absorbing them, often resulting in skin irritation and diaper rash. If you notice persistent soap bubbles or a slick feel on the wet fabric, run an additional rinse cycle with plain water.
Drying the Diapers In the Philippines, taking advantage of the warm climate by line-drying your diapers in direct sunlight is highly recommended. Sunlight acts as a natural bleaching agent that fades stubborn stains and possesses natural sanitizing properties. However, be cautious with your waterproof covers and pocket shells made of polyurethane laminate (PUL); avoid exposing these waterproof components to high heat in a mechanical dryer or leaving them in intense, direct midday sun for extended periods, as excessive heat can melt the laminate, ruin the elastics, or cause delamination.
Troubleshooting Common Cloth Diaper Issues
It is completely normal to encounter a few challenges as you adjust to cloth diapering. Most issues, such as leaks, odors, or minor skin redness, can be easily resolved by making small adjustments to your fit, washing routine, or diaper accessories.
Addressing Persistent Leaks If you experience frequent leaks, first inspect the fit around your baby’s legs to ensure there are no gaps or tucked-in clothing drawing moisture outward. Next, consider compression leaks, which occur when an insert is fully saturated and squeezes liquid out under the baby’s weight; this is common with microfiber inserts and can be solved by upgrading to highly absorbent natural fibers like bamboo or hemp. Finally, check if the diaper fabric is repelling liquid, which is a sign of detergent or fabric softener buildup.
Eliminating Ammonia Odors A strong, pungent ammonia smell when your baby wets indicates that urine residue or minerals from hard water have become trapped in the fabric fibers. To resolve this, you will need to adjust your washing routine by increasing your detergent dosage, improving machine agitation, or performing a deep “strip wash” to remove the buildup. Always consult your diaper manufacturer’s specific guidelines before attempting a strip wash to avoid damaging the materials or voiding your warranty.
Managing Diaper Rash If your baby develops a diaper rash, it is important to differentiate between a mild friction rash caused by a tight fit and a persistent yeast or bacterial infection. For any persistent, spreading, or painful rash, stop using cloth temporarily and consult a qualified pediatrician or medical professional. When applying diaper creams, verify that the ingredients are cloth-safe, or always use a disposable liner to protect the diaper fabric, as standard zinc oxide or petroleum-based creams can permanently coat and waterproof the fibers.
Frequently Asked Questions (FAQ)
Can I use cloth diapers overnight?
Yes, you can successfully use cloth diapers overnight by boosting their absorbency to handle long sleep stretches. To do this, add highly absorbent natural fiber inserts, such as hemp or bamboo, which hold more liquid without adding excessive bulk. Alternatively, pairing a fitted cotton diaper with a breathable wool or fleece cover provides superior overnight leak protection while keeping your baby’s skin dry and comfortable throughout the night.
How do I handle solid waste before washing?
The method for handling solid waste depends on your baby’s feeding stage and development. If your baby is exclusively breastfed, their stool is completely water-soluble and can go directly into your washing machine without pre-rinsing. However, once your baby begins consuming formula or solid foods, the waste is no longer water-soluble; you must scrape, spray with a diaper sprayer, or use a flushable liner to shake the solid waste into the toilet before placing the diaper in your wet bag.

Community discussion
Share your experience or ask a question. Comments are reviewed before publication.