
When preparing for a new baby, choosing the right bottle sterilizer with dryer is one of the most practical decisions you will make for your daily kitchen workflow. In the Philippines, where high humidity levels can encourage mold and bacterial growth on damp surfaces, a sterilizer that includes a dedicated drying function is highly beneficial. However, the market is divided into two primary technologies: steam sterilizers and ultraviolet (UV) sterilizers. Both methods aim to keep your baby’s feeding gear clean, but they interact with bottle materials, household space, and your daily schedule in completely different ways.
The core difference lies in how they eliminate microorganisms and how they affect the physical integrity of your bottles over time. Steam sterilizers rely on high-temperature water vapor to penetrate every crevice, making them highly effective for traditional glass and silicone bottles. On the other hand, UV sterilizers use ultraviolet light rays to disrupt the DNA of pathogens without using water, offering a dry, low-heat alternative that doubles as a sterile storage cabinet. To make the right choice, you must evaluate the specific materials of your bottle collection, your tolerance for routine appliance maintenance, and how much kitchen counter space you can spare.
Material Compatibility: Matching the Sterilizer to Your Bottles
Before purchasing any sterilizer, you must audit your baby bottle collection. Baby bottles and feeding accessories are manufactured from a variety of materials, including borosilicate glass, medical-grade silicone, and various plastics like polypropylene (PP), polyethersulfone (PES), and polyphenylsulfone (PPSU). Each of these materials reacts differently to the intense heat of steam and the electromagnetic radiation of UV-C light.
Products mentioned in this guide
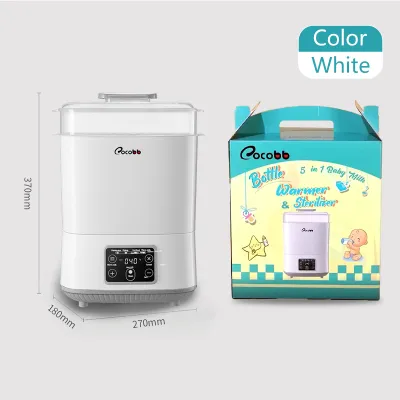
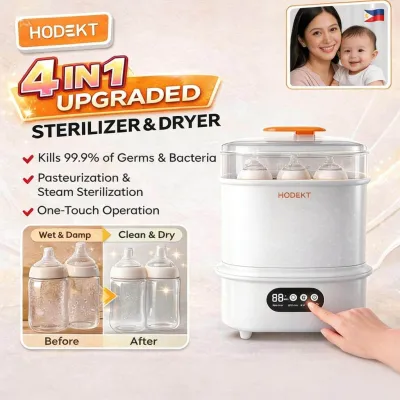
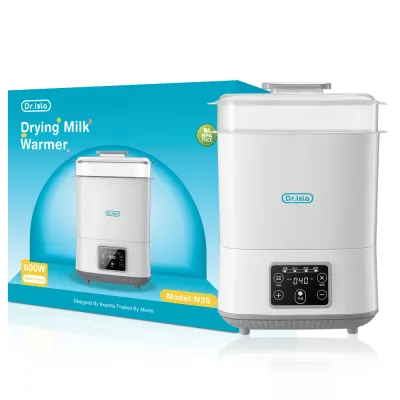
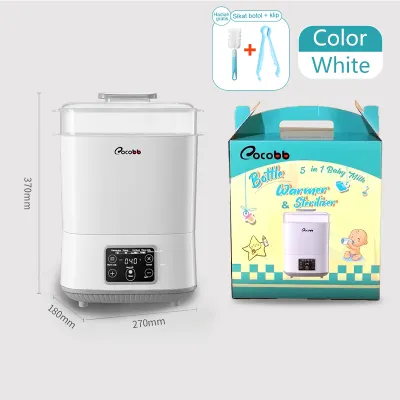
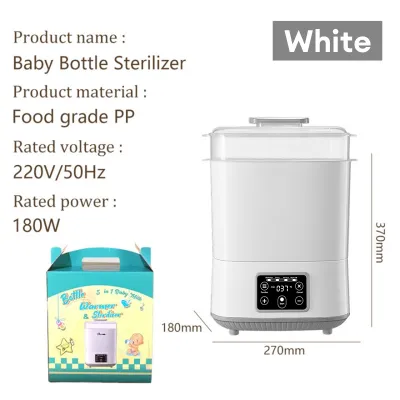
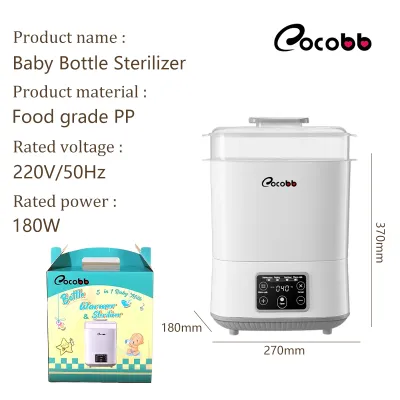
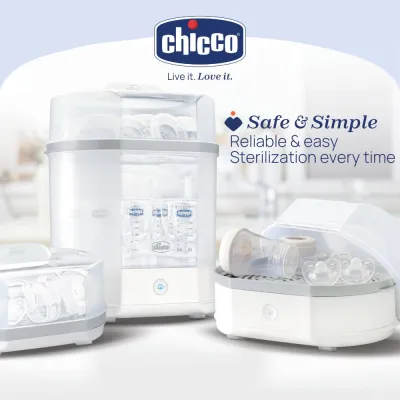
Prices are valid at publication and may change. Please refer to the product page for the latest price.
Glass and medical-grade silicone are the most resilient materials in a baby’s feeding toolkit. High-quality borosilicate glass bottles can withstand extreme temperature fluctuations, making them perfectly suited for the intense heat of steam sterilization, which regularly reaches and exceeds 100°C. Similarly, medical-grade silicone—commonly used for bottle nipples, pacifiers, and breast pump valves—tolerates both high-heat steam and UV exposure without losing its elasticity or structural integrity. If your bottle collection consists primarily of glass and silicone, either sterilization technology will work safely.
Plastics require much closer inspection. Polypropylene (PP) is the most common plastic used in standard baby bottles due to its affordability and lightweight nature. However, PP has a lower heat tolerance compared to other engineering plastics and can warp or degrade if subjected to repeated, prolonged steam cycles. Conversely, when PP is exposed to continuous UV-C light, the radiation can break down the polymer chains over time. This process, known as photodegradation, can make the plastic brittle, cloudy, or prone to micro-cracking, which may shorten the lifespan of the bottles.
More advanced plastics like PPSU and PES offer superior heat and chemical resistance. PPSU bottles, often recognizable by their natural honey-colored tint, are highly durable and can withstand hundreds of high-heat steam cycles without warping. While they also handle UV exposure better than standard PP, some manufacturers still advise caution regarding long-term UV sterilization. Because material formulations vary widely across brands, caregivers must always check the manufacturer’s labels and user manuals. Look for explicit symbols or text indicating whether the bottles are “steam-safe,” “dishwasher-safe,” or “UV-compatible” to prevent premature wear or chemical degradation of the plastic.
Cycle Duration and Daily Workflow
The rhythm of your day as a caregiver often dictates which sterilizer fits best into your home. A bottle sterilizer with dryer operates in distinct phases: an active sterilization phase followed by a drying cycle. Understanding how these phases run—and what happens when they finish—is key to managing your daily feeding preparation.

Steam sterilizers are built for speed during the active phase. Once you add water to the reservoir and turn the unit on, the water quickly heats to a boil, creating dense steam that sterilizes the contents in about 6 to 12 minutes. However, because steam introduces a massive amount of moisture into the chamber, a lengthy drying cycle is required afterward to remove condensation. This drying phase typically takes anywhere from 30 to 60 minutes, depending on the machine’s fan strength. A critical factor to consider is the cool-down period. When a steam cycle ends, the interior components are extremely hot and covered in hot condensation. Caregivers must wait for the unit to cool down before safely handling the bottles to avoid steam burns. Furthermore, if you interrupt the drying cycle early to grab a bottle, the remaining items will stay damp, creating a breeding ground for bacteria if left in the humid chamber.
UV sterilizers operate on a completely dry workflow. Because they rely on UV-C light bulbs or LED arrays to sterilize, they do not require water or steam. The sterilization phase and the drying phase are often integrated, with low-heat drying (usually around 50°C to 55°C) running first or simultaneously to ensure the bottles are dry before the UV light activates. A standard UV cycle can take longer overall—often 30 to 50 minutes—but the bottles emerge cool to the touch and ready for immediate use.
The most significant workflow advantage of a UV sterilizer is its storage capability. Because the interior remains entirely dry and free of moisture, the unit can function as a sterile storage cabinet. Many UV models feature an “auto” or “storage” mode that runs a brief UV and drying cycle every few hours. This allows you to wash and sterilize a batch of bottles, leave them inside the closed machine, and pull out a warm, dry, sterile bottle whenever your baby is ready to feed, which is incredibly convenient during late-night or early-morning routines.
Space, Maintenance, and Upkeep
Every kitchen appliance requires physical space and ongoing maintenance to perform safely. For steam sterilizers, the primary maintenance task is descaling. Because these units boil water to create steam, any minerals present in the water will settle on the heating plate. In many parts of the Philippines, tap water contains high levels of dissolved minerals, leading to rapid calcium and limescale buildup. This white or brown crust reduces heating efficiency and can cause the machine to overheat or shut down prematurely. To prevent this, caregivers must descale the heating plate weekly using a mixture of food-grade citric acid or white vinegar and water, followed by a thorough rinse. Additionally, steam units require a nearby water source for filling and must be placed in an open area where the escaping hot steam won’t damage overhead wooden cabinets or paint.
UV sterilizers do not use water, completely eliminating the need for descaling. However, they require a different kind of upkeep. The interior of a UV sterilizer is lined with highly reflective stainless steel to ensure the UV-C light bounces into every corner of the bottles. Over time, dust, fingerprints, or water spots can accumulate on these reflective walls, reducing the intensity of the light. Caregivers must regularly wipe down the interior with a clean, dry microfiber cloth.
Furthermore, the light source itself requires monitoring. If the UV sterilizer uses traditional UV-C fluorescent bulbs, these bulbs gradually lose their germicidal effectiveness over time, even if they still emit visible light. Manufacturers typically recommend replacing these bulbs every 6 to 12 months. Newer models utilizing UV-C LED arrays last significantly longer and rarely require replacement, but they often come with a higher upfront purchase price. In terms of space, UV sterilizers are generally larger and heavier than steam units, resembling a small countertop oven. They do not emit steam, meaning they can be safely tucked under kitchen cabinets, but they do require a dedicated, permanent spot on your countertop.
Side-by-Side Comparison Matrix
To help you quickly evaluate the practical differences between these two technologies, the table below summarizes their core physical traits, maintenance needs, and operational workflows.
| Feature | Steam Sterilizer with Dryer | UV Sterilizer with Dryer |
|---|---|---|
| Sterilization Method | High-temperature steam (moist heat) | UV-C light (dry, low-temperature heat) |
| Ideal Bottle Materials | Glass, medical-grade silicone, heat-resistant plastics (PP, PPSU) | Glass, silicone, UV-compatible plastics |
| Post-Cycle Handling | Requires cool-down; must remain closed to stay sterile | Cool to the touch; ready for immediate use |
| Maintenance Tasks | Regular descaling of heating plate; water drainage | Wiping reflective interior; periodic bulb replacement |
| Storage Capability | Limited (must remain sealed; moisture can accumulate) | Excellent (acts as a dry, sterile storage cabinet) |
How to Decide: Choose Steam or UV?
When making your final decision, consider your budget, your bottle materials, and how much time you want to spend on appliance maintenance.
Choose Steam if… You primarily use glass or silicone baby bottles, which easily tolerate high temperatures. Steam sterilizers are also ideal if you prefer a traditional, water-based sterilization method that has been trusted for generations. They generally have a lower upfront cost, making them highly accessible for growing families. However, you must be prepared to perform regular descaling of the heating plate, especially if you do not have easy access to distilled water, and you must ensure you have a safe spot in your kitchen where escaping steam will not cause damage.
Choose UV if… You use a variety of plastic bottles and accessories that are certified as UV-compatible, and you want the ultimate convenience of a dry storage solution. A UV sterilizer is perfect for busy parents who want to wash bottles, place them in the machine, and leave them there until they are needed, without worrying about dampness or mold. It is also the better choice if you want to avoid the chore of descaling and water measuring, provided you have the countertop space and budget for a larger, premium appliance.
Verify first if… Your specific bottle brand, pacifier manufacturer, or breast pump brand has strict warranty conditions regarding sterilization. Some high-end feeding systems use specialized plastics or delicate silicone membranes that can degrade rapidly under UV light or warp under intense steam heat. Always consult the user manuals of your feeding accessories before exposing them to either sterilization method to ensure you do not accidentally damage your equipment or void its warranty.
Frequently Asked Questions (FAQ)
Can I put breast pump parts and pacifiers in a UV sterilizer?
Yes, but you must verify the material compatibility of each individual component first. Hard plastic breast pump flanges, connectors, and standard silicone pacifiers are typically safe for UV sterilization. However, soft silicone membranes, duckbill valves, and natural rubber or latex pacifiers can degrade, discolor, or lose their elasticity much faster when exposed to UV-C light or high steam heat. If a manufacturer explicitly warns against UV exposure for a specific part, it is best to wash it thoroughly with warm, soapy water and air-dry it, or use the alternative sterilization method recommended in the product manual to prevent premature wear.
Do I still need to wash bottles before using the sterilizer?
Yes, thorough washing is an absolute prerequisite for both steam and UV sterilization. A bottle sterilizer with a dryer is designed to eliminate microscopic pathogens, but it cannot wash away physical debris, milk fats, or organic residue. If you place a dirty bottle into a sterilizer, any leftover milk film will act as a physical shield, blocking UV light from reaching the surface underneath, or it will bake onto the bottle during a steam-drying cycle, creating a stubborn, unhygienic crust. Always wash all bottle parts with baby-safe dishwashing liquid and a bottle brush, rinsing them completely with clean water before loading them into the sterilizer.
Community discussion
Share your experience or ask a question. Comments are reviewed before publication.