
As your little one transitions from crawling to taking their first tentative steps, baby-proofing your home becomes an urgent priority. Exploring options for a reliable gate for baby safety is one of the most effective ways to block access to hazardous areas like kitchens, balconies, and staircases. However, choosing the wrong type of gate or installing it incorrectly can introduce new safety hazards rather than eliminating them.
To make the right choice, you must understand the fundamental differences between pressure-mounted and hardware-mounted baby gates. The decision is not merely a matter of personal preference or budget; it depends entirely on where you plan to install the gate, the structural integrity of your walls, and your child’s developmental stage. Selecting the correct mounting style ensures your child remains protected while preserving the flow and safety of your daily home life.
Quick Answer: Which Baby Gate Mounting Style Do You Need?
To quickly determine which baby gate mounting style is appropriate for your home, you must evaluate the specific location of the barrier and the physical condition of the mounting surfaces. A single home often requires a combination of both gate types to address different rooms and structural layouts safely.
Products mentioned in this guide
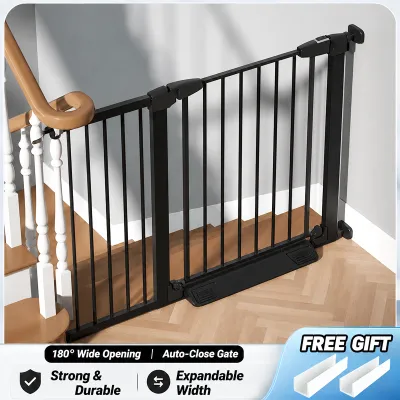
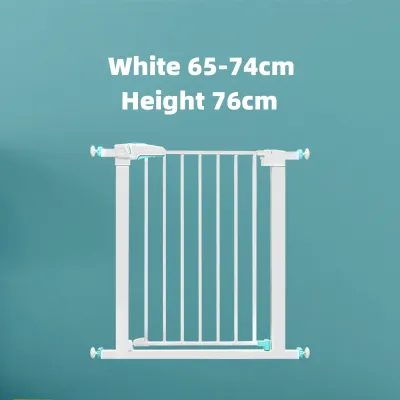
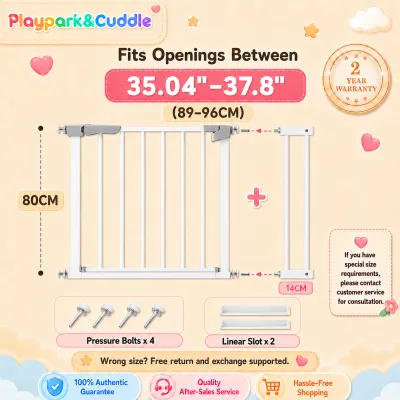
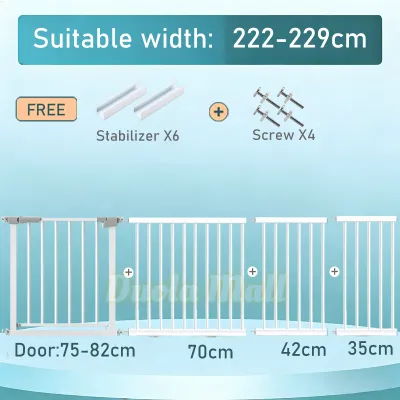
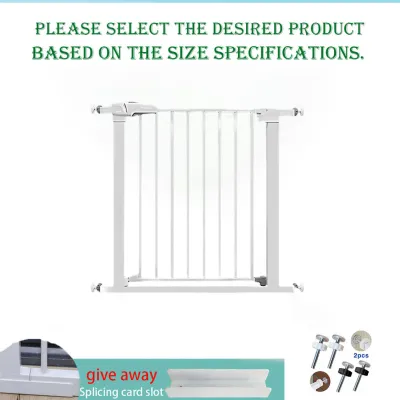
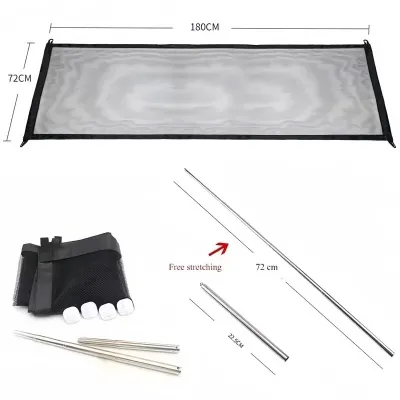
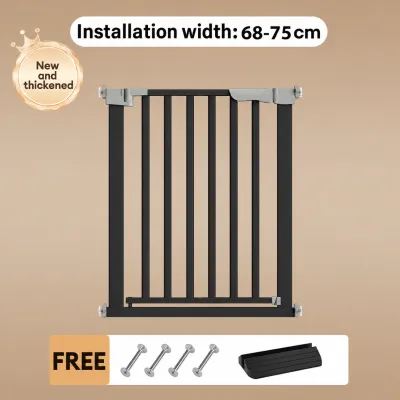
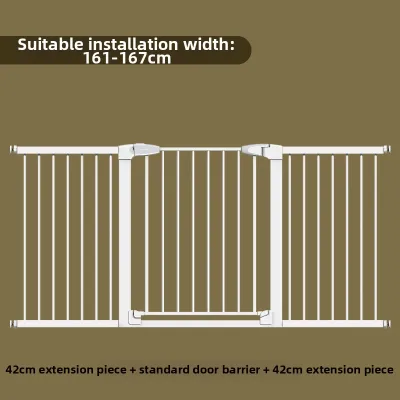
Prices are valid at publication and may change. Please refer to the product page for the latest price.
Choose Hardware-Mounted Baby Gates if:
- You are blocking the top of a staircase: This is a non-negotiable safety requirement to prevent catastrophic falls.
- You have uneven or angled walls: Hardware-mounted gates feature adjustable brackets that can compensate for irregular architectural features.
- Your child is an active climber or heavy pusher: Hardware gates offer the maximum structural stability needed to withstand significant force.
- You want a completely flush walkway: These gates do not have a bottom threshold bar, eliminating any risk of tripping.
Choose Pressure-Mounted Baby Gates if:
- You are blocking flat doorways or hallways: These level, high-traffic areas are ideal for temporary, low-risk barriers.
- You live in a rental property: Pressure gates do not require drilling, helping you avoid security deposit deductions for wall damage.
- You need a temporary or portable solution: These gates are easy to uninstall, pack, and reinstall in different rooms or take along when traveling.
- You have solid, parallel walls: The mounting surfaces must be sturdy enough to withstand constant outward pressure without bowing or cracking.
Never use a pressure-mounted gate at the top of a staircase. Because pressure gates rely solely on friction and outward tension to stay in place, they can slip or dislodge completely if a child leans, climbs, or falls against them. Additionally, pressure gates feature a rigid bottom frame bar that remains on the floor even when the gate is swung open, presenting a severe tripping hazard at the edge of a stairwell.
Understanding Pressure-Mounted Baby Gates
Pressure-mounted baby gates operate on a simple mechanical principle: they use internal tension to push outward against two parallel surfaces, holding the gate in place using friction. The ends of the gate are equipped with rubberized tension pads that grip the wall or doorframe. Because this installation method requires no screws, drills, or permanent alterations to your home, it is a highly popular option for parents seeking a quick, damage-free setup.

However, the structural design of pressure-mounted gates introduces a significant physical constraint: the bottom threshold bar. This metal or wooden bar runs along the floor to connect the side frames and maintain the necessary outward tension. Even when the gate door is fully open, this threshold bar remains in place. In high-traffic areas, this bar is a persistent tripping hazard, especially when you are carrying a sleeping baby, holding a laundry basket, or navigating the house in low light.
Furthermore, pressure-mounted gates require flat, solid, and perfectly parallel mounting surfaces to function safely. They cannot be securely installed against decorative molding, uneven plaster, or angled walls. If the surfaces are not parallel, the tension pads will not distribute pressure evenly, making the gate highly susceptible to sliding out of position under minimal force.
In tropical environments like the Philippines, high humidity levels can affect the performance of pressure-mounted gates over time. Moisture in the air can cause wooden doorframes to swell or contract, and it can make rubber tension pads slick, reducing their grip on painted walls. Consequently, pressure-mounted gates require regular maintenance. Caregivers must perform weekly checks to verify that the tension indicators are in the safe zone and manually test the gate’s stability to ensure it has not shifted or loosened.
Understanding Hardware-Mounted Baby Gates
Hardware-mounted baby gates are physically anchored into the structural framing of your home using screws, mounting brackets, and heavy-duty hardware. This direct connection makes them the sturdiest and most reliable safety barriers available. Because they are mechanically fastened to the wall studs or doorframes, they can withstand significant impact and weight without budging.
One of the greatest daily advantages of a hardware-mounted gate is the absence of a bottom threshold bar. When you unlatch and swing a hardware-mounted gate open, the entire walkway is completely clear and flush with the floor. This design eliminates the risk of tripping, making it the ideal choice for high-traffic doorways, busy hallways, and any area where family members frequently carry heavy loads or push strollers.
While hardware-mounted gates offer superior safety, they require a more involved installation process. Installing these gates requires a drill, a level, a measuring tape, and a clear understanding of your home’s wall construction. In many modern Philippine homes, walls are constructed from concrete or concrete hollow blocks rather than wooden studs and drywall. Mounting a gate to concrete requires a hammer drill, masonry drill bits, and plastic wall plugs (commonly referred to locally as “tox”) to ensure the screws remain anchored under pressure.
Additionally, hardware-mounted gates are highly versatile when dealing with challenging architectural layouts. If your walls meet at an angle, or if you need to mount the gate to a banister on one side and a drywall on the other, hardware gates can be fitted with specialized mounting adapters. While they leave permanent screw holes that will require wood filler, spackling, and paint to repair once the gate is retired, this minor cosmetic repair is a necessary trade-off for absolute structural safety.
Critical Safety Comparison: Doorways vs. Staircases
When planning your home’s baby-proofing layout, you must evaluate each installation point individually. The level of risk changes dramatically depending on whether a gate is placed in a flat hallway or at the boundary of a staircase.
Top of Stairs
The top of a staircase is the most high-risk area in any home. If a child falls from this height, the injuries can be severe. For this reason, hardware-mounted gates are mandatory at the top of all staircases. A pressure-mounted gate must never be installed here under any circumstances. If a toddler runs into, leans heavily on, or attempts to climb a pressure gate, the friction pads can slip, causing the entire gate to collapse outward and sending both the gate and the child down the stairs. Additionally, the bottom threshold bar of a pressure gate is a major tripping hazard; tripping at the top of a staircase is highly likely to result in a dangerous fall.
Bottom of Stairs
The bottom of the stairs presents a slightly different set of safety dynamics. While a fall here is less dangerous than at the top, a gate is still necessary to prevent curious toddlers from climbing up the steps unsupervised. A pressure-mounted gate can be used at the bottom of the stairs, but only if it is installed on a flat, solid landing area that sits several feet away from the first step. If the gate must be placed directly on or adjacent to the first riser, you should install a hardware-mounted gate instead. This prevents the child from tripping over the bottom threshold bar and falling backward onto the hard wooden or concrete steps.
Standard Doorways and Hallways
For standard doorways, kitchen entries, and hallways, both pressure-mounted and hardware-mounted gates are acceptable options. In these flat, low-risk areas, a pressure-mounted gate is often highly practical because it can be installed quickly and moved as your child’s play areas change. However, you must still manage the physical tripping hazard of the bottom bar. If the doorway leads to a high-traffic zone like a kitchen or utility room, a hardware-mounted gate remains the more convenient and seamless long-term solution.
Child Behavior and Developmental Milestones
You must also consider your child’s specific developmental milestones and behavior when choosing a gate. Baby gates are generally designed for children between the ages of 6 and 24 months. Once a child reaches 2 years of age, weighs more than the manufacturer’s specified limit, or learns how to climb over the gate, the barrier must be removed entirely to prevent climbing-related falls. If your child is exceptionally active, enjoys pushing against furniture, or is a determined climber, a hardware-mounted gate is highly recommended even for standard doorways, as it provides the structural resistance necessary to withstand persistent physical force.
Everyday Convenience and Home Impact
Beyond safety, the gate you choose will affect your daily routines, your home’s aesthetic appeal, and the physical structure of your living space. Comparing these practical factors side-by-side can help you select a model that fits your lifestyle.
| Feature | Pressure-Mounted Gates | Hardware-Mounted Gates |
|---|---|---|
| Installation Time | 10 to 15 minutes; no tools required | 30 to 60 minutes; requires drill, level, and tools |
| Wall Damage | Minimal; potential paint scuffs or rubber marks | Permanent screw holes in wood, drywall, or concrete |
| Portability | High; easily uninstalled and moved to other rooms | Low; semi-permanent installation requiring tool removal |
| Bottom Trip Hazard | Yes; rigid metal or wood threshold bar remains on floor | No; swings completely clear, leaving a flush walkway |
| One-Handed Operation | Variable; often requires lifting or dual-action squeezing | Excellent; smooth hinges allow easy one-handed opening |
| Angled Openings | No; requires perfectly parallel, flat walls | Yes; brackets can adjust to angled walls or banisters |
For families renting their homes, pressure-mounted gates offer an attractive, non-invasive solution. They allow you to establish safe play zones without violating tenancy agreements or risking deductions from your security deposit. To minimize cosmetic marks on your walls, you can use aftermarket silicone wall protector cups, which distribute the gate’s pressure over a wider surface area and prevent the rubber pads from sticking to and peeling away the paint.
In contrast, homeowners or long-term renters who prioritize seamless daily operation often prefer hardware-mounted gates. These gates typically feature superior one-handed opening mechanisms, allowing busy parents to pass through easily while carrying a baby or groceries. Many hardware gates also offer auto-close features and dual-direction swings, which can be locked to swing in only one direction—a crucial safety feature when mounting near stairs to prevent the gate from swinging out over the steps.
How to Measure and Verify Your Space Before Buying
Before purchasing a gate for baby safety, you must conduct a thorough physical assessment of your installation space. Accurate measurements and structural checks will prevent the frustration of buying a gate that is incompatible with your home.
First, measure the width of the opening at three distinct points: the floor level, the middle (around 50 to 60 centimeters high), and the top of where the gate will stand (usually around 75 to 80 centimeters high). Walls and doorframes, particularly in older homes or custom plaster builds, are rarely perfectly plumb. If your measurements vary by even a few millimeters, you must choose a gate that offers independently adjustable tension screws or flexible hardware brackets to accommodate the discrepancy.
Second, check for the presence of baseboards, decorative trim, or quarter-round molding along the floor. A thick baseboard can prevent the bottom of a pressure gate from flush-mounting against the wall, causing the top to tilt outward. To resolve this, you may need to install a wooden wall spacer block to create a flat, uniform surface from the floor to the top mounting point, or select a hardware-mounted gate specifically designed with adjustable bottom brackets that can bypass trim.
Third, verify the structural integrity of your mounting surfaces. If you plan to install a hardware-mounted gate, you must locate a solid wood stud behind the drywall or ensure you are drilling into solid concrete. Fastening a hardware gate into hollow drywall or thin wood paneling without proper anchoring is highly dangerous; the force of a child pushing against the gate can easily tear the screws out of the wall. If you are mounting a gate to a wooden stair banister, use a specialized banister adapter kit. These kits clamp securely around the wooden post, providing a flat surface to screw the gate brackets into without drilling permanent holes into your expensive woodwork.
Finally, check the manufacturer’s certified width range for the specific gate model you are considering. If your opening is exceptionally wide, verify whether the manufacturer sells compatible, certified extension kits. Never mix and match extension panels from different brands, as this compromises the structural stability of the gate and voids the safety certification. Always ensure the gate you choose complies with recognized international safety standards, such as ASTM F1004 or EN 1930, to guarantee it has undergone rigorous testing for latch strength, slat spacing, and impact resistance.
Frequently Asked Questions (FAQ)
Can I use a pressure-mounted gate at the bottom of the stairs?
Yes, you can use a pressure-mounted gate at the bottom of the stairs, but only under specific structural conditions. The gate must be installed on a flat, solid landing area that extends at least a few feet away from the very first step. If the gate is positioned directly on the first step or too close to it, the bottom threshold bar becomes a dangerous tripping hazard. A parent or child stepping over the bar could easily lose their balance and fall backward onto the hard wooden or concrete steps. If your staircase layout does not allow for a spacious landing, you should install a hardware-mounted gate instead to keep the walkway completely clear.
Will a hardware-mounted gate ruin my doorframe?
Installing a hardware-mounted gate will leave permanent screw holes in your doorframe or wall. However, this cosmetic damage is highly manageable and easily repaired. When it is time to remove the gate, you can fill the screw holes in wooden frames with a high-quality wood filler, sand the area smooth, and apply a small touch-up coat of matching paint. For concrete or drywall installations, you can remove the plastic wall plugs, fill the cavities with spackling compound, and paint over them. This minor maintenance task is a highly acceptable trade-off for ensuring the absolute safety of your child at high-risk transition points in your home.
Are there baby gates that don't require drilling but are safe for stairs?
No. There are no baby gates relying solely on pressure or friction that are safe for use at the top of a staircase. Any gate installed at the top of the stairs must be physically anchored to the home’s structure with screws and brackets to prevent it from dislodging under pressure. If you want to avoid drilling directly into a decorative wooden banister or stair post, you can use a banister mounting kit. These kits use heavy-duty straps or clamps to secure a wooden or plastic mounting strip to the post, allowing you to screw the gate’s hardware directly into the adapter strip rather than the banister itself. However, the gate itself must still be a hardware-mounted design.
Community discussion
Share your experience or ask a question. Comments are reviewed before publication.