
Quick Answer: How to Choose Between Pressure and Hardware-Mounted Gates
Choosing the right baby safety gate is one of the most critical decisions you will make when childproofing your home. The ideal choice depends entirely on where you plan to install the barrier, your living situation, and the structural layout of your house. By evaluating these factors early, you can ensure your child remains safe while preserving the integrity of your living space.
Choose a pressure-mounted gate if you live in a rental property, need a temporary barrier that is easy to relocate, or want to block off a flat doorway between rooms on a single level. These models do not require drilling, making them highly convenient for quick setups. They are perfect for separating living rooms from kitchens or creating temporary play zones.
Choose a hardware-mounted gate if you need to block the top of a staircase, have an exceptionally active toddler or large pet, or want a permanent, high-traffic safety solution. Because these gates are physically screwed into the structural elements of your home, they offer the highest level of stability and cannot be easily pushed over by a determined child.
Products mentioned in this guide
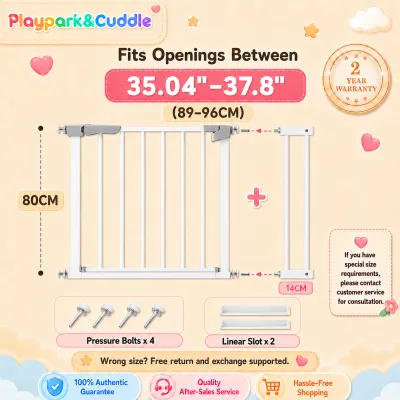
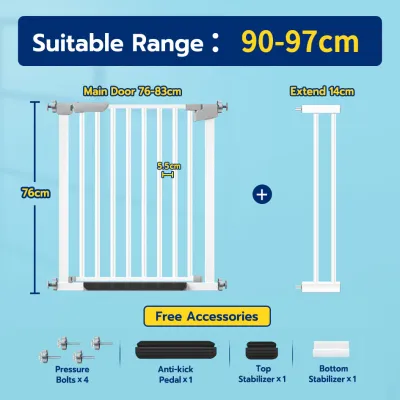
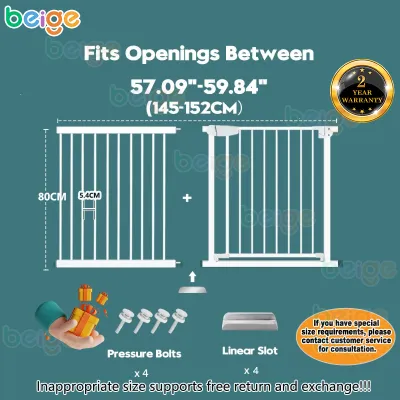
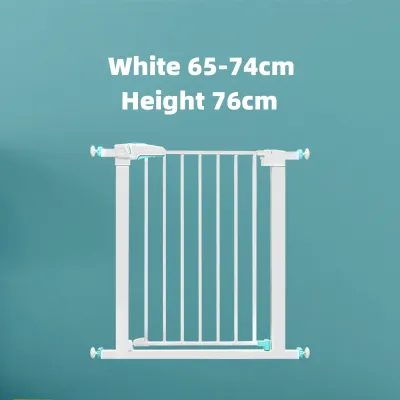
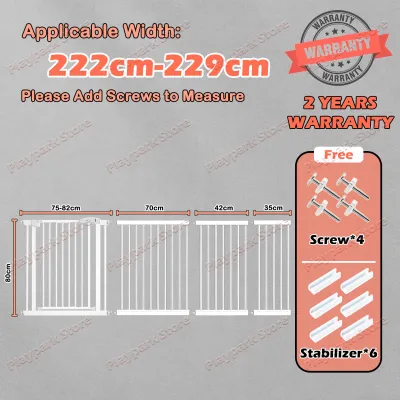
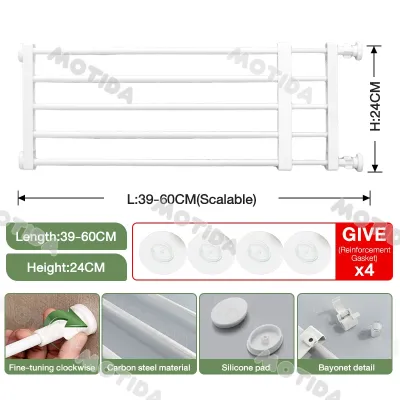
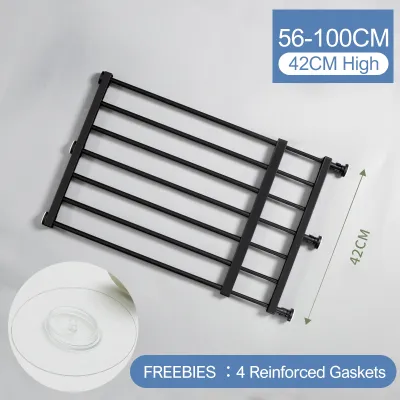
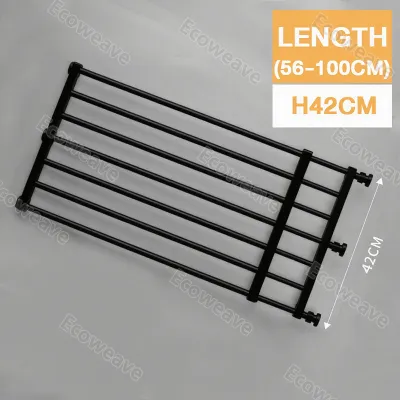
Prices are valid at publication and may change. Please refer to the product page for the latest price.
Neither option may fit your space if your doorway or hallway features uneven walls, severe baseboard protrusions, or lacks solid structural backing. Before making a purchase, always verify your space dimensions and wall materials. Additionally, remember the non-negotiable safety rule: hardware-mounted gates are the only safe option for the top of a staircase, as pressure-mounted models can slip under sudden impact.
Pressure-Mounted Gates: Ideal for Renters and Flat Doorways
Pressure-mounted safety gates are highly popular due to their ease of installation and versatility. They are designed to fit snugly within a door frame or hallway without causing permanent alterations to your home. Understanding how these gates function will help you determine if they are suitable for your specific living environment.

How They Work and Where to Use Them
Pressure-mounted gates operate on a simple tension mechanism, much like a heavy-duty shower curtain rod. They feature rubber-coated pads on four contact points that press outward against your walls or door frames. By turning tension screws or locking a central lever, you expand the gate until the friction against the wall surfaces holds the frame securely in place.
This tension-based design requires absolutely no drilling, screws, or permanent hardware. This makes them an exceptional choice for families living in rental apartments or condominiums in Metro Manila, where landlords often have strict policies against drilling into wooden door jambs or concrete walls. You can install, adjust, and remove the gate in minutes without leaving unsightly holes behind.
These gates are ideal for flat, level openings with sturdy, parallel vertical surfaces. Excellent locations include the bottom of a staircase, the doorway between a living area and a kitchen, or the entrance to a home office. Because they are highly portable, you can easily dismantle them and pack them along when visiting relatives or moving to a new home.
Limitations and Safety Warnings
While pressure-mounted gates are highly convenient, they possess inherent structural limitations. Because they rely solely on friction and outward tension, they are not completely immovable. An older, heavier toddler who stands on the bottom bars, vigorously shakes the gate, or runs directly into it can gradually shift the rubber pads out of alignment over time.
In the humid, tropical climate of the Philippines, moisture and condensation can settle on smooth surfaces like painted drywall or polished wood. This humidity can sometimes reduce the grip of the rubber pads, making regular tension checks absolutely mandatory. Caregivers must routinely inspect the locking indicators and tighten the tension wheels to ensure the gate remains secure.
Another significant drawback is the presence of a solid U-shaped metal frame at the bottom of the gate. This frame remains on the floor even when the gate door is swung open, creating a permanent threshold bar. This bar is a notorious tripping hazard for adults carrying infants, elderly family members, and toddlers who are still mastering their balance on smooth tiled or marble floors.
Most importantly, you must never use a pressure-mounted gate at the top of a staircase. If a child leans their full weight against the gate, or if a toddler trips and falls forward onto it, the sudden force can cause the tension pads to slip. This can result in the entire gate collapsing, leading to a catastrophic fall down the stairs. Always read the manufacturer’s warning labels on the packaging to verify approved placement zones.
Hardware-Mounted Gates: The Safest Option for Stairs and Long-Term Use
For areas of the home that demand absolute structural integrity, hardware-mounted gates are the industry standard. These barriers are designed to withstand significant physical force, making them the safest choice for high-risk zones and long-term childproofing strategies.
Installation Requirements and Ideal Locations
Hardware-mounted gates are secured directly into the structural framework of your home using heavy-duty metal screws. This process requires drilling mounting brackets directly into wooden wall studs, solid wood door frames, or concrete masonry. Once the brackets are anchored, the gate hinges slide into place, creating an incredibly rigid and reliable physical barrier.
This permanent mounting method is mandatory for the top of any staircase. A gate installed at the top of the stairs must be strong enough to stop a falling child or a heavy pet without budging. Hardware-mounted models are also the preferred choice for wide, irregular, or angled openings, as well as high-traffic areas where the gate will be opened and closed dozens of times a day.
Unlike pressure-mounted designs, most hardware-mounted gates feature a convenient swing-open mechanism that does not require a bottom floor track. When you open the gate, the entire barrier swings completely clear from wall to wall. This design leaves the floor surface flat and unobstructed, entirely eliminating the risk of tripping at the edge of a stair landing.
Wall Damage and Removal Considerations
Because hardware-mounted gates require direct drilling, they will inevitably leave permanent marks and screw holes in your walls and woodwork. For many homeowners and renters, the prospect of drilling into their property can be a source of hesitation. However, this minor aesthetic damage is a small price to pay for the unmatched safety these gates provide.
When your child eventually outgrows the gate, removing the hardware is a straightforward process. The resulting screw holes can be easily repaired using basic DIY techniques. For wooden door frames, a small amount of wood filler, followed by light sanding and a touch of matching paint, will restore the surface to its original condition.
For concrete, brick, or hollow block walls—which are standard in most Filipino residential constructions—the installation process requires a hammer drill, masonry drill bits, and plastic wall plugs (commonly known as tox). When removing the gate, you can pull out the plastic plugs, fill the cavities with wall putty or patching compound, sand the area smooth, and apply a fresh coat of wall paint to make the repair invisible.
Before beginning the installation, always identify your wall material to ensure you are using the correct anchors. Standard drywall screws will not hold securely in concrete, and masonry anchors will not work in hollow wood studs. Using incompatible hardware can cause the brackets to pull out of the wall under pressure, compromising the safety of the gate.
Side-by-Side Comparison: Pressure vs Hardware-Mounted Gates
To help you finalize your decision, it is helpful to compare the two mounting styles across the most critical safety and practical dimensions. The table below outlines how each gate type performs in real-world household scenarios.
| Feature | Pressure-Mounted Gates | Hardware-Mounted Gates |
|---|---|---|
| Installation Method | Tension-based (no drilling or screws required) | Anchored with screws (requires drilling into walls) |
| Top of Stairs Safety | Strictly unsafe; never install at the top of stairs | Mandatory; the only safe option for stair tops |
| Wall Damage | Minimal (may leave minor scuffs or rubber marks) | Permanent screw holes (requires patching and painting) |
| Portability | High; easy to remove, relocate, and travel with | Low; semi-permanent installation |
| Stability against Pushing | Moderate; can slide or slip under heavy force | High; structurally anchored to the home |
| Tripping Hazard | Yes; has a raised U-frame bottom bar on the floor | No; swings completely open with a clear floor path |
While this comparison provides a solid foundation, always verify the specific product details of the model you intend to buy. Check the manufacturer’s manual or product label to confirm the maximum width extensions supported, the minimum height requirements to prevent climbing, and the presence of safety certifications. Look for gates equipped with auto-close hinges or dual-action locking mechanisms—which require two distinct hand movements to open—to prevent clever toddlers from opening the latch.
How to Measure Your Space and Prepare for Installation
Before purchasing any safety gate, taking precise measurements of your installation area is essential. A gate that is slightly too wide or too narrow will fail to install securely, creating a safety hazard rather than a protective barrier.
First, measure the width of the opening at three distinct points: the floor level, the middle (around waist height), and the top (around chest height). Walls and door frames, especially in older concrete homes, are rarely perfectly straight or plumb. Using the narrowest measurement ensures you buy a gate that fits, while the widest measurement helps you determine if you need to purchase additional extension panels.
Next, account for baseboards, skirting boards, or crown moldings along the floor. These decorative trim pieces can protrude by several centimeters, preventing a pressure-mounted gate from sitting flush against the wall. If you have thick baseboards, you may need to purchase specialized spindle pads or wall protectors to even out the pressure points, or install wooden spacer blocks to mount hardware brackets flush.
If you are installing a gate on a staircase, pay close attention to the newel posts and banisters. Drilling directly into decorative wooden banisters can permanently ruin expensive woodwork. To avoid this, look for specialized stair mounting kits or strap-on adapters. These accessories wrap securely around wooden or metal posts, providing a flat, solid wooden surface where you can screw in the hardware brackets without damaging the post itself.
Finally, evaluate the swing direction of the gate. For safety reasons, a gate installed at the top of a staircase must always swing away from the stairs and toward the landing or hallway. If the gate swings outward over the steps, a child leaning on an unlatched gate could fall forward down the stairs. Ensure your chosen hardware-mounted gate has a built-in directional stop to restrict its swing direction accordingly.
Frequently Asked Questions (FAQ)
Can I use a pressure-mounted gate at the top of the stairs?
No, you must never use a pressure-mounted gate at the top of a staircase. These gates rely entirely on friction and outward tension to stay in place, and they can easily slip or dislodge if a child leans, climbs, or trips against them. If the gate fails at the top of the stairs, it can lead to a severe fall. Only hardware-mounted gates that are screwed directly into solid structural walls or studs are safe for this specific location.
Will a hardware-mounted gate damage my door frame?
Yes, installing a hardware-mounted gate requires drilling screws directly into your wooden door frame or walls, which will leave permanent holes. However, this damage is minor and easily repairable once your child outgrows the gate. For wooden frames, you can fill the holes with standard wood filler, sand the surface smooth, and apply a small touch of matching paint to make the frame look like new again.
How do I know if my walls are strong enough for a hardware-mounted gate?
To ensure a hardware-mounted gate is safe, it must be anchored into a solid, load-bearing structure. This includes solid wood door frames, wooden wall studs, or concrete and masonry walls. If you are mounting the gate to drywall, you must locate the wooden studs behind the wall using a stud finder and screw directly into them. Never mount a safety gate into hollow drywall or plaster using simple plastic anchors, as the weight of a child pushing against the gate can easily pull the brackets out of the wall.
Community discussion
Share your experience or ask a question. Comments are reviewed before publication.