
Choosing the right baby fence barrier gate is one of the most critical decisions you will make when baby-proofing your home. As your little one transitions from crawling to taking their first tentative steps, blocking off hazardous areas becomes an urgent priority. The choice between a pressure-mounted and a hardware-mounted gate is not merely a matter of aesthetic preference or budget; it is a decision dictated by the specific layout of your living space, the structural integrity of your walls, and the exact location of the barrier.
In tropical climates like the Philippines, home construction often features a mix of solid concrete masonry, wooden doorframes, and open-plan living spaces designed for airflow. These architectural elements directly influence how a baby fence barrier gate performs. While pressure-mounted gates offer temporary convenience and require no drilling, hardware-mounted gates provide the permanent, unyielding structural security required for high-risk areas. Understanding where each type can be safely deployed ensures your child remains protected while preserving the integrity of your home’s structure.
How Pressure and Hardware Gates Actually Stay in Place
To make an informed decision, you must first understand the mechanical principles that keep these barriers upright. A pressure-mounted baby fence barrier gate operates on the principle of outward tension. These gates feature adjustable spindles with rubber-coated pads on each corner. When you turn the tension wheels, the spindles extend outward, pressing tightly against the opposing walls or doorframes. This friction-based grip is the sole force holding the gate in place, meaning the barrier relies entirely on the structural rigidity of the surfaces it pushes against.
Products mentioned in this guide
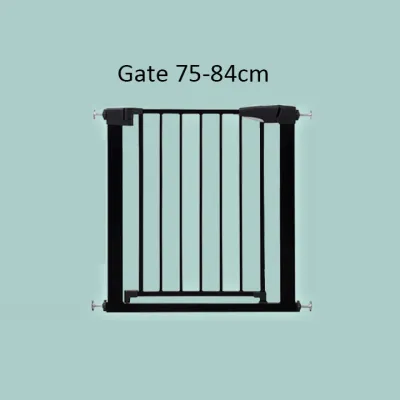
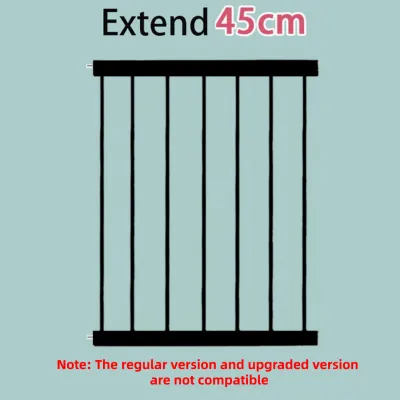
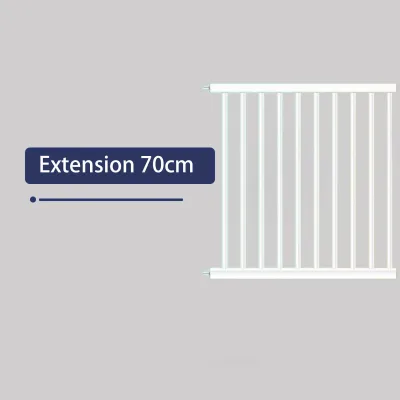
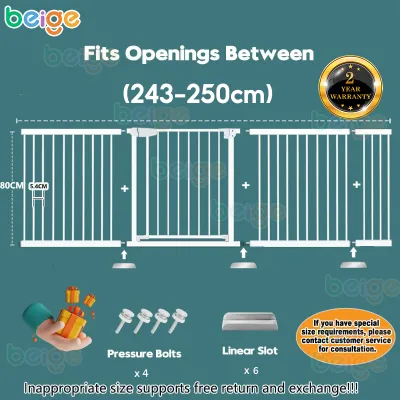
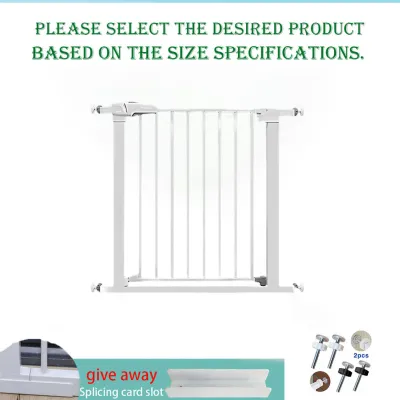
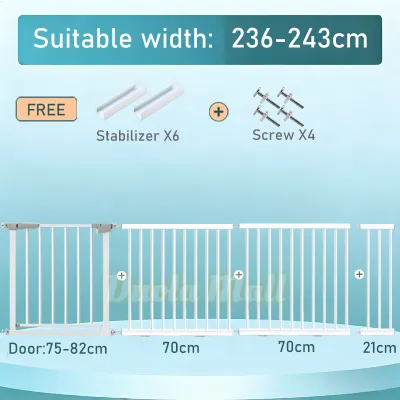
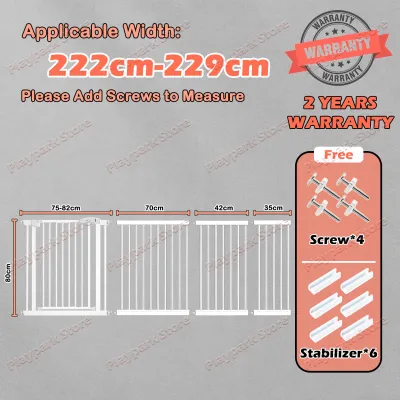
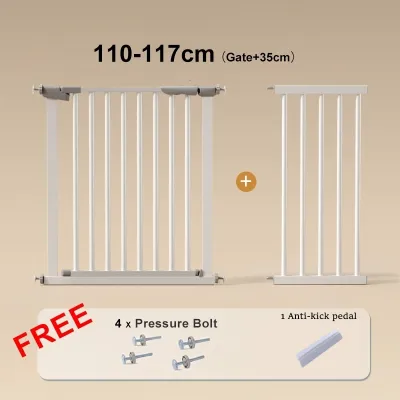
Prices are valid at publication and may change. Please refer to the product page for the latest price.
Conversely, a hardware-mounted gate relies on physical anchoring. This installation method requires drilling directly into the wall structure—whether that means wooden wall studs, solid concrete masonry, or drywall using specialized heavy-duty anchors. Metal screws secure heavy-duty mounting brackets directly to the wall, and the gate hinges swing from these anchored points. Because the gate is physically joined to the building’s framework, it does not rely on constant outward pressure to remain upright.
It is vital to recognize that marketing terms, attractive product designs, or claims of “extra-strong” adhesive pads do not alter these fundamental physics. A tension-based gate is held by friction alone, whereas a hardware-mounted gate is held by mechanical shear strength. No matter how tightly you turn the tension adjustment on a pressure gate, it cannot match the structural load capacity of a screw anchored into a solid wall stud or concrete block.
Where to Safely Use Pressure-Mounted Baby Gates
Pressure-mounted gates are highly versatile, but their safety is strictly limited to low-risk, flat, and level surfaces. These barriers are ideal for blocking off doorways between rooms on the same floor, such as separating a living room from a kitchen, or closing off a hallway. They also function well at the very bottom of a staircase, provided they are positioned on the floor level and not on an elevated step.

For a pressure gate to remain secure, it must be installed between two solid, parallel, and completely rigid surfaces. Solid wood doorframes, concrete walls, or studs behind drywall are excellent mounting points. If you attempt to install a pressure gate against flexible materials—such as thin drywall without a stud behind it, decorative wood paneling, or hollow plastic doorframes—the outward force can cause the walls to flex. This flexing reduces the tension, causing the gate to slip or collapse under sudden pressure.
You must never use a pressure-mounted gate at the top of a staircase. If a child climbs, leans, or pushes their full weight against a tension gate at an elevated drop-off, the entire unit can dislodge, leading to a catastrophic fall. Additionally, environmental factors in humid tropical environments can cause wooden doorframes to swell and contract. This natural movement can silently loosen the tension over time. Caregivers must perform regular maintenance checks, manually testing the tightness of the tension spindles every week to ensure the gate has not slipped.
When Hardware-Mounted Gates Are Absolutely Necessary
There are certain areas in your home where safety is non-negotiable, and only a hardware-mounted baby fence barrier gate will suffice. The most critical of these locations is the top of any staircase. When a child stands at the top of the stairs, they often pull themselves up using the gate’s bars or lean their weight forward. A hardware-mounted gate, anchored securely into the wall structure, is designed to withstand these dynamic forces without budging, preventing dangerous falls.
The installation process for a hardware-mounted gate must be tailored to your home’s specific wall construction. In many homes in the Philippines, interior walls are constructed from solid concrete, hollow concrete blocks, or plaster over brick. Mounting a gate to these surfaces requires a masonry drill bit, plastic wall plugs, and heavy-duty screws. If you are mounting to drywall, you must locate the wooden studs behind the plasterboard using a stud finder, as drywall alone cannot support the weight and pulling force of a swinging gate.
While drilling holes into your walls or wooden doorframes leaves permanent marks, this minor cosmetic damage is a necessary trade-off for structural integrity at elevated drop-offs. If your home features challenging architectural elements—such as glass balustrades, delicate antique woodwork, or decorative tiles—you should not attempt to drill into them without professional guidance. In such cases, consult a qualified carpenter or professional childproofing installer to create a secure, custom wooden mounting post that can be safely anchored without damaging fragile materials.
Weighing Convenience Against Permanence and Wall Damage
Choosing between these two gate types involves balancing daily convenience against long-term home impact. Pressure-mounted gates excel in convenience; they can be installed in minutes without specialized tools, making them highly portable. If you travel to visit relatives or rent your home and want to avoid losing your security deposit over drilled holes, a pressure gate can be easily uninstalled, packed, and reinstalled in a new location without leaving a trace.
Hardware-mounted gates require a more significant investment of time, tools, and effort. You will need a power drill, a level to ensure the gate swings straight, a screwdriver, and measuring tape. Once installed, they are semi-permanent fixtures. Removing them requires unscrewing the brackets, patching the holes with wall filler or spackle, sanding the surface smooth, and applying touch-up paint to match your wall color.
Another practical consideration is the physical design of the gate itself. Most pressure-mounted gates feature a U-shaped outer frame that remains on the floor even when the gate door is open. This bottom bar creates a threshold that can easily trip adults, especially when carrying a baby or walking in low light. Hardware-mounted gates, however, typically swing completely clear of the opening, leaving the floor entirely unobstructed and eliminating any tripping hazards.
| Feature | Pressure-Mounted Gates | Hardware-Mounted Gates |
|---|---|---|
| Installation Effort | Low (No tools required, quick setup) | High (Requires drill, level, and screws) |
| Wall Impact | Minimal (Rubber pads may leave minor scuffs) | Permanent (Requires drilling holes into walls/frames) |
| Portability | High (Easy to remove, pack, and relocate) | Low (Semi-permanent, requires uninstallation and patching) |
| Tripping Hazard | Yes (Bottom threshold bar remains on floor) | No (Swings completely open with a clear floor path) |
| Ideal Locations | Hallways, doorways, bottom of stairs | Top of stairs, wide openings, high-risk zones |
How to Measure Your Doorway and Verify Gate Fit
Before purchasing any baby fence barrier gate, precise measurements are essential to ensure a secure and safe fit. Do not rely on a single measurement across the middle of the opening. Walls are rarely perfectly plumb, and baseboards or decorative moldings can significantly alter the width at different heights.
Use a metal measuring tape to measure the width of the opening at three distinct points: the floor level (along the baseboards), the middle (around waist height), and the top (at the expected height of the gate). Use the narrowest measurement when choosing a gate, but ensure the gate’s adjustment range can accommodate the widest measurement as well. If your baseboards are particularly thick, you may need to purchase specialized wall spacers or search for a gate model that allows the upper and lower tension spindles to adjust independently.
Additionally, evaluate the clearance space around the opening. For hardware-mounted gates, check which way the gate will swing. A gate installed at the top of the stairs must always be configured to swing inward toward the landing, never outward over the steps, to prevent a caregiver from losing their balance while opening it. Finally, verify that the gate’s height and vertical slat spacing comply with standard safety guidelines—slats should be close enough together that a child’s head or body cannot slip through, and the gate must be tall enough that your child cannot easily climb over it based on their current developmental stage.
The Final Checklist: Which Gate Should You Buy?
To finalize your decision, review this practical framework based on your specific home environment and safety needs:
- Choose a pressure-mounted gate if:
- You are blocking off a standard doorway or hallway on a single, flat level.
- You live in a rental property where drilling into walls or doorframes is strictly prohibited.
- You require a temporary barrier that can be easily packed for travel or moved between rooms.
- The mounting surfaces are solid, parallel, and structurally rigid.
- Choose a hardware-mounted gate if:
- You are securing the top of a staircase or an elevated landing.
- The opening is exceptionally wide, angled, or features uneven walls.
- You want to eliminate the tripping hazard of a bottom threshold bar in high-traffic areas.
- You want a permanent, highly stable barrier that can withstand heavy daily use.
- Verify first if:
- Your walls are made of fragile materials like glass, plaster, or decorative tiles, which may require custom mounting adapters or professional installation.
- Your child has reached a developmental milestone—such as climbing or standing—where they might exceed the manufacturer's recommended height or weight limits. Always stop using any baby gate once your child can climb over it or open it independently.
Frequently Asked Questions (FAQ)
Can I use a pressure-mounted gate at the top of the stairs if I add a wall cup?
No. Adding adhesive or screw-in wall cups to a standard pressure-mounted gate does not transform it into a certified stair-top barrier. While wall cups can prevent the rubber pads from sliding sideways, they do not change the internal locking mechanism or the structural limits of a tension-based gate. Unless the manufacturer’s documentation explicitly certifies that specific gate model and configuration for top-of-stairs use, you must always use a dedicated hardware-mounted gate for elevated drop-offs to ensure absolute structural security.
How do I remove a hardware-mounted gate without ruining my walls?
Removing a hardware-mounted gate requires a systematic approach to restore your walls. Begin by carefully unscrewing the mounting brackets from the wall or doorframe. For concrete walls, pull out the plastic wall plugs using a pair of needle-nose pliers. Fill the remaining holes with a high-quality spackle or wall filler appropriate for your wall material (such as concrete putty or drywall joint compound). Once dry, sand the area flat with fine-grit sandpaper, wipe away the dust, and apply a matching coat of paint to blend the repair seamlessly into the surrounding wall.
Community discussion
Share your experience or ask a question. Comments are reviewed before publication.