
Creating a safe environment for an active, crawling infant or toddler is one of the most critical steps in baby-proofing your home. As your child begins to explore, blocking off high-risk areas like staircases, kitchens, and balconies becomes an immediate priority. The primary tool for this task is the baby gate, but choosing the right mounting style can be confusing. The decision ultimately comes down to a choice between pressure-mounted and hardware-mounted systems.
To answer the core question directly: hardware-mounted baby gates are the only safe option for the top of stairs, where a fall could cause severe injury. They screw directly into your home’s structural framing, offering maximum stability. Conversely, pressure-mounted baby gates are ideal for flat hallways, doorways, and the bottom of stairs, making them highly suitable for renters or temporary setups where avoiding wall damage is a priority. Your final choice must depend on the specific location of the gate, the material of your walls, and your child’s physical development and weight.
How Pressure-Mounted and Hardware-Mounted Gates Work
Pressure-mounted baby gates operate on a simple mechanical principle: outward tension. These gates feature adjustable tension rods or pressure screws on all four corners, capped with rubber or silicone pads. When you turn the tension wheels, the rods extend outward, wedging the frame tightly between two solid vertical surfaces, such as doorframes or hallway walls. This friction-based system holds the gate in place without any physical fasteners penetrating the wall. Because they rely entirely on lateral pressure, they can be installed and uninstalled in minutes, leaving the underlying surface intact.
Products mentioned in this guide
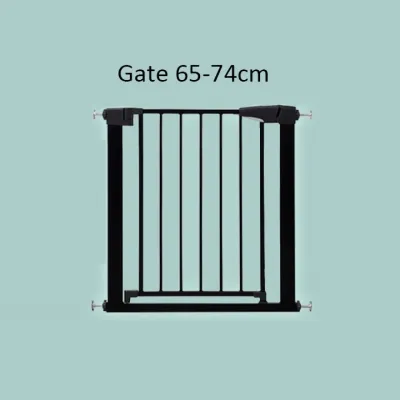
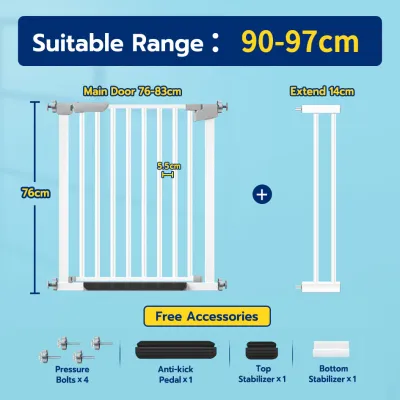
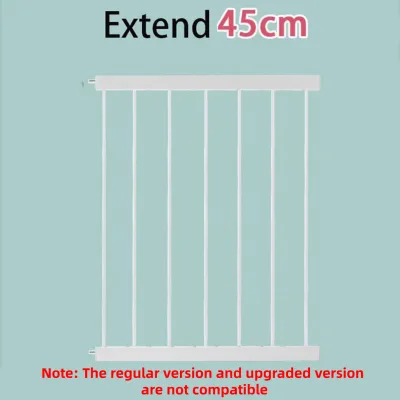
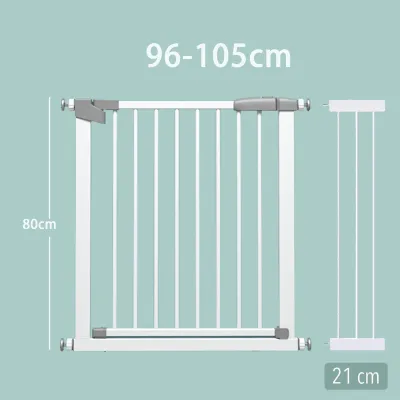
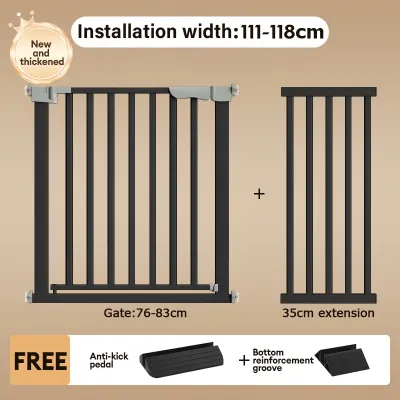
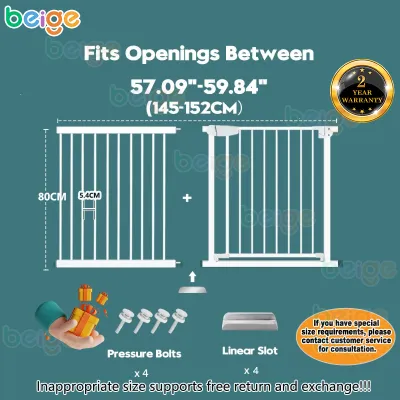
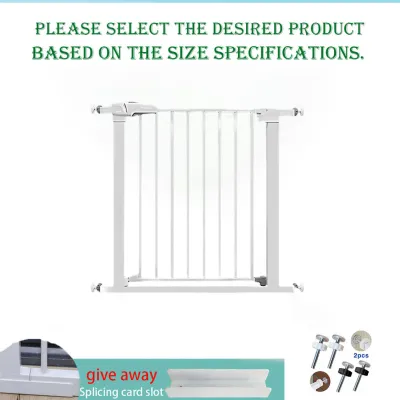
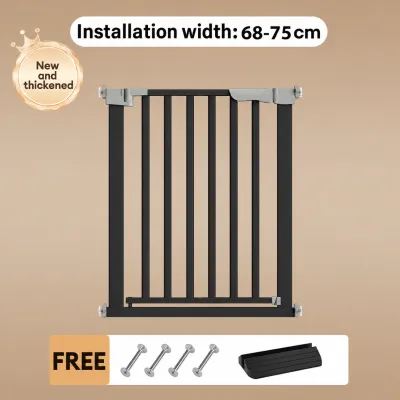
Prices are valid at publication and may change. Please refer to the product page for the latest price.
Hardware-mounted baby gates, by contrast, rely on physical anchoring for structural integrity. These systems require you to drill holes directly into wall studs, solid wood doorframes, or masonry walls. Heavy-duty metal brackets are screwed into these structural points, and the gate is then hung or locked into these brackets. This creates a permanent, rigid physical barrier that cannot be dislodged by pushing or pulling. Unlike pressure gates, hardware-mounted models do not require a bottom threshold bar to maintain structural tension, allowing the entire gate panel to swing open cleanly from wall to wall.
In many Philippine homes, wall composition heavily influences how these mechanisms perform. While Western homes often feature drywall with wooden studs, local residences frequently utilize concrete hollow blocks, solid poured concrete, or hard tropical timber frames. Installing a hardware gate into concrete requires a masonry drill bit and plastic wall plugs (commonly referred to locally as “tox” screws) to ensure a secure hold. For pressure gates, the high relative humidity in tropical climates can cause wooden doorframes to expand or contract slightly, which can gradually alter the tension of the gate and require regular manual adjustments to prevent slipping.
Safety and Stability: Where Each Gate Excels
When evaluating baby-proofing options, safety is the primary metric. Hardware-mounted gates offer superior structural stability because they are physically integrated into your home’s structure. This robust connection makes them highly resistant to the intense physical forces a growing toddler can exert. When an active child leans, climbs, or runs directly into a hardware-mounted gate, the energy is absorbed by the wall studs or concrete anchors rather than the gate’s locking mechanism. This eliminates the risk of the entire barrier collapsing outward under sudden impact.

Pressure-mounted gates have distinct physical limitations. Because they rely solely on friction, they are susceptible to shifting if a child pushes aggressively against the center panel or attempts to climb the bars. Over time, the constant vibration from opening and closing the gate, combined with changes in indoor humidity, can cause the tension screws to back out slightly, reducing the friction grip. If a toddler manages to dislodge a pressure gate at the top of a staircase, the gate and the child could fall down the stairs together, compounding the severity of the accident.
Another critical safety distinction is the presence of a bottom threshold bar. Most pressure-mounted gates require a solid metal bar running along the floor to maintain the structural frame’s tension when the walk-through door is open. This raised bar presents a persistent tripping hazard, particularly for adults carrying a sleeping baby or laundry. Hardware-mounted gates do not require this bottom support bar, leaving the walkway completely flush with the floor and eliminating this specific risk.
Caregivers must maintain a strict safety boundary regardless of the gate type selected. Always verify the manufacturer’s specific weight and height limits printed on the product packaging; never assume a gate is suitable based solely on its name or visual size. Stop using any baby gate immediately if you observe signs of structural fatigue, bent metal bars, cracked plastic joints, or a latching mechanism that fails to lock automatically. Remember that baby gates are safety aids designed to restrict access, but they can never replace active, continuous adult supervision.
Installation and Wall Impact
The practical trade-off between these two systems lies in the installation effort and the resulting impact on your living space. Installing a hardware-mounted gate is a precise, multi-step DIY project. It requires a specific set of tools, including a power drill, a level, a measuring tape, and a stud finder (or a masonry drill bit and wall plugs if mounting into concrete). If the gate is mounted into drywall, finding a solid wooden stud is mandatory; screwing directly into hollow drywall without a stud will result in the gate tearing out of the wall under minimal pressure. When you eventually remove the gate, you will be left with several drill holes that require patching, sanding, and repainting.
Pressure-mounted gates offer a highly renter-friendly alternative that requires no specialized tools or permanent modifications to the property. Installation typically involves placing the gate in the desired opening, adjusting the four tension screws until the gate is level and secure, and checking that the safety latch aligns correctly. However, pressure gates are not entirely risk-free regarding wall damage. The high lateral pressure required to keep the gate secure can leave circular indentations in drywall or scuff glossy latex paint. In warm, humid environments, the rubber or silicone pads on the tension rods can sometimes bond with the wall paint, causing the paint to peel off when the gate is removed.
To mitigate this minor cosmetic damage, many parents use aftermarket wall protector cups. These rubber-backed plastic discs sit between the gate’s tension screws and the wall, distributing the pressure over a larger surface area to prevent indentations and slipping. If you are renting a home in the Philippines, a pressure gate with wall protectors is often the most practical compromise for doorways and hallways, allowing you to secure your child while preserving your security deposit.
Best Locations: Stairs, Doorways, and Hallways
Determining where to place each gate is the most critical decision in your home baby-proofing strategy. The top of any staircase is a non-negotiable zone: you must install a hardware-mounted gate here. A toddler standing at the top of the stairs can easily lean their full body weight against a gate or pull on the bars to stand up. If a pressure-mounted gate is used in this location, the outward force can cause the rubber pads to slide, leading to a catastrophic fall. To ensure safety, select a hardware gate with a swing-stop mechanism that prevents the gate from swinging open over the stairs.
At the bottom of the stairs, the safety requirements are slightly more flexible. A pressure-mounted gate is generally acceptable here, provided it is mounted against a flat, solid wall or a sturdy wooden post. The primary risk at the bottom of the stairs is a child climbing up the first few steps from the back and leaning over the gate. If your child is an active climber or exceptionally strong, installing a hardware-mounted gate at the bottom of the stairs provides an extra layer of security that prevents the gate from being pushed backward.
For standard doorways and flat hallways, pressure-mounted gates offer unmatched convenience. These high-traffic areas often require a gate that can be installed quickly to block off a kitchen during cooking hours or to keep a baby within a safe play zone. Because these areas lack the elevation hazards of staircases, the minor risk of a pressure gate slipping does not pose an immediate severe threat. Furthermore, pressure gates can easily be moved from one doorway to another as your daily needs change.
Uneven surfaces and architectural details present unique installation challenges. Many homes feature thick baseboards, decorative trim, or uneven plaster walls that prevent a pressure gate from sitting flush. If the bottom tension rods must rest against a thick baseboard while the top rods press against a bare wall, the gate will sit at an angle, compromising its structural stability. In such scenarios, you may need to use specialized spindle pads, Y-spindles for round banisters, or transition wood blocks screwed into the wall to create a flat mounting surface.
Quick Comparison: Pressure vs. Hardware Gates
| Dimension | Pressure-Mounted Gates | Hardware-Mounted Gates |
|---|---|---|
| Mounting Mechanism | Lateral tension and friction pads | Screws anchored into studs, wood, or concrete |
| Best Location | Doorways, hallways, bottom of stairs | Top of stairs, high-risk boundaries |
| Wall Damage Risk | Low (potential scuffs, paint peeling, or minor dents) | High (permanent drill holes requiring patching) |
| Tools Required | None (wrenches usually included in the box) | Power drill, level, screwdriver, wall anchors |
| Stability Level | Moderate (can shift under heavy impact or climbing) | High (rigid, permanent physical barrier) |
| Walkway Path | Features a bottom threshold bar (tripping hazard) | Completely flush floor path (no threshold bar) |
Decision Framework: How to Choose for Your Home
To make the final decision for your household, systematically evaluate your specific architectural layout, your living arrangements, and your child’s current developmental stage. This structural framework will help guide your purchase toward the safest and most practical option.
Choose a Hardware-Mounted Gate If:
- The installation site is the top of a staircase: This is an absolute safety rule to prevent severe fall injuries.
- You own your home or have landlord permission: You can freely drill into walls, studs, or concrete hollow blocks without worrying about lease penalties.
- Your child is highly active, heavy, or a climber: If your toddler frequently tests boundaries, pulls themselves up on furniture, or weighs near the upper limits of standard baby gear, the physical security of screws is essential.
- You want a seamless, trip-free walkway: If the gate is in a high-traffic zone where you frequently carry items, the lack of a bottom threshold bar is a major convenience and safety benefit.
Choose a Pressure-Mounted Gate If:
- You are renting your home: You need to avoid drilling holes into concrete or plaster walls to ensure you receive your full security deposit back when moving out.
- You need a temporary or portable solution: You want a gate that can be easily dismantled, moved to a different room, or packed for travel.
- The gate is for a low-risk area: You are blocking off a flat hallway, a pantry, or a level transition between two rooms with no steps or drop-offs nearby.
- You want a quick, tool-free installation: You do not own a power drill or masonry bits and want a system that can be set up immediately out of the box.
Verify These Dimensions Before Purchasing:
- Wall structural integrity: Ensure your walls are not made of fragile, hollow paneling or old, crumbling plaster that cannot withstand intense lateral pressure.
- Exact opening measurements: Measure the width of the opening at both the floor level and the top of the gate height. Do not assume the opening is perfectly square.
- Baseboard and trim clearance: Check if your baseboards protrude significantly. If they do, verify if the gate model you are considering has adjustable bottom spindles that can compensate for the difference in width.
Safety Checks and Maintenance Rules
Once your baby gate is installed, your safety responsibilities do not end. A baby gate is a mechanical device subject to constant wear, vibration, and environmental stress. To ensure the gate continues to protect your child, establish a strict routine of safety checks and preventative maintenance.
For pressure-mounted gates, perform a physical stability test at least once a week. Grasp the frame firmly and give it a moderate shake to ensure the tension has not loosened. Check the rubber pads to confirm they have not slipped or degraded due to tropical heat and humidity. If the gate moves or slides along the wall, immediately loosen the lock nuts, realign the frame, and retighten the tension screws until the gate is completely rigid. For hardware-mounted gates, conduct a monthly inspection of the mounting brackets and screws. Ensure the screws remain tightly anchored in the wall studs or concrete plugs, and check that the hinges swing smoothly without squeaking or binding.
Caregivers must be vigilant for specific red flags that indicate a gate is no longer safe to use. Discontinue use immediately if you notice visible cracks in the plastic joints, bent metal bars, loose hinges, or a latching mechanism that no longer clicks shut automatically. Additionally, monitor your child’s cognitive and physical development closely. If your child learns how to manipulate the latch mechanism, or if they attempt to climb over the gate using the horizontal bars as footholds, the gate has lost its effectiveness. At this stage, the barrier must be removed, and alternative safety measures or active supervision protocols must be implemented.
Always prioritize the manufacturer’s official documentation over generic parenting advice or age estimates. Every baby gate model has unique engineering specifications, weight capacities, and height limits. Read the product manual thoroughly to understand the precise limits of your specific model, and register the product with the manufacturer if possible to receive safety recall alerts. By maintaining these strict safety checks, you can ensure your home remains a secure environment for your growing child.
Frequently Asked Questions (FAQ)
Can I use a pressure-mounted gate at the top of the stairs if I use wall cups?
No, you should never use a pressure-mounted gate at the top of the stairs, even if you install aftermarket wall cups. While wall cups are excellent for distributing lateral pressure and preventing the gate from sliding on smooth paint or tiles, they do not create a permanent, mechanical anchor. The immense force of a falling child or a toddler leaning heavily against the gate can still cause a pressure-mounted system to slip off the wall. To prevent severe fall injuries, the top of the stairs strictly requires a hardware-mounted gate that is screwed directly into the home’s framing studs or solid concrete walls.
How wide of a doorway can a baby gate fit?
The maximum width a baby gate can secure varies significantly depending on the specific model, brand, and the availability of compatible extension kits. Standard baby gates typically fit openings between 70 and 100 centimeters, but many manufacturers offer modular extension panels that allow a single gate to span wider hallways or open-concept living spaces up to several meters. Before purchasing, measure the exact width of your opening at both the top and bottom points (accounting for any baseboards), and verify the manufacturer’s maximum width specifications on the product label to ensure a safe, stable fit.
At what age should I stop using a baby gate?
Deciding when to stop using a baby gate depends on your child’s physical development and milestones rather than a strict chronological age. Most manufacturers design baby gates for children between 6 and 24 months of age. However, you should stop using the gate immediately if your child’s chin reaches the top rail of the gate when standing, if they weigh more than the manufacturer’s specified weight limit (often around 13.6 kilograms), or if they demonstrate the ability to climb over the barrier or open the safety latch. Once a child can safely navigate stairs or easily bypass the gate, the barrier becomes a climbing hazard and should be removed.
Community discussion
Share your experience or ask a question. Comments are reviewed before publication.